Turns out the tank I purchased wasn't quite short enough. As designed the fuel tank filler doesn't have enough room vertically, so it was time for a modification. More on that later.
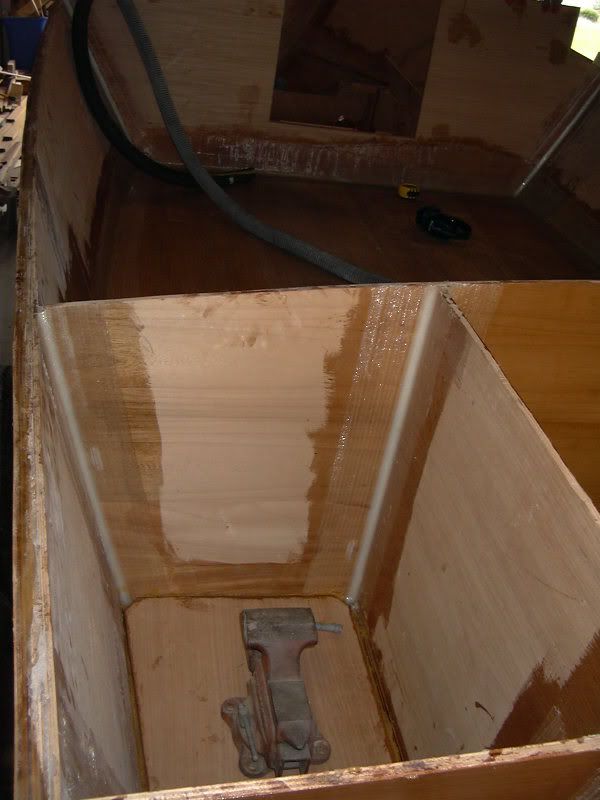
First thing, I pre-coated all the surfaces in the two aft storage wells in front of the transom, then glued in the soles in those compartments. I have decided to go the bilge pump route in the furthest aft center compartment below the outboard splash well. It made sense because the benches drawn for the boat preclude using scuppers. No way to drain the water to where it notes, so we will go bilge. The sole in both aft compartments as well as the main sole can all drain easily into that space, then the water can be pumped over the transom. Easy peezee.
The soles of the wells, with the SHS (some heavy stuff) clamp:
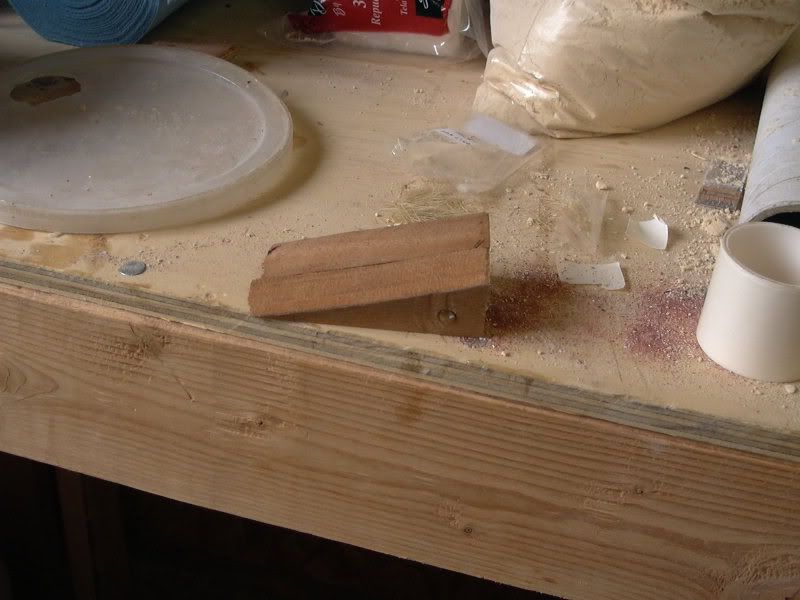
So today was fuel tank day. The tank had the aforementioned affliction of not enough headroom, so it was time to get that handled. I have a shop here in the Spokane area that does great aluminum work, and is a local family biz, so I try to support them as much as possible ( Bill's heliarc ). A few greenbacks and a couple hours later, we have a solution!:
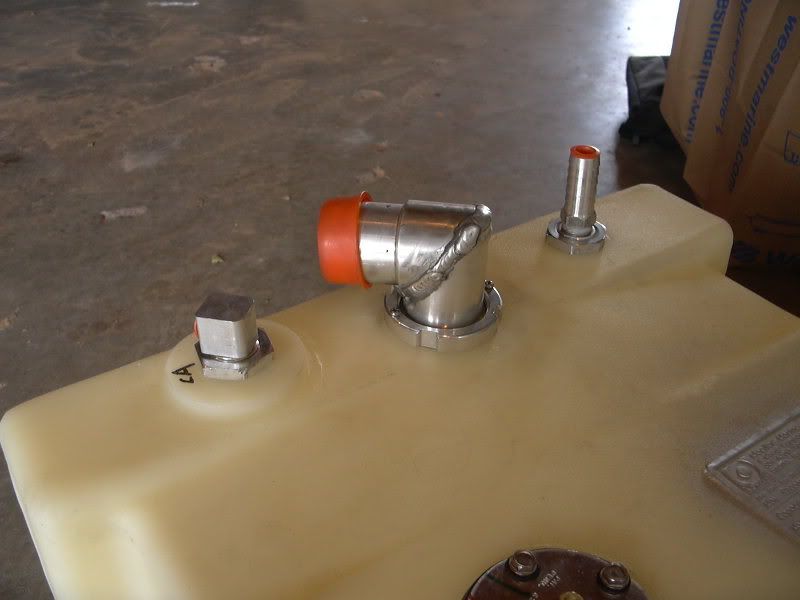
Perfect, that was ironed out. Next the vent tube was another vertical fitting, but a 90 degree elbow fixed that right up.
So on with the tank install. This will be slightly tutorial-esque.
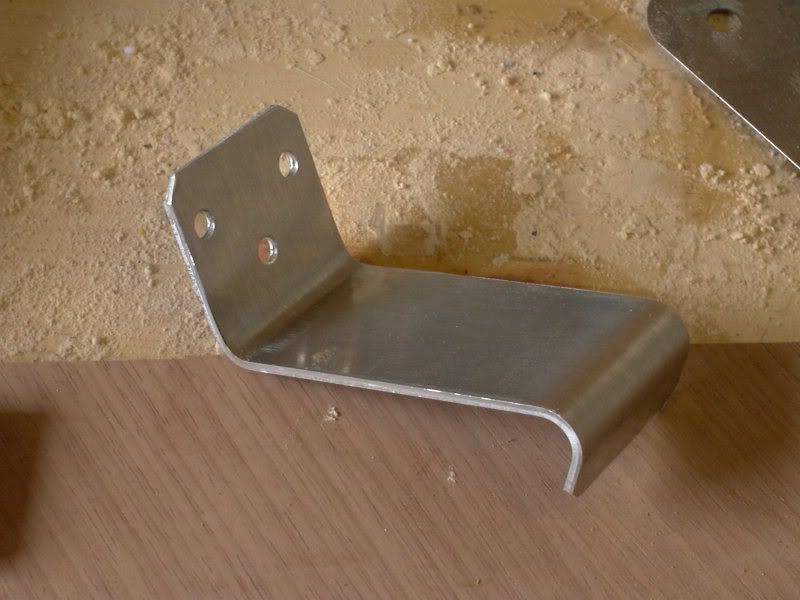
I purchased Moeller's tank strap kit, thinking it was straps. Nope, its metal tabs, which are smart, but a pain to build in place when you have a small space to work in. This will cause me to move the footwell bulkhead forward a couple inches, but that't the joy of stitch and glue boat building, you get flexibility.
Here is the strap in question, one of four:
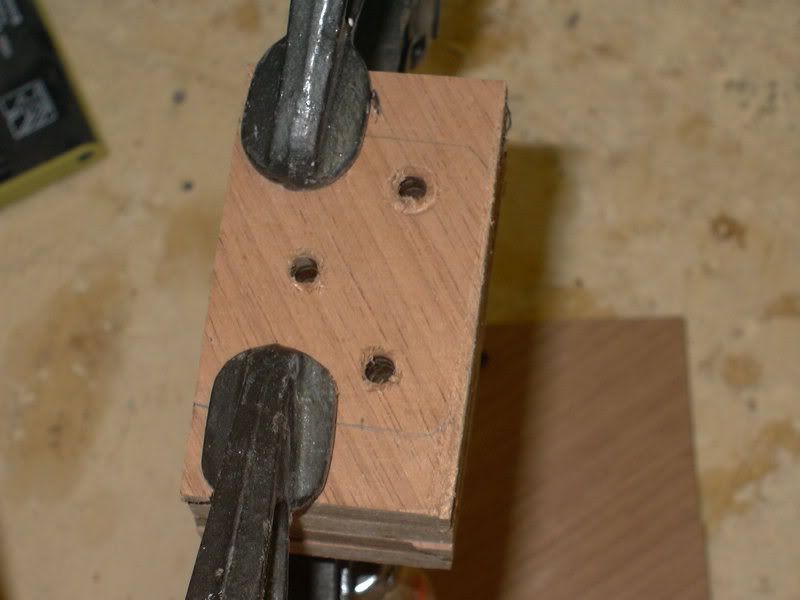
We are going to need to make stud mounts, which isn't terribly difficult. Get the requisite hardware (in my case, 10/32 2" machine screws, stainless steel, with matching nylon locking nuts), some epoxy, and an hour or two.
Take your scrap ply (9mm) and use the bracket for a pattern. Clamp all four together, throw them in the vise, and drill all of them out at once. Saves time, increases accuracy.
Now due to the shape of the boat, the aft hardware pads were able to be glued directly to the boat, but the forward pads required some angled feet. Take a little scrap mahogany 1x1, cut it to the appropriate angle, drill a small hole, and nail them together with an annular ring nail.
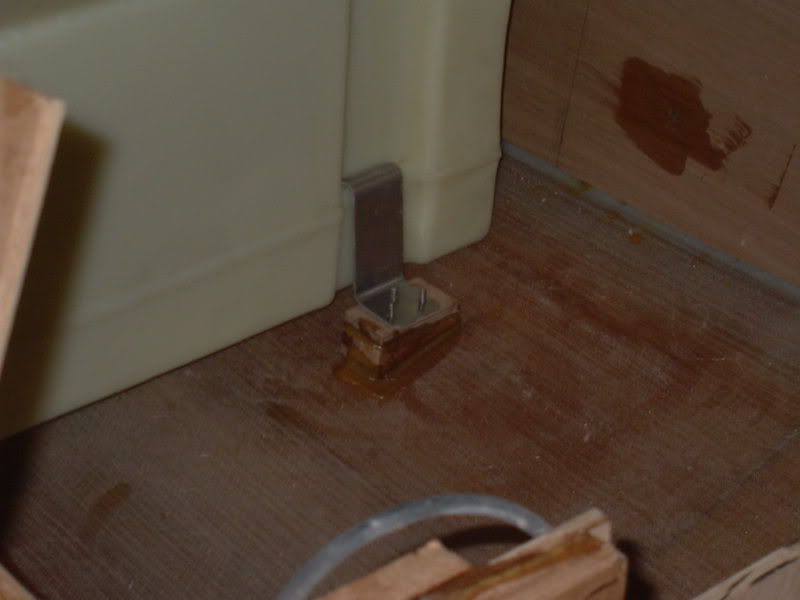
Once we have our pads and our feet, throw the screws in the pads, then use some double sided tape to stick the strap on the pad, with the screws in place. Place the tank in the correct position, making sure its level and square. Butter up a nice thick batch on the bottom of the hardware pad, and gently use the taped-on strap to locate the pad. Press down firmly to get the glue seated, squeezing out the sides. Once there, gently slide the plate away from the strap to give yourself some room to tighten down against once you put the tank in for final placement.
Repeat for the bow, but up front we have to glue the hardware pad to the angled spacer, so we have a good hull interface. Same technique for location.
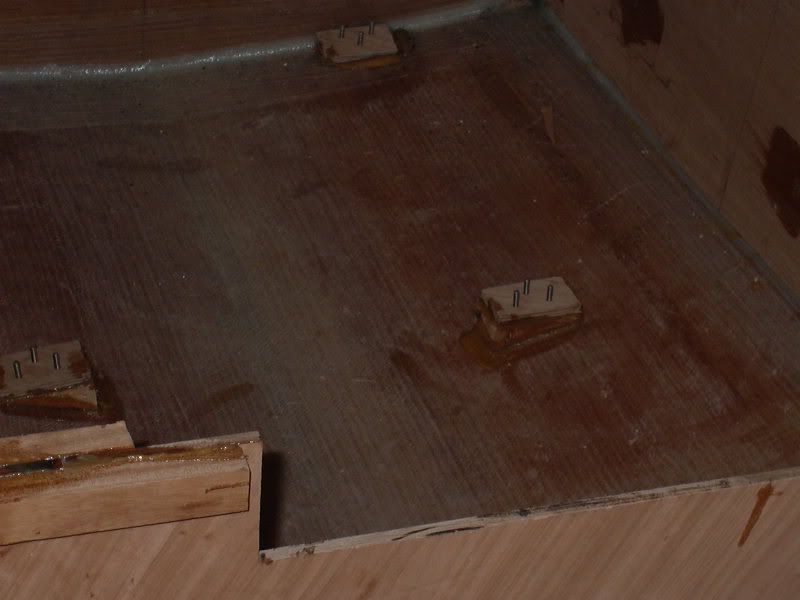
Here is the finished product, glue smashed everywhere and the whole deal:
Once it cures up, remove the tank and get the pads ready for precoating. These won't be seeing the light of day for a whole, hopefully a very LONG while:
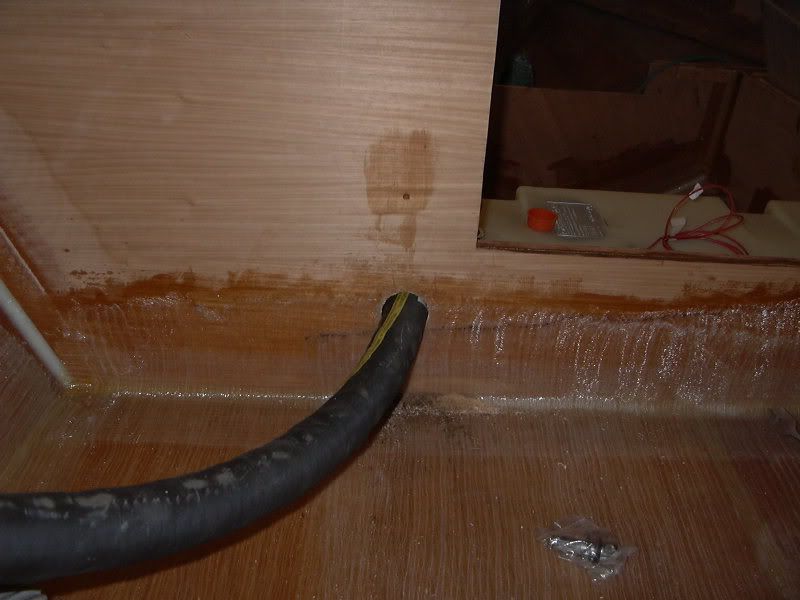
Finally, I got started on rigging. The main filler tube can now go into what will be the port console, along with the vent tube and main fuel line. Keeping all these items on the port side allows all the steering, controls, and electrical components to run on the starboard, keeping the hot stuff away from the flammable stuff. Safety first!
Here is the hole, and location I chose:
Tomorrow, finish rigging the tank, get the bulkhead finished out, get the seat tops prepped, cut out some consoles, and go get the motor from the shop!
E

No comments:
Post a Comment