Here is the film shot by one of the helpers. Ive started calling it "the great skycopter rescue" ( http://www.imdb.com/title/tt0077634/ ):
Thanks again to all the helpers, and enjoy the show!
E
3.29.2007
3.25.2007
A shovel, scissors, sander, and a helicopter.
You know how the strangest things can happen when you are in the middle of a project? We finally get this GREAT week of weather (mid 50s, no rain) that Im stoked to be doing some fiberglass work in. Unfortunately, it wasn't meant to be.
First, the reason it wasn't going to go down.
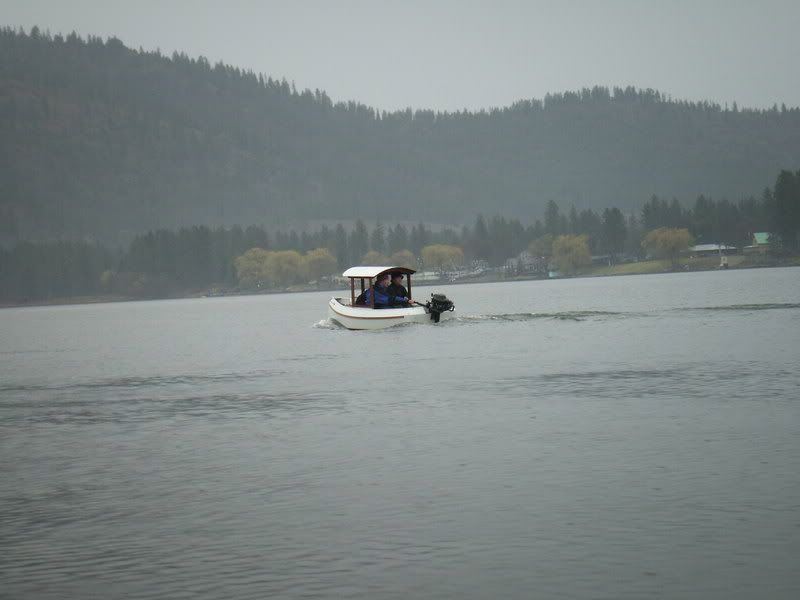
A wakeboard boat, out on a nice midday jaunt, didn't realize just how shallow it can be in our lake when the shallows aren't covered in their normal lilly pads. He managed to park the boat in about a foot of water. Not good when you are in a V-drive MasterCraft that draws 2'. Oops. I happened to be at the station that day, so I couldn't go out and help.
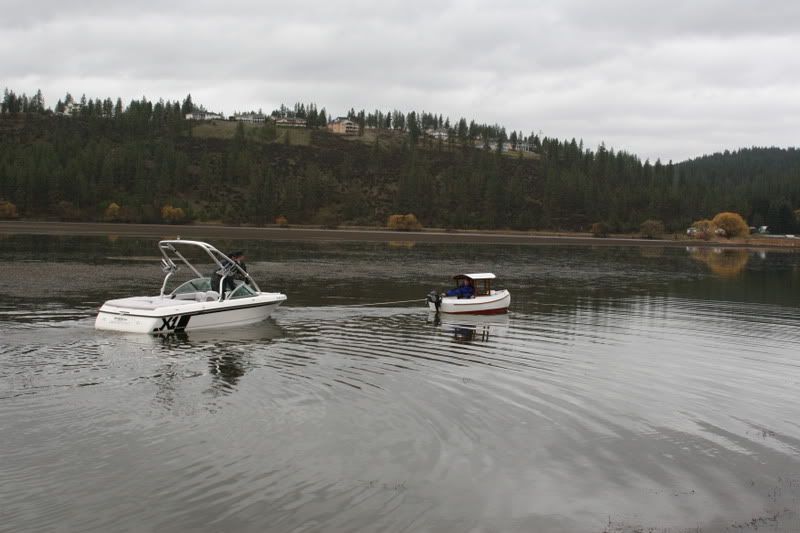
Fast forward to the next morning when I get home. I cruise out the wee tug and leave a note stating to call me when they get there. I have a tugboat, and have seen this before. When they arrive, one of the guys yells to the boat owner "hey, call this guy, he has a tugboat!". He calls me, so I head out in the wee tug. As I learn later, they see the tug from a distance, noting its not terribly large. As I get closer, they realize that this is no ordinary tugboat! Loathing turns to laughter as they get a true perspective of the proportions.

As the days progress, the boat goes from a foot of water, to 3", to dry.

Finally, the owner decides to just plunk down the cash, and get his baby out of the water. Where he decided this plan, Im not sure, but it was interesting to say the least.
The rescue crew:

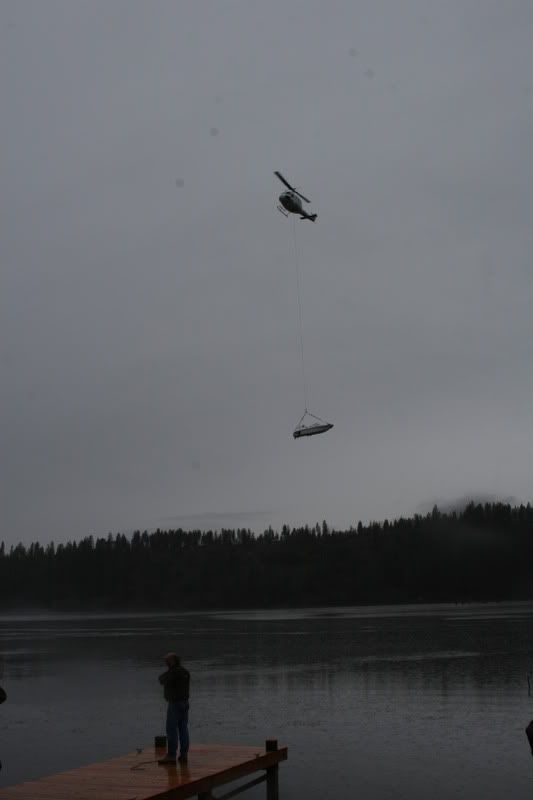
The big helper:

Teaching a Mastercraft how to fly:

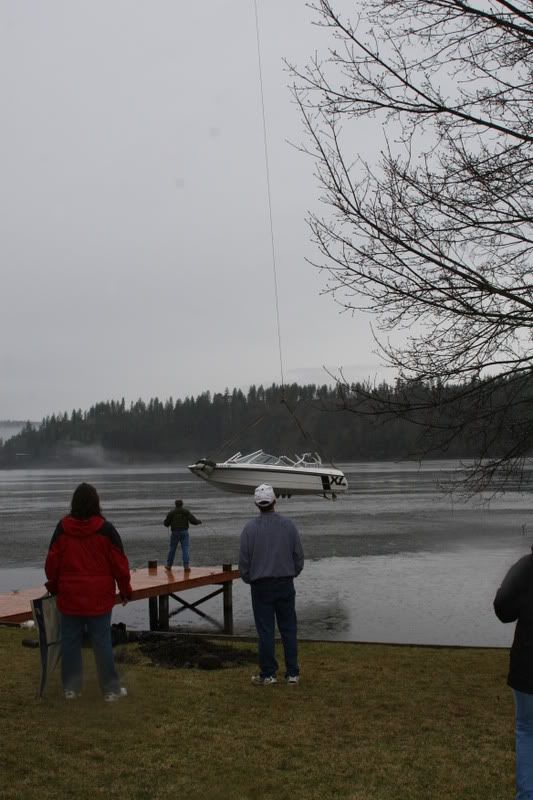
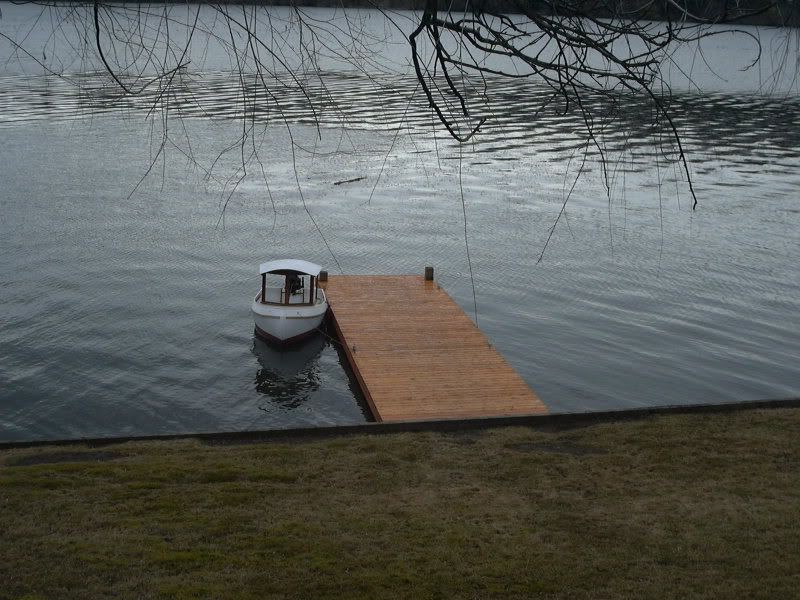
The precision drop at the dock, quite impressive:

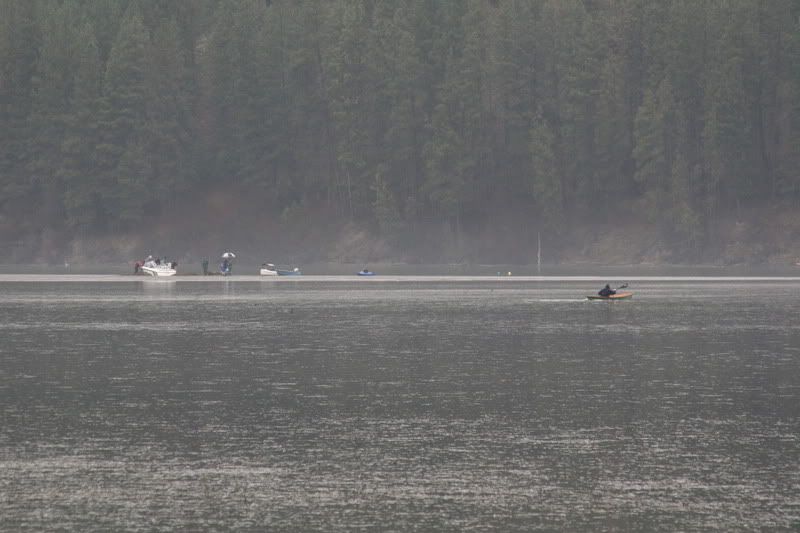
And a short pull back to the boat launch:

That can put a dent in your boatbuilding....
So the boat progressed slowly. It took 3 overall tries to get the right amount of tabs put in the inside to hold her fair, just how I want it. It was worth the effort as she turned out very fair. I then took the ROS and sanded the chines and seams to a nice fairness.
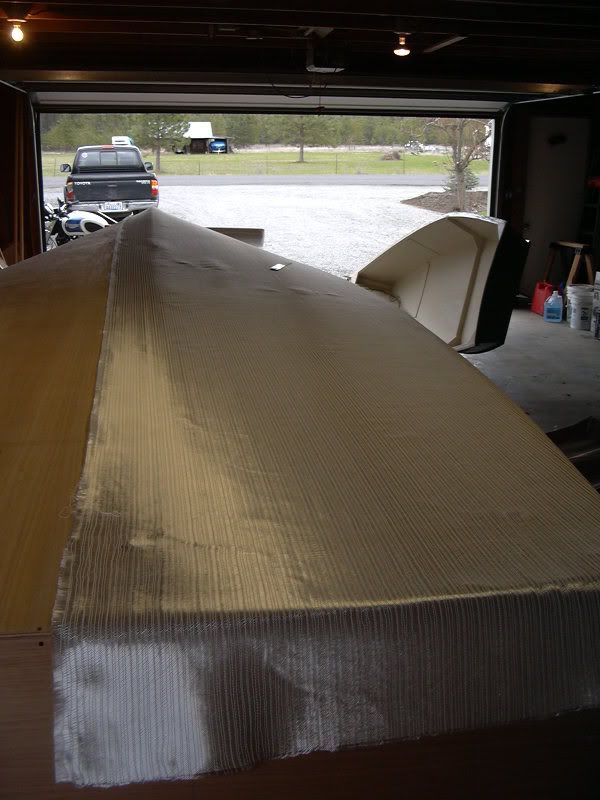
Afterwards, the prep work began. There is no better way than to get EVERYTHING cut and prepped before you even consider laying epoxy down. I have cut all the tape, all the fiberglass sheets, and all the little odds and ends that will need to be laid on the bottom. Every lap has been cornered and trimmed so it lays flat. This saves time and effort both in laying and in sanding later.
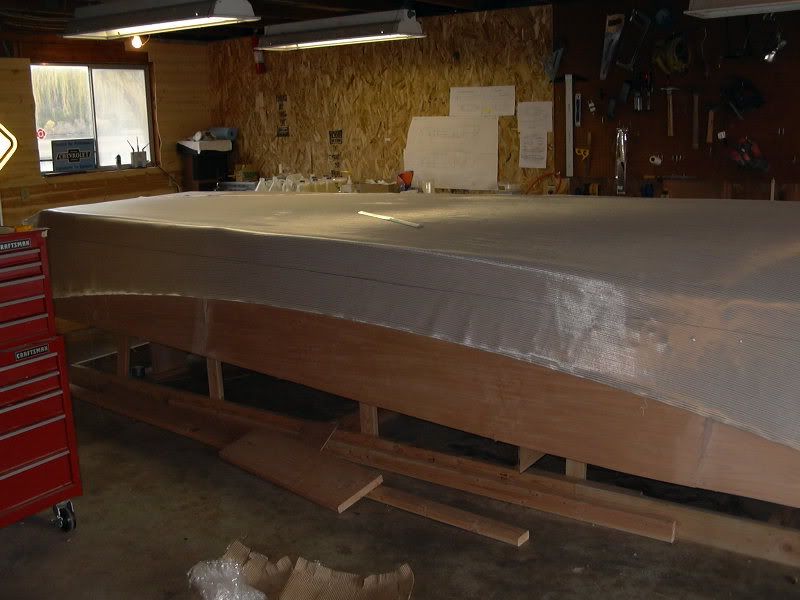
Firstly, get the fabric nice and flat (a bubble or two when dry is no biggie):

Don't forget your overlaps!
Then using a batten and a metal ruler, I laid out the 12" or 152mm overlap on the chine, its the small black line:

Then simply trim it up:

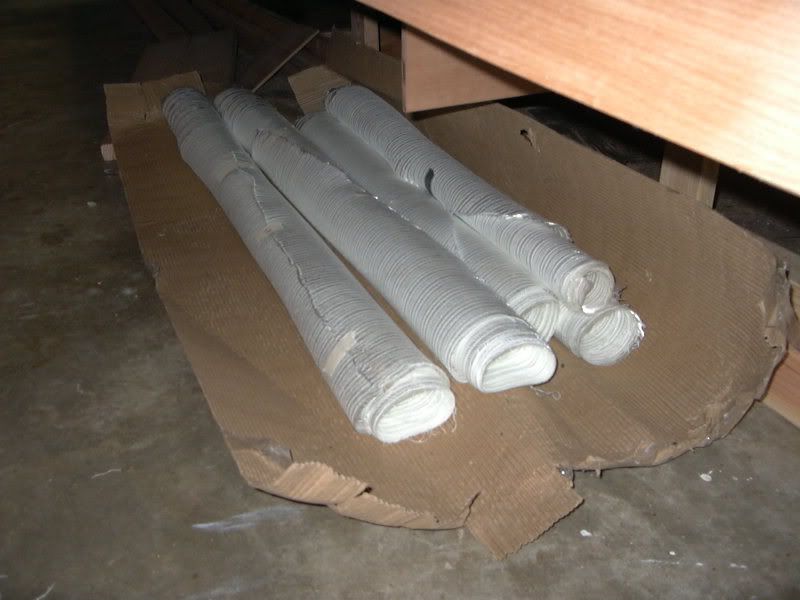
Rinse, repeat until you have a pile of individua LABELED rolls, ready for epoxy:

This week we are expecting highs in the 40's and lows in the 20's, so there is a possibility that the epoxy work might get slowed or even aborted depending on the overnight conditions and how early I get the goo put down.
What fun! I get to start sanding soon! yay.......
E
First, the reason it wasn't going to go down.
A wakeboard boat, out on a nice midday jaunt, didn't realize just how shallow it can be in our lake when the shallows aren't covered in their normal lilly pads. He managed to park the boat in about a foot of water. Not good when you are in a V-drive MasterCraft that draws 2'. Oops. I happened to be at the station that day, so I couldn't go out and help.
Fast forward to the next morning when I get home. I cruise out the wee tug and leave a note stating to call me when they get there. I have a tugboat, and have seen this before. When they arrive, one of the guys yells to the boat owner "hey, call this guy, he has a tugboat!". He calls me, so I head out in the wee tug. As I learn later, they see the tug from a distance, noting its not terribly large. As I get closer, they realize that this is no ordinary tugboat! Loathing turns to laughter as they get a true perspective of the proportions.
As the days progress, the boat goes from a foot of water, to 3", to dry.
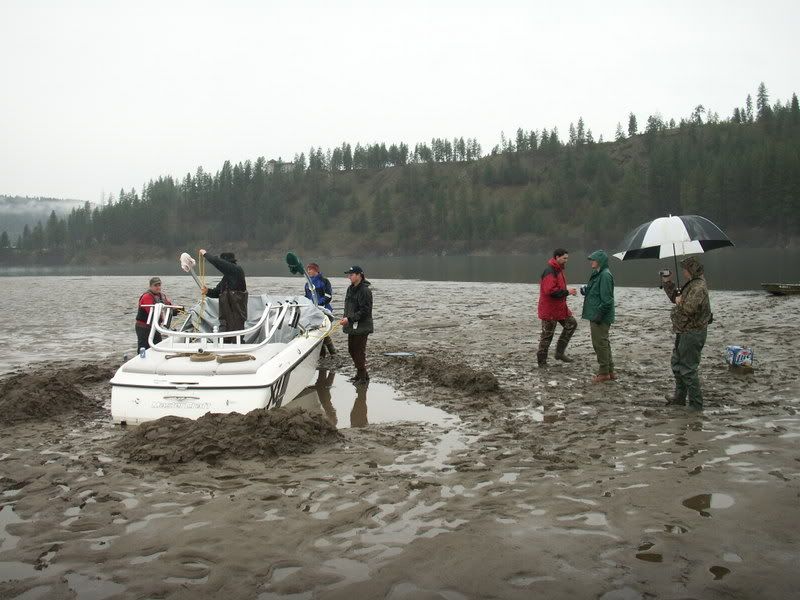
Finally, the owner decides to just plunk down the cash, and get his baby out of the water. Where he decided this plan, Im not sure, but it was interesting to say the least.
The rescue crew:
The big helper:
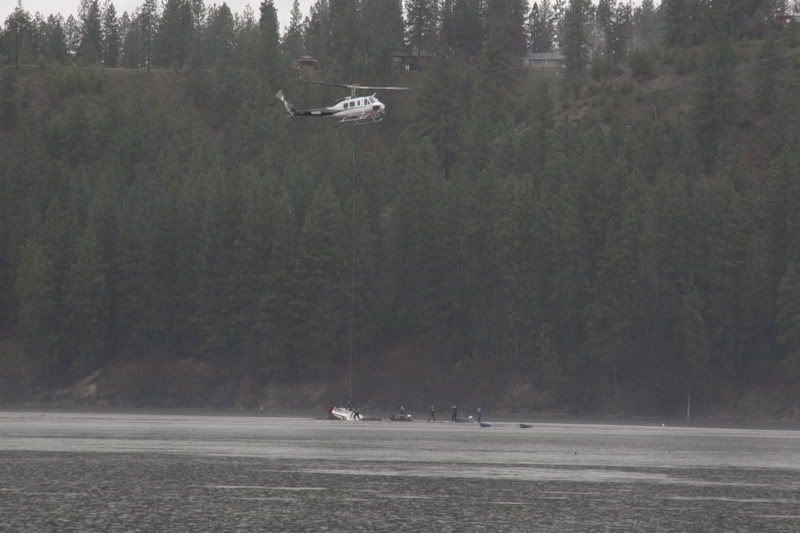
Teaching a Mastercraft how to fly:
The precision drop at the dock, quite impressive:
And a short pull back to the boat launch:
That can put a dent in your boatbuilding....
So the boat progressed slowly. It took 3 overall tries to get the right amount of tabs put in the inside to hold her fair, just how I want it. It was worth the effort as she turned out very fair. I then took the ROS and sanded the chines and seams to a nice fairness.
Afterwards, the prep work began. There is no better way than to get EVERYTHING cut and prepped before you even consider laying epoxy down. I have cut all the tape, all the fiberglass sheets, and all the little odds and ends that will need to be laid on the bottom. Every lap has been cornered and trimmed so it lays flat. This saves time and effort both in laying and in sanding later.
Firstly, get the fabric nice and flat (a bubble or two when dry is no biggie):
Don't forget your overlaps!
Then using a batten and a metal ruler, I laid out the 12" or 152mm overlap on the chine, its the small black line:
Then simply trim it up:
Rinse, repeat until you have a pile of individua LABELED rolls, ready for epoxy:
This week we are expecting highs in the 40's and lows in the 20's, so there is a possibility that the epoxy work might get slowed or even aborted depending on the overnight conditions and how early I get the goo put down.
What fun! I get to start sanding soon! yay.......
E
3.11.2007
Fairest fair.
I guess right off the bat I should explain why its been a while since I have posted. The lake was empty and the dock had sustained some considerable damage from an ice sheet jacking and tipping the legs over a year ago. No drawdown to fix it last year, so it had to be done this year. A level dock makes for a happy wife. Like she always tells me, " Happy wife, happy life! ". Tugboat not included.

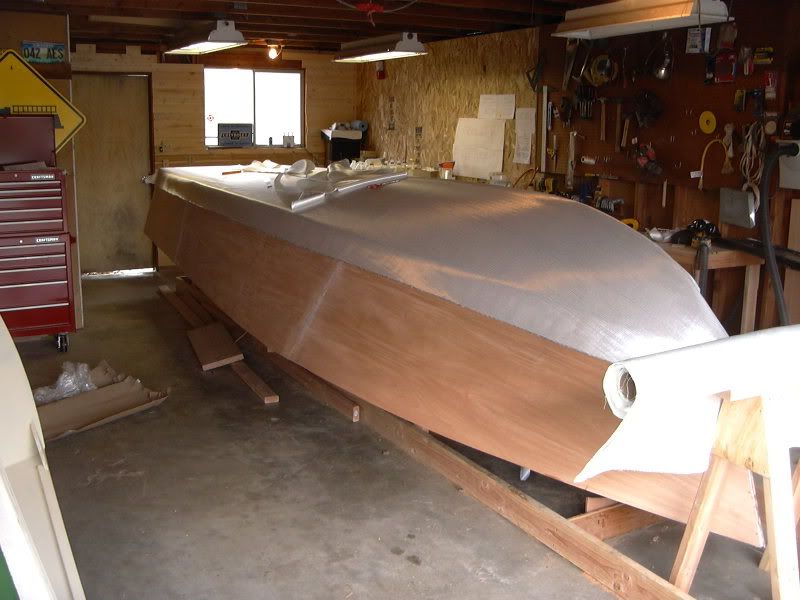
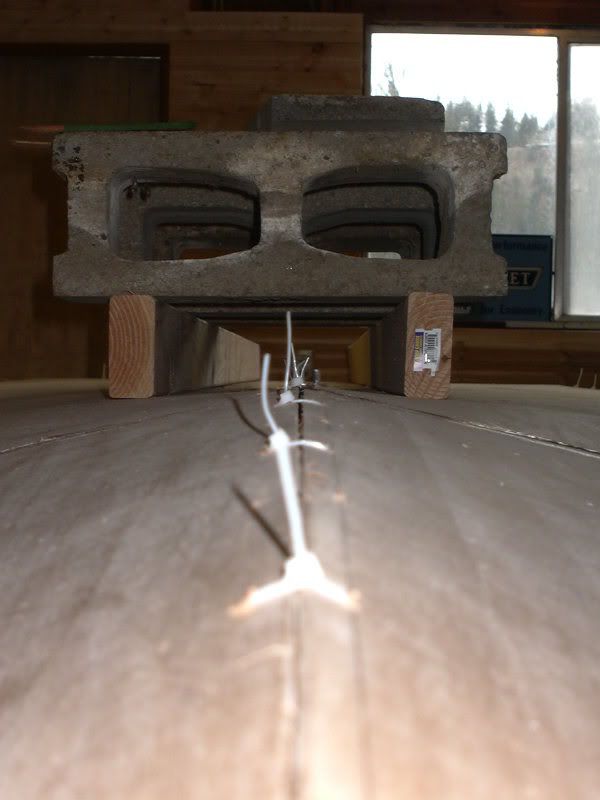
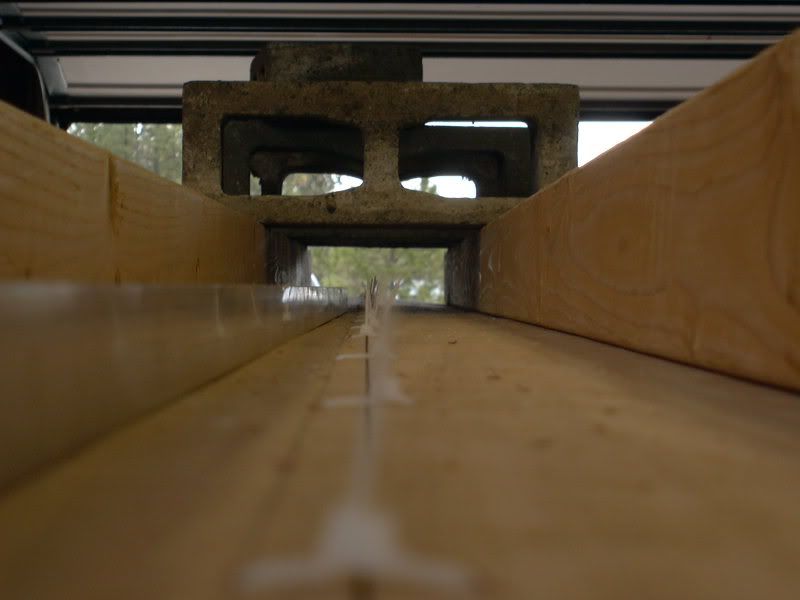
The last of the general carpentry on the hull is finished. I took out roughly half the stitches holding the boat together now that I have the shape I want. The full number of stitches helped to get the panels in the right place, then once satisfied I removed a bunch, taking the ones that are less important or were somewhat loose anyways. Much was done to make the panels suitably fair, including trimming panels, tight stitches, loose stitches, weights, 2x4s, lifting from below, and just sitting in the moaning chair staring the boat down daring it to relax. This, and the removal of the bow mold got the lines fair and happy. The bow mold was either misshapen, or just wasn't ideally designed as it was holding most of the front of the boat's weight on the bow mold, pulling the A frame out of its location and making the bottom unfair. Removing it remedied many little nuances of problems, and Im quite happy to show you the results.
From the bow, complete with excessive lighting!

A little closer, from the bow:

From the transom, along an 8' long aluminum straightedge showing the trueness (probably going to need some quickfair when its fairing time), just as the camera died:

I have ordered my glass and epoxy, so with the temps bubbling along in the 50s, its time to get serious about this build!
E
The last of the general carpentry on the hull is finished. I took out roughly half the stitches holding the boat together now that I have the shape I want. The full number of stitches helped to get the panels in the right place, then once satisfied I removed a bunch, taking the ones that are less important or were somewhat loose anyways. Much was done to make the panels suitably fair, including trimming panels, tight stitches, loose stitches, weights, 2x4s, lifting from below, and just sitting in the moaning chair staring the boat down daring it to relax. This, and the removal of the bow mold got the lines fair and happy. The bow mold was either misshapen, or just wasn't ideally designed as it was holding most of the front of the boat's weight on the bow mold, pulling the A frame out of its location and making the bottom unfair. Removing it remedied many little nuances of problems, and Im quite happy to show you the results.
From the bow, complete with excessive lighting!

A little closer, from the bow:
From the transom, along an 8' long aluminum straightedge showing the trueness (probably going to need some quickfair when its fairing time), just as the camera died:
I have ordered my glass and epoxy, so with the temps bubbling along in the 50s, its time to get serious about this build!
E
Subscribe to:
Posts (Atom)