4.26.2007

Cramped

This was one of the tougher pieces of glass ive ever had to lay. Due to the fact that I was going to lay both sheets in one day, and I wasnt going to climb around all over one wet one and one dry one, I laid both simultaneously. Not easy, but effective.

Doug -- Use the sheet remnant from the BOTTOM panel as a template for the INSIDE sheets. Makes cutting this to fit a snap!

The bow sucked, not very easy to get everything perfectly tight and dry. Im glad I switched over to the medium speed hardener. It did however get put down and relatively close to a 50/50 resin-glass ratio in most places. The corners, eh, not so much. Little wetter.

Finished product:


The bow overlaps:


From the front showing some of the sexy curves on this boat:


Closer to see the weave:


Today, we start fitting in the guts!

E

4.25.2007

Fortuitous timing

Another day, a new lease on breathing, and progress!

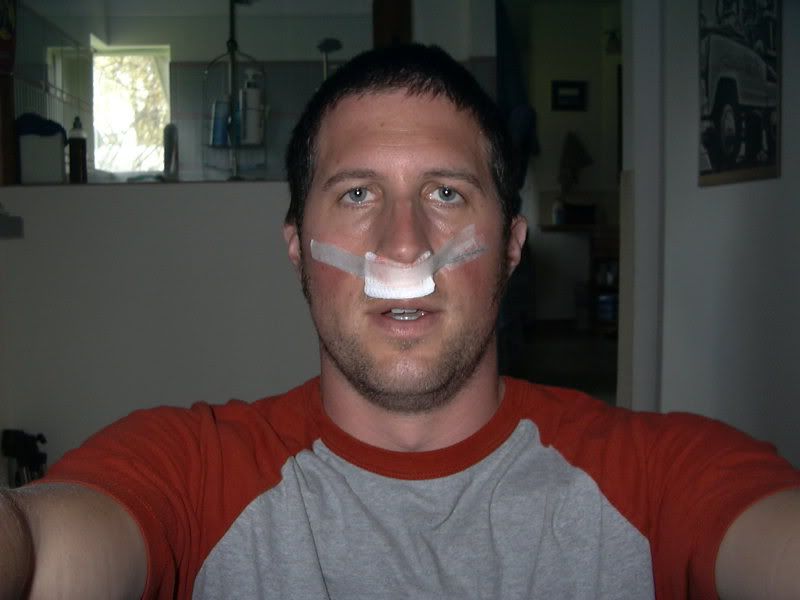
Felt good this morning, the air goes in and out, the blood goes round and round, with very few exceptions. Im finally feeling up to medium sized tasks, and the doc says just to not get nuts, so Im back at it.

Filleting was the plan of the day. Fillet the inside of the hull today, tape tomorrow, glass friday. Should be a good schedule, not too much to ask.

Filleting went well. There really are relatively few places that need a big (13mm or 1/2" radius) fillet laid in, so this was cake. Nice mixing Marinepoxy from www.boatbuildercentral.com really did the trick.

I didn't think about taking pics until after the filleting was done. Ironically, it was done at about 11:30 this morning! I hadn't anticipated it going so smoothly or quickly, so I was enthused. A whole afternoon left....

Out came the prevously cut tape. Started rolling everything out, checking fit here and there. Hell, why not, I bet I can get this taped today too! I threw one layer out, then remembered that I do have a camera, and a blog that occasionally gets read by moderately interested people.

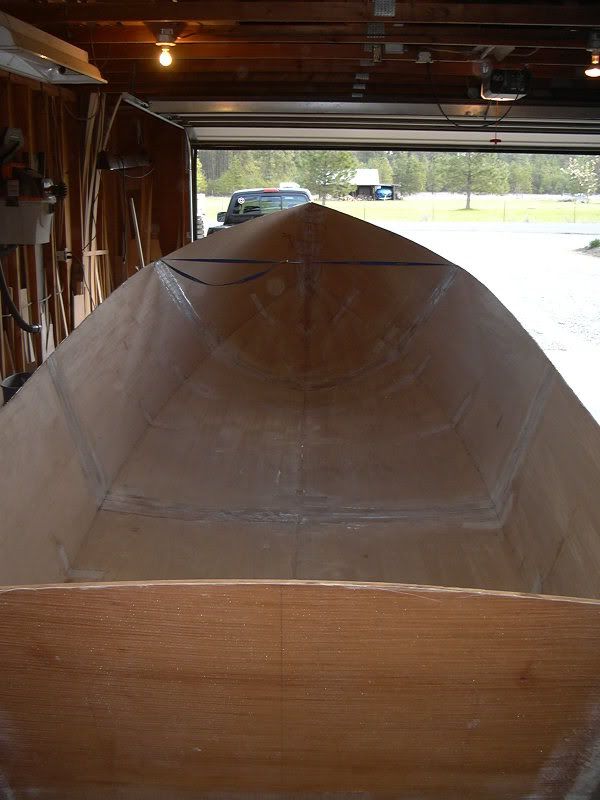
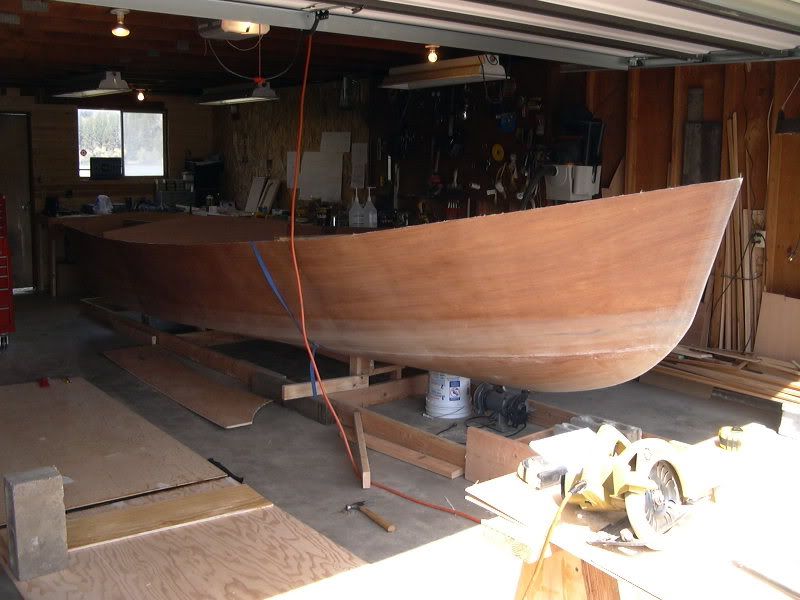
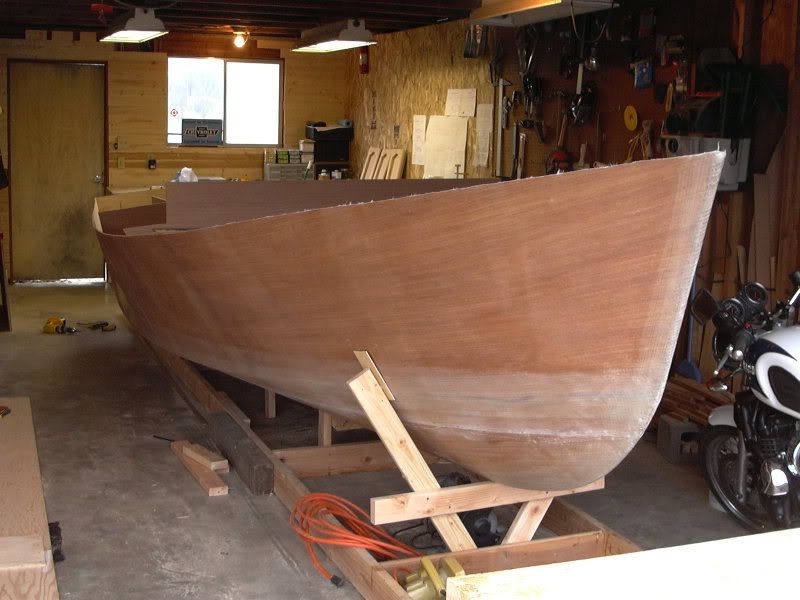
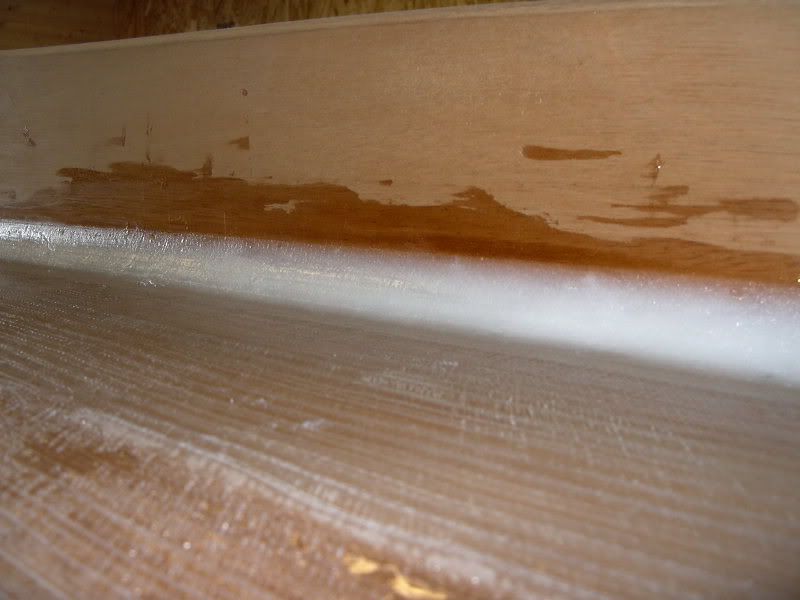
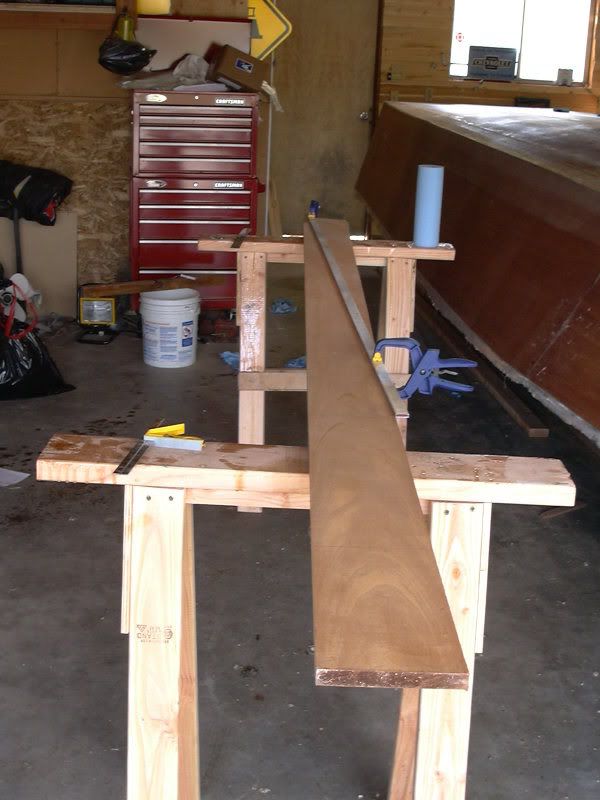
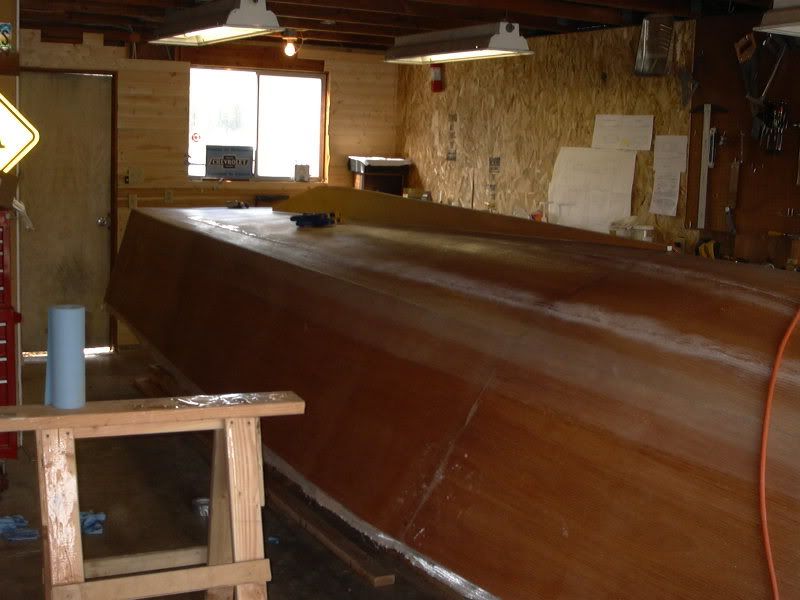
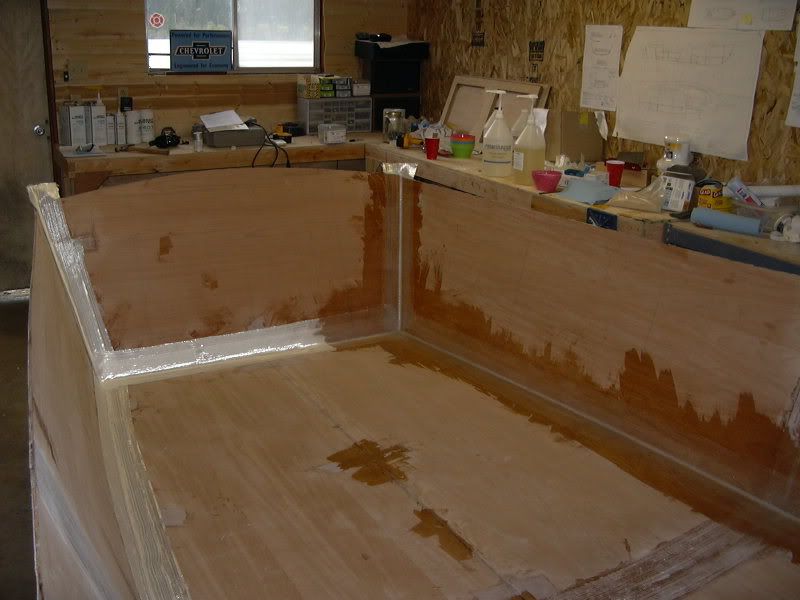
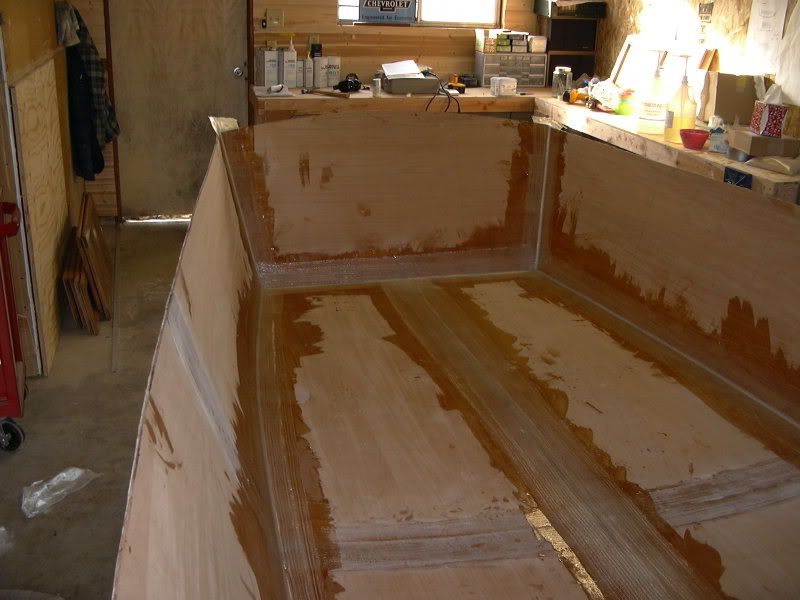
The transom fillets:


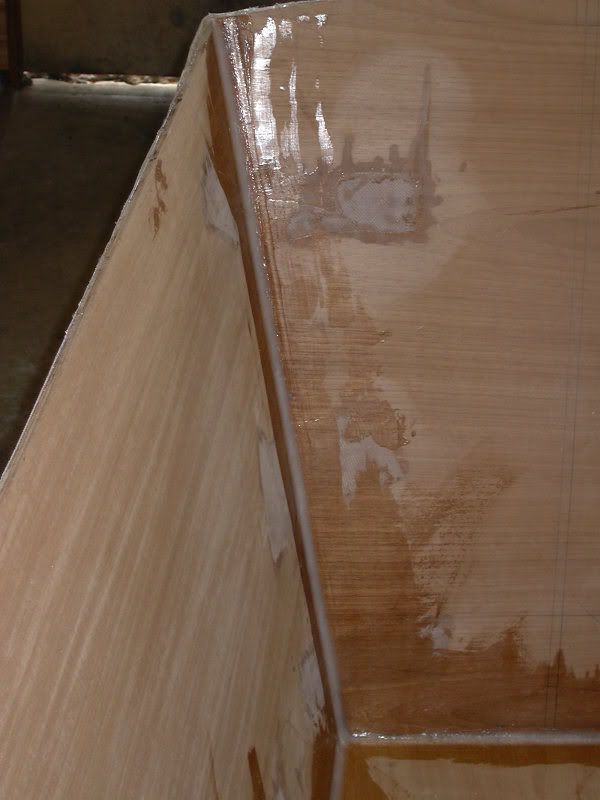
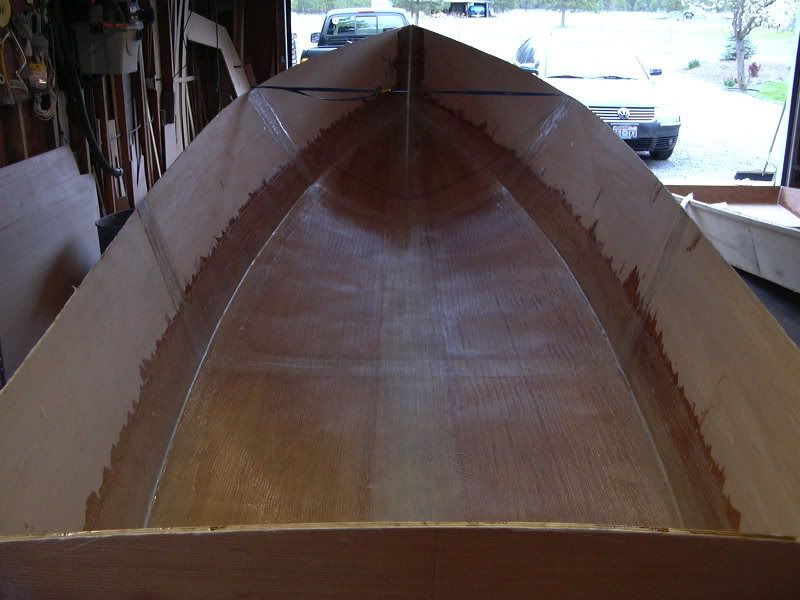
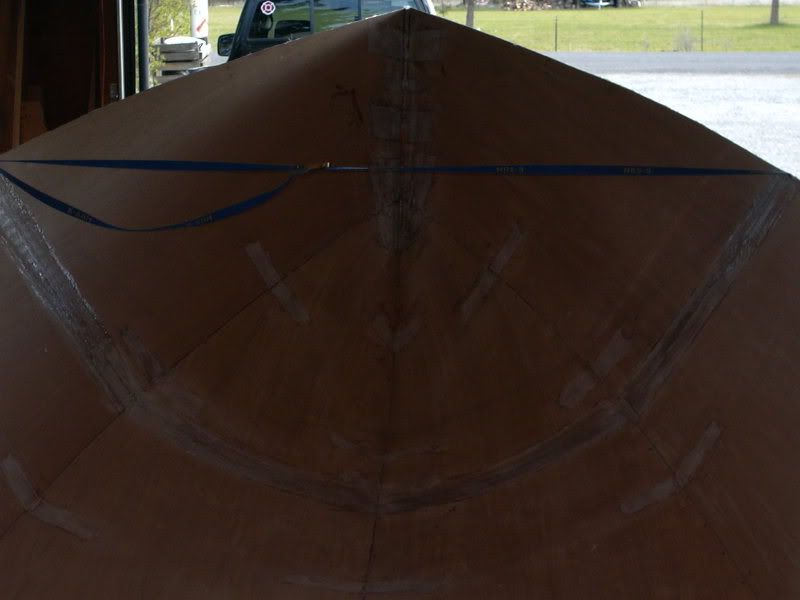
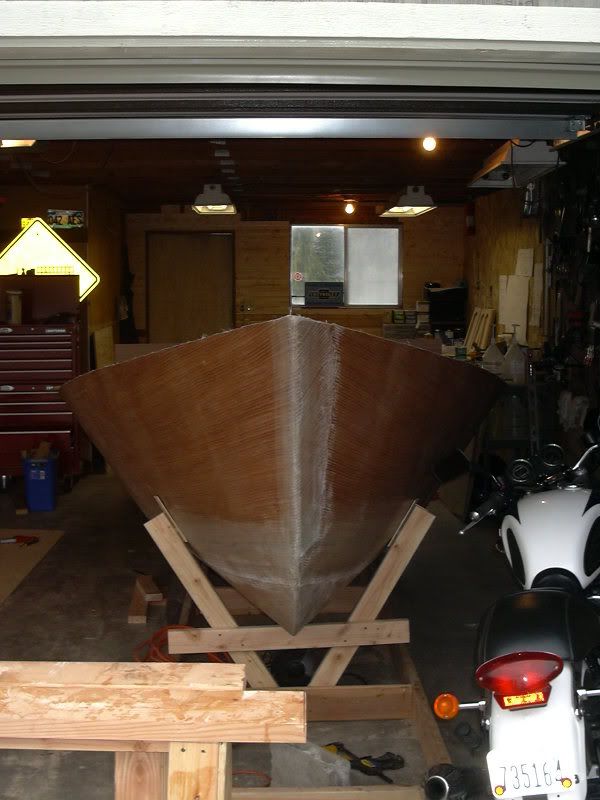
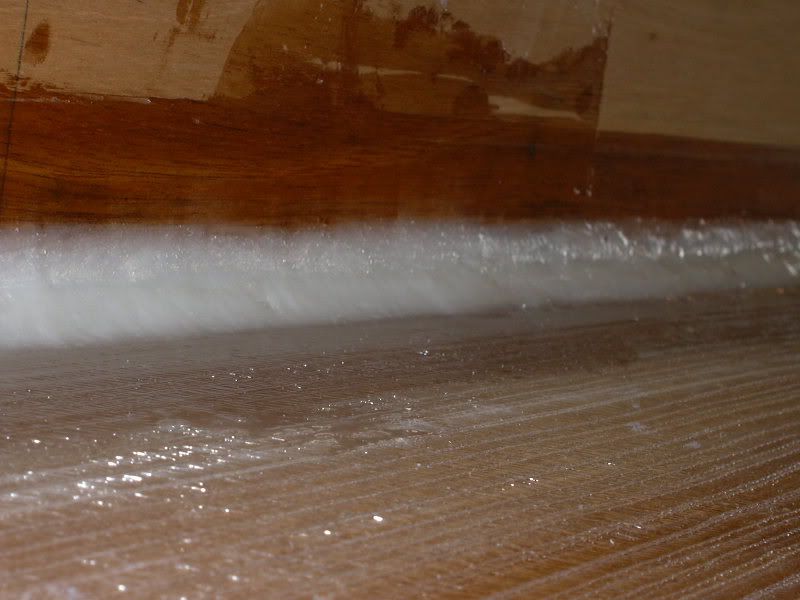
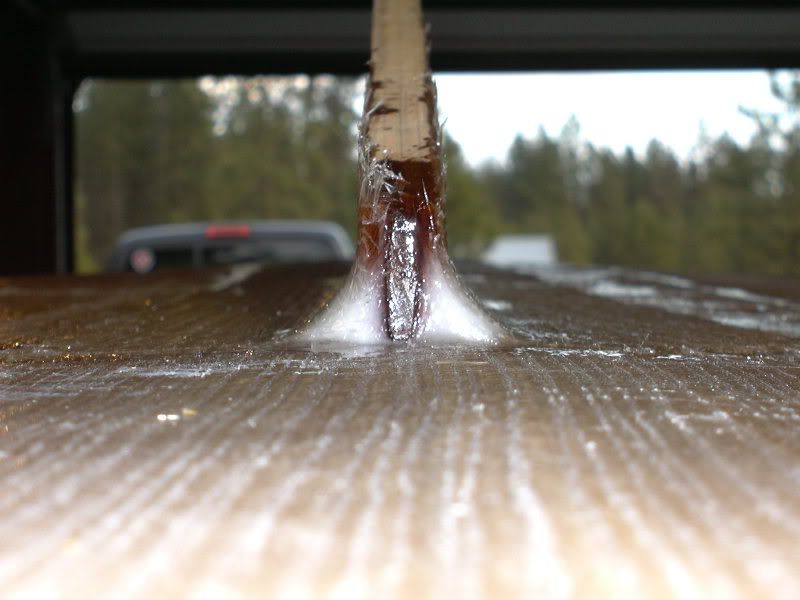
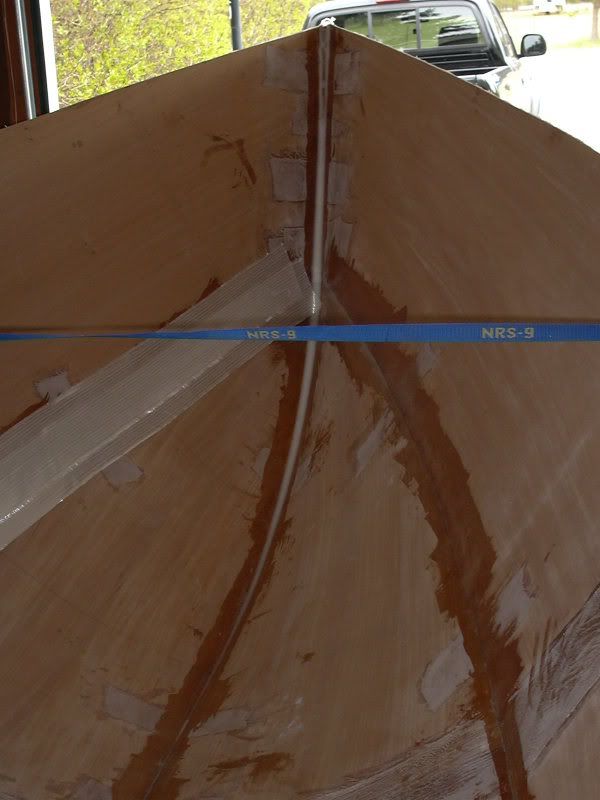
The bow fillet (note how it tapers to nothing as the bow gains its fullness):


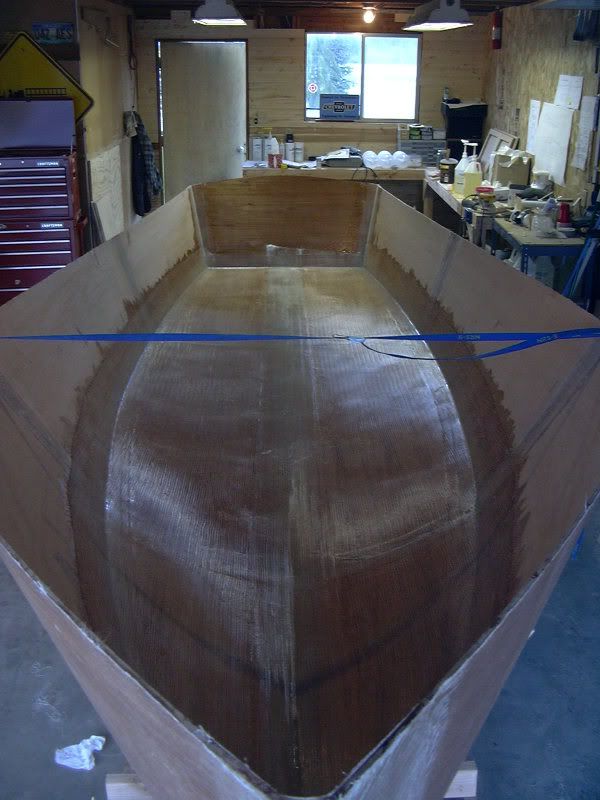
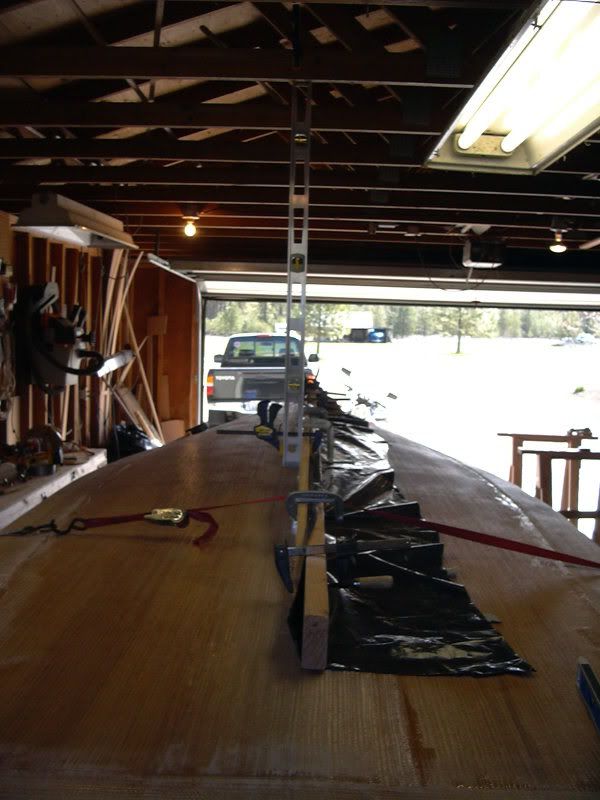
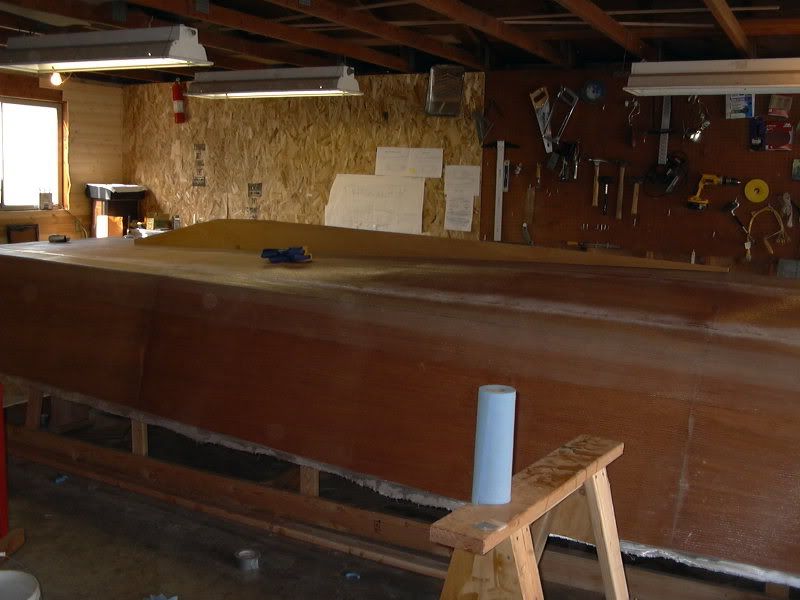
Then began taping in earnest. The fillets were still quite tacky, but not wet anymore. This (if you are doing a similar project) is a convenient fact to keep in mind. I could immediately lay my tape out, even in the 2 and 3 layer fashion required, and stick it in place loosely until I got the saturating epoxy on it. EXTREMELY helpful part of working "wet on wet" as they say. Saved me at least an hour or two of prep work, and a couple hours of sanding time.

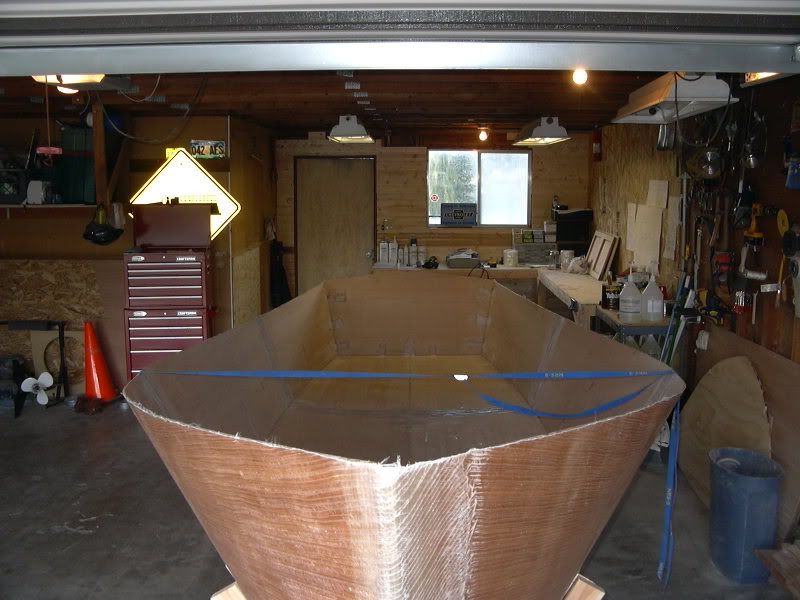
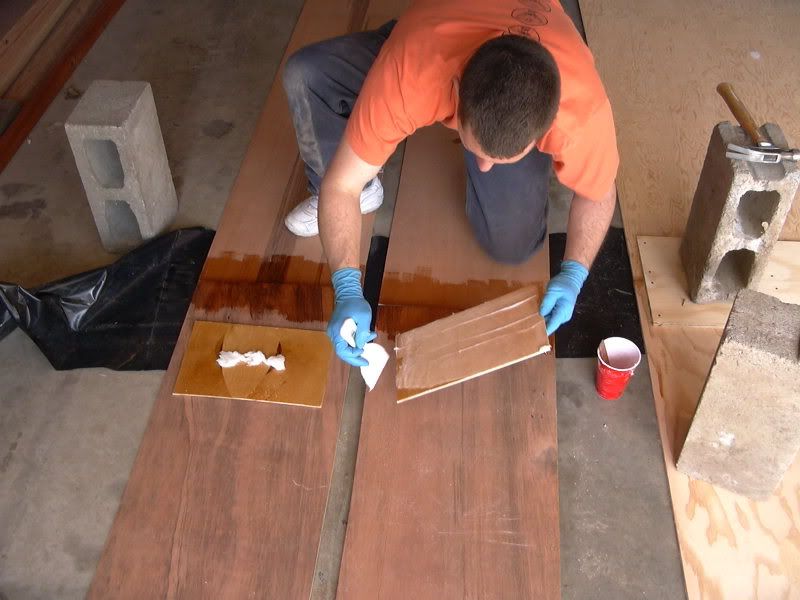
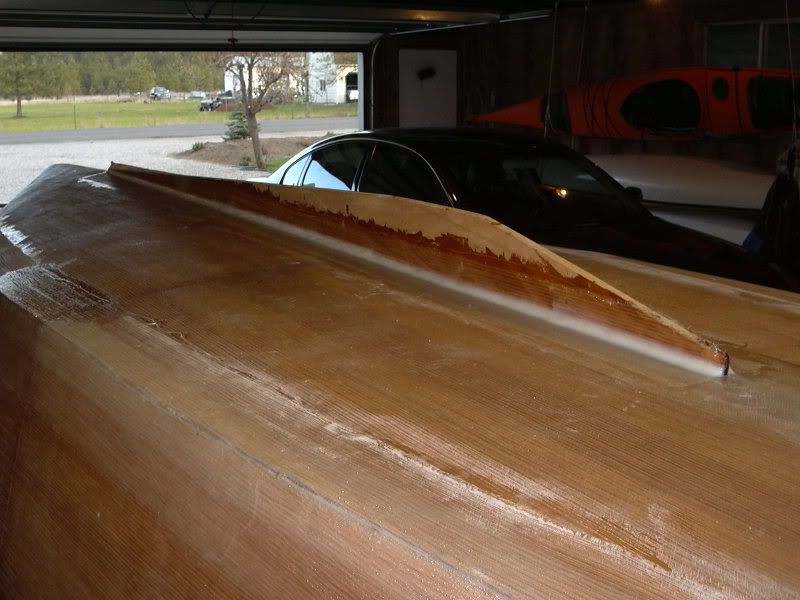
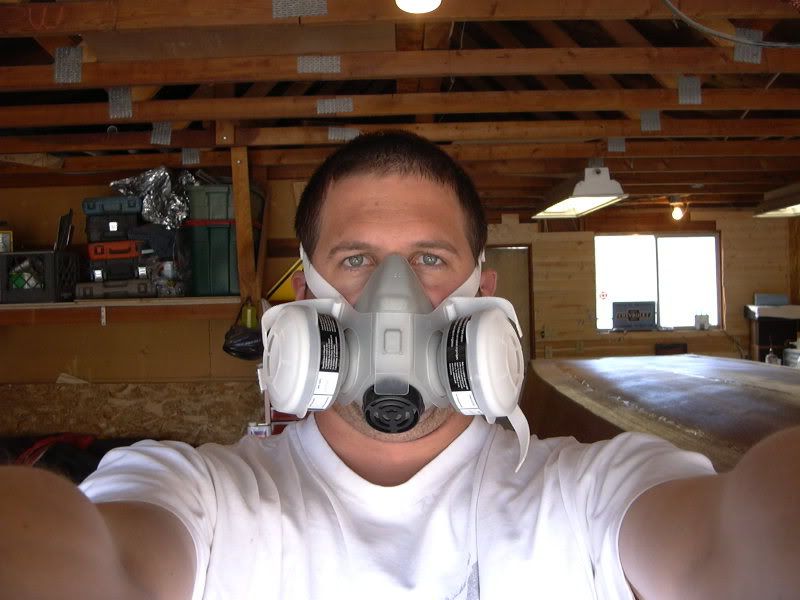
Picked up the camera during a glove change:


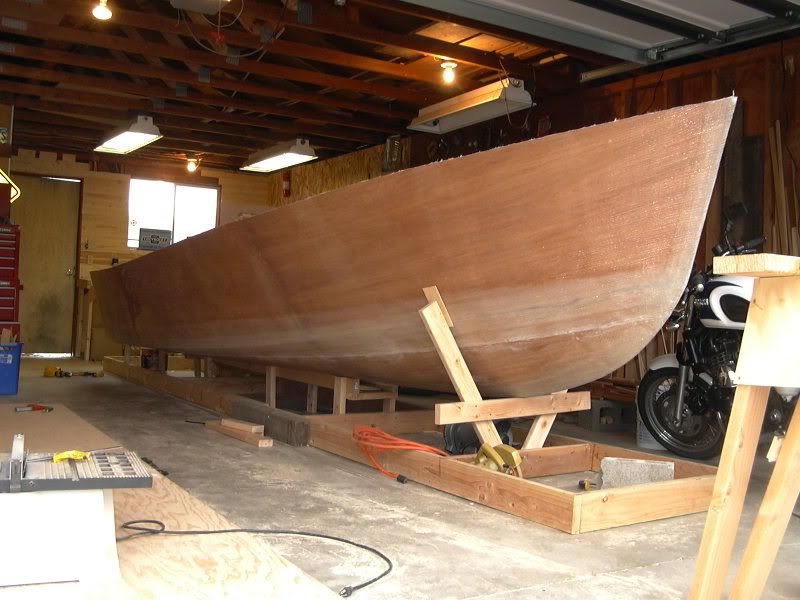
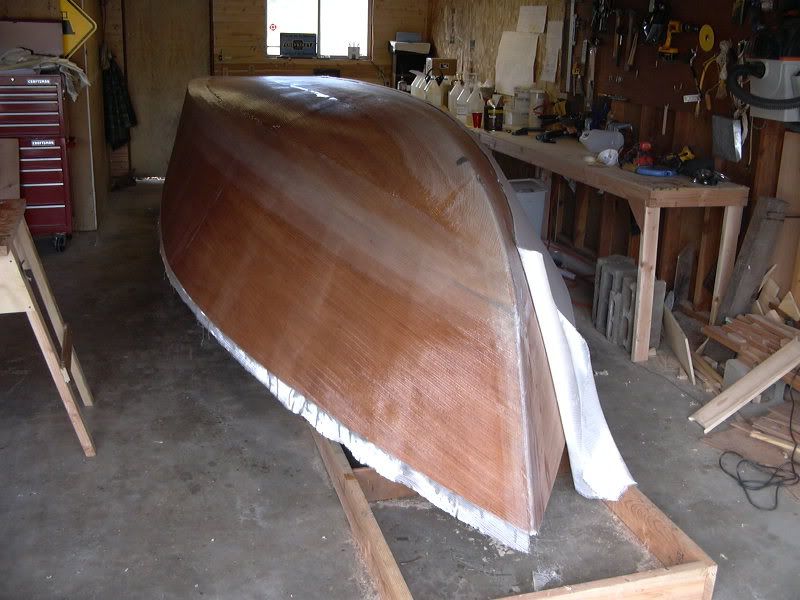
When I finished all my tidying up and cleaning off of the supplies, I then degloved to shoot pictures of my handiwork. This is partly for your informative pleasure and mostly for my inflating ego.


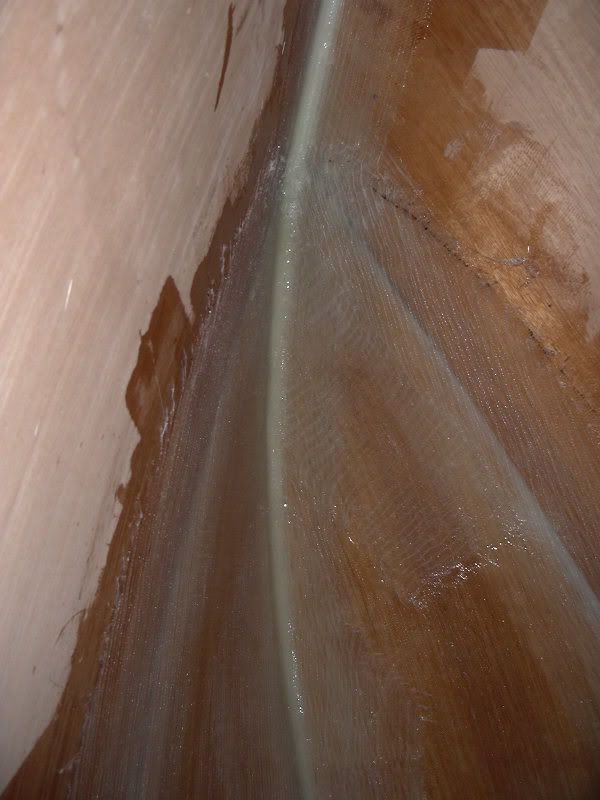
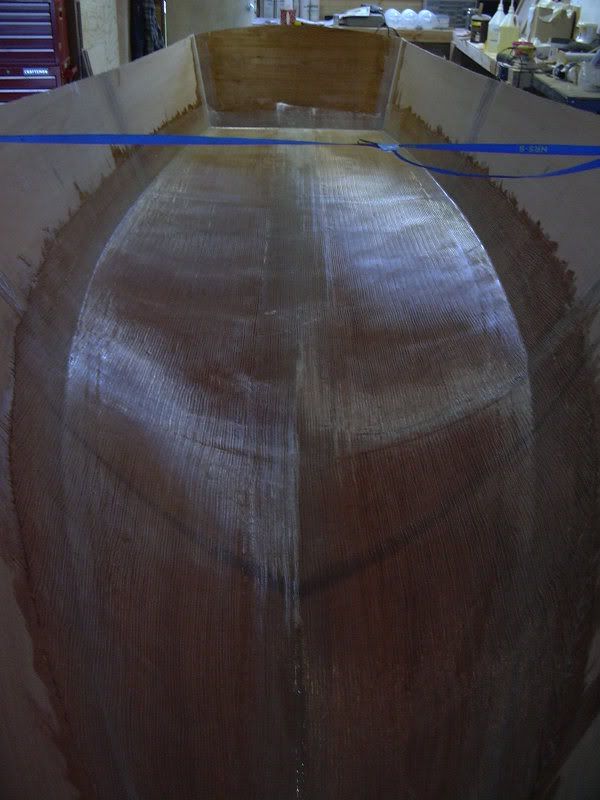
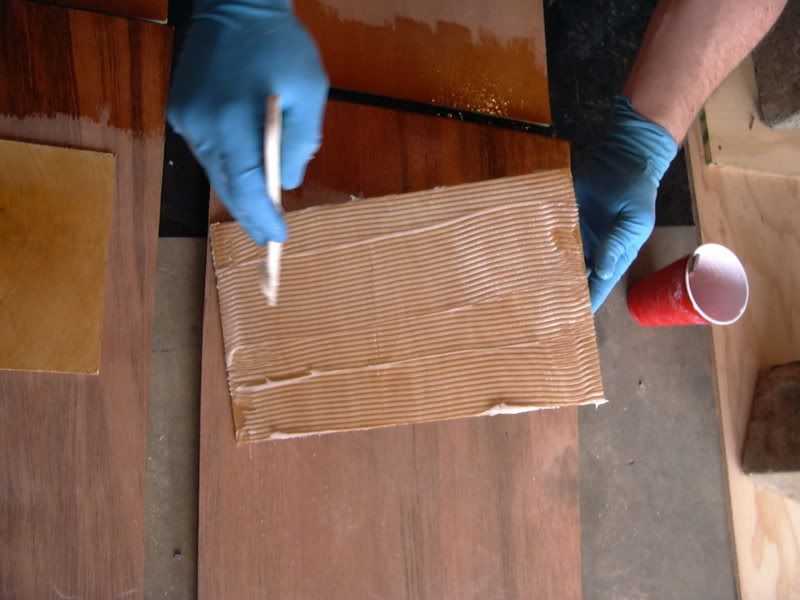
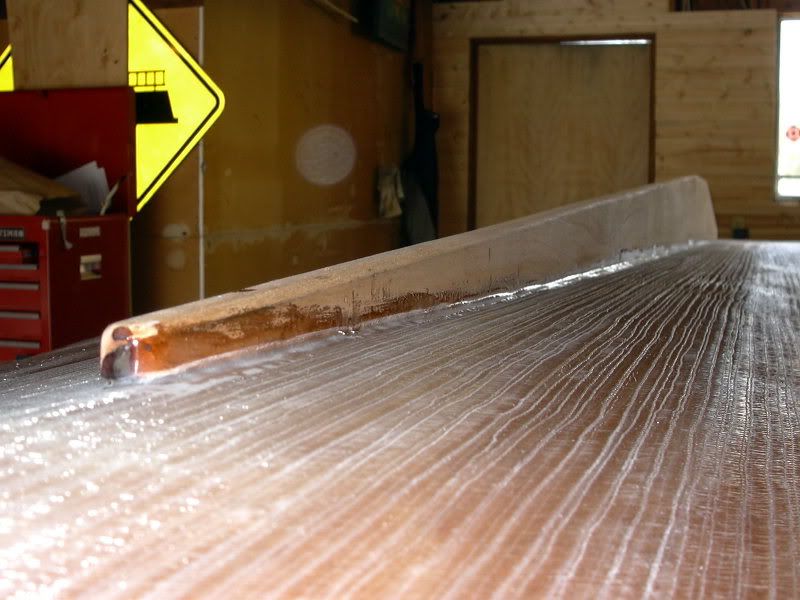
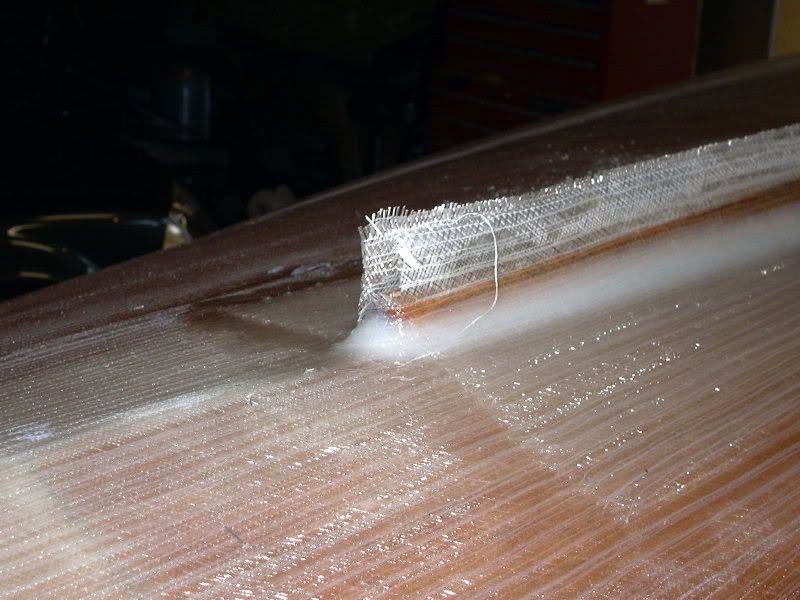
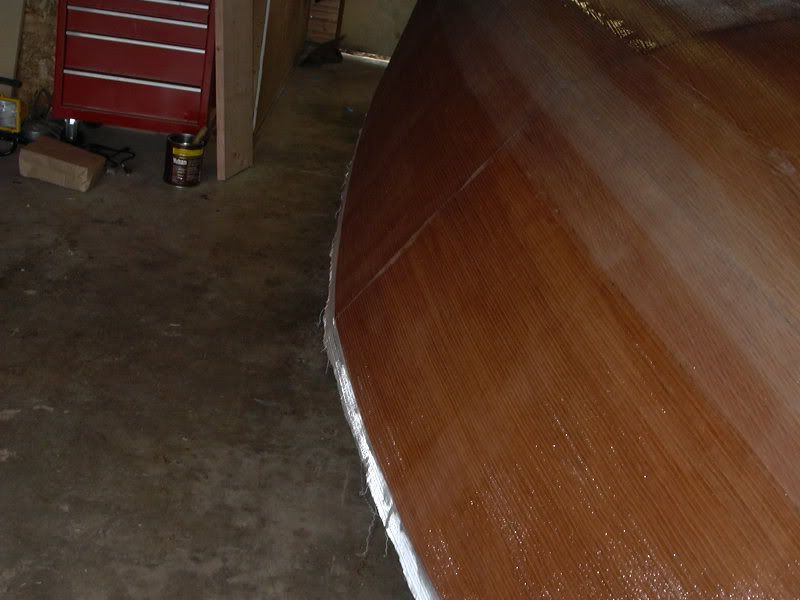
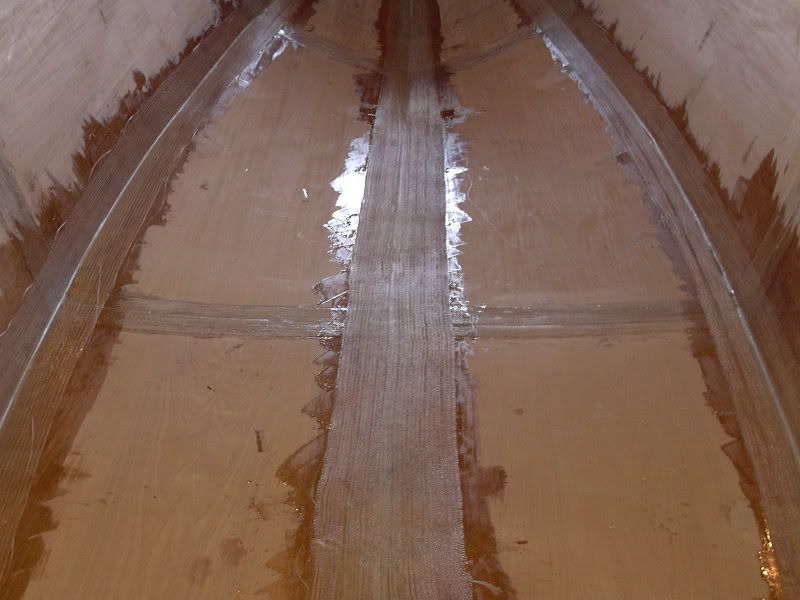
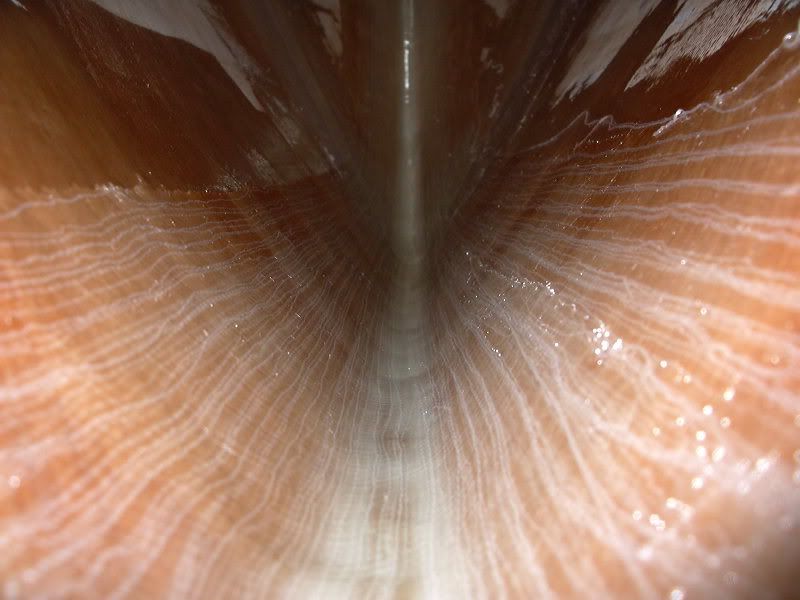
The weave a little closer:


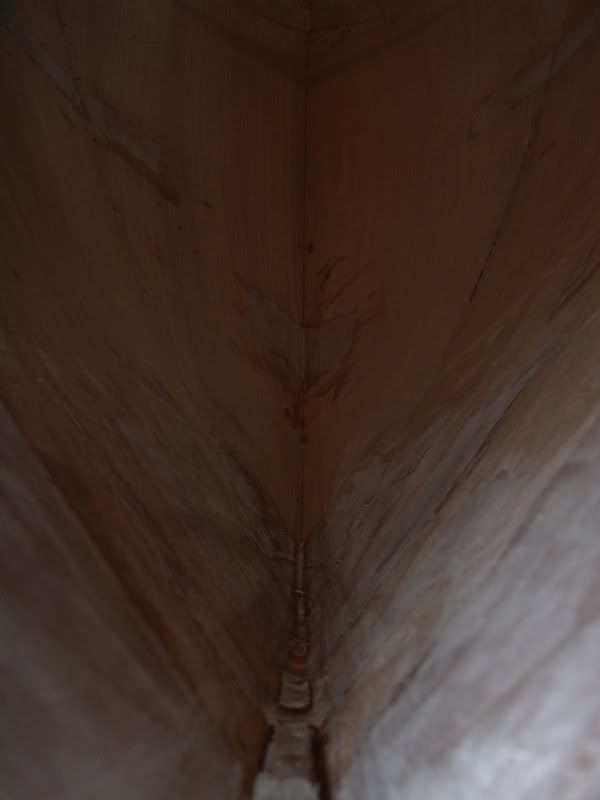
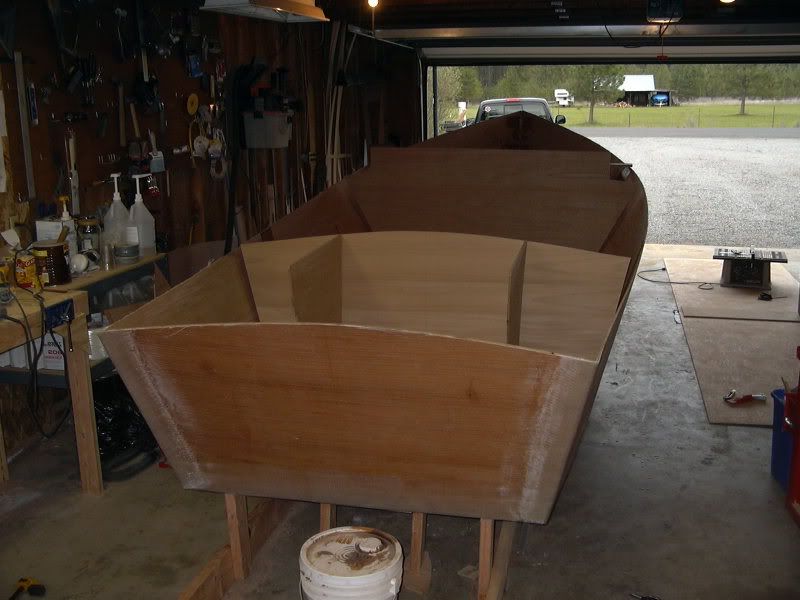
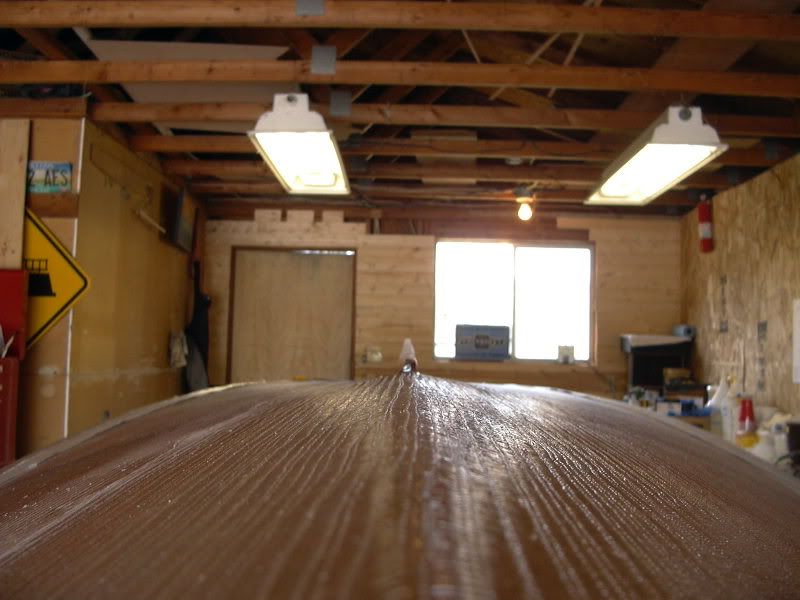
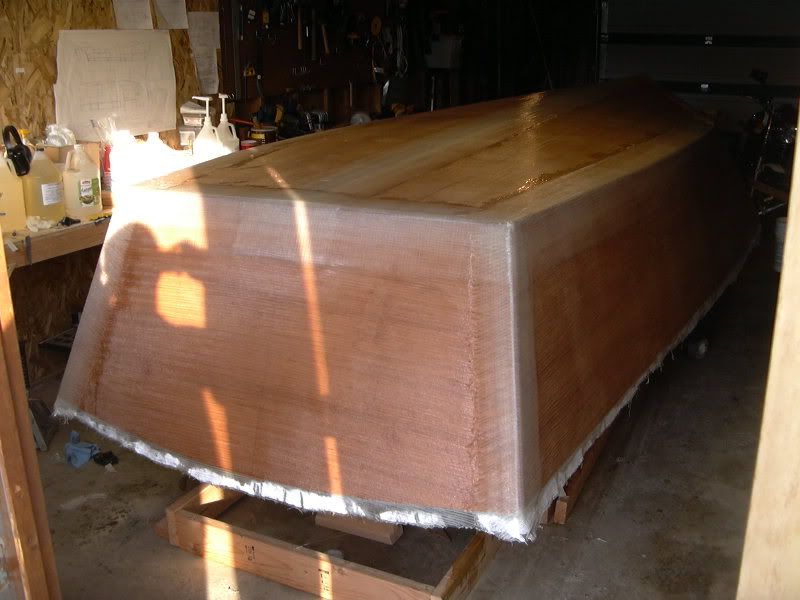
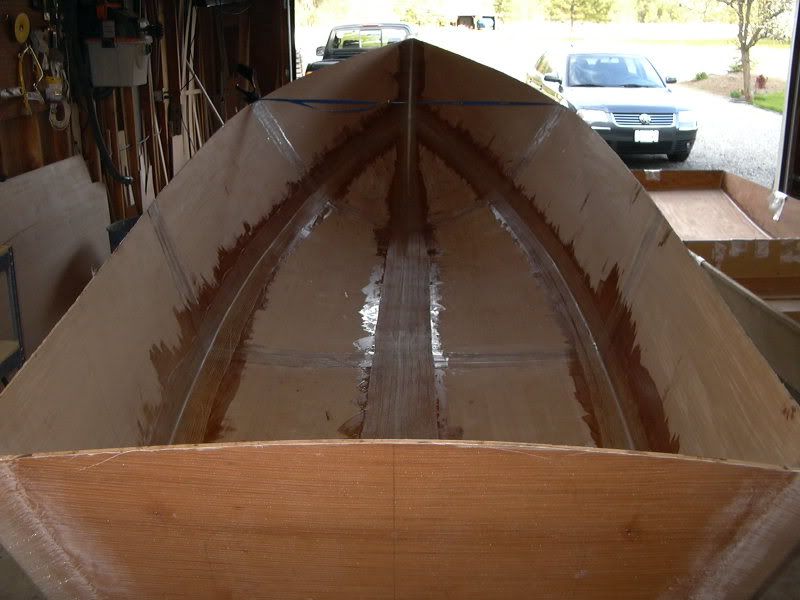
Shot down the bow to show the fillet covered with glass:


For the fortuitous part:

I had set out on my plan for fiberglassing happening friday. I then posted a few questions over at http://forums.bateau2.com/ concerning the interior fiberglassing. On certain designs you can use the remnants to sheath the inside in strips. Unfortunately for me, I would have to make too many little strips and odds and ends, so I chose to order up another roll of 20 yds. This is a whopping $175 or so, and in the grand scheme of the boat a mere drop in the bucket. Plus I will use the extra to build other projects in the future (that boylesboats jonboat Ive been lazing around thinking about). I asked the guys over at e-boat (from whence the plans and all supplies came) if they could get the rolls to me by friday, to which they said no prob. My order was taken, processed, and dropped at DHL in the course of 3 hrs. I got my first shipping notice from DHL an hour later, saying my goodies should be here thurs. PERFECT! Huge help, amazing service and a good crew.

Flash to today. Lo and behold DHL pops in a full day early with my glass! I will be cutting, prepping, and laying glass tomorrow......

Jacques, Joel, Dave, Thanks!

E

4.23.2007

Follow up post (2nd today)

Just wanted to tidy up the loose ends.

Went out and finished up the prep work on the inside of the hull. Its looking quite ready for glass on the interior! All the tabs have been sanded down, the butt blocks roughed up for adhesion, and the edges raduised a scoche for my own personal sanity.

Overall:


One up the bow, one down. The one down shows where the bow fillet needs to be finished out (packed with more epoxy) from when it was filled exteriorly:


More Gratuitous Frontal Nudity:


Its like 70 out, Im gona go fish.

E

Feeling a little better


Well now that Im not quite feeling as poorly, its back to the blog.

Recovering well, have had some throat issues with all the blood and "healing secretions", fatigue, etc, but its on the wane. Time to post a few things from before I was laid up.

First off, Shayne finally got bit by the bug. Coming to help flip the boat (and some anti-social issues at home) catalyzed him into building a boat. He decided on a simple jonboat built out of construction grade wood as cheaply built as possible. I think we are in it a grand total of $125. 15.5' long, 52" wide, should be perfect for a 9.9hp motor. Boyle's Boats out of Louisiana provided the plans.

Of note is the notched trowel method of spreading glue for a lamination. Shaynes first boat is going to be a butt block built boat with 1/4 lauan sides and a 3/8 fir keel. This pair of photos shows why you should use a notched trowel to spread your glue:


And a closeup of the glue:


Afterwards, we laid them out on the joint, used a rubber laminate countertop roller to get the glue pressed in and the air pressed out, then nailed up the 3/8 stuff with ringnails for stiffness. Should be a fun little boat for he and his daughter(s).

On Nina, I piddled around with a mockup using the jig structure. All the internal framing went in and was test-fit. While it was in, I leveled the boat off, made sure all the keel sections were flat, parallel, and where they needed to be. I then braced the transom, amidships, and the bow. This bracing will protect the sheeting and stabilize the boat while I add support structure and fiberglass.

A quick glimpse of the interior structure in place, and the transom braces on the jig:


The bow bracing is 2x4 screwed and braced, followed by 1/4" plywood pads to stabilize the vertical structures. The pads are hot-glued in place to the bracing so that they have a little flexibility.

Gratuitous frontal nudity:


And a shot to close, just showing the sheer of the boat, and her overall size and shape (starting to get a little excited at this point):


Gonna finish the interior prep work for laying glass today.

E

4.19.2007

More posts soon, but not too soon...


Had my surgery yesterday.

Little pain, LOTSA tired.

Never had anasthesia before, thats an interesting experience.

Things are gonna be slow for a few days, but barring any big problems, I think I might be able to get back out in the shop monday possibly.

Will have another post on the boat tomorrow I think.

E

4.14.2007

El Rollo

It just kinda happened.

I decided it was a good time to roll, so I hinted at a couple people around here that I might need a hand. I figured one or two extra hands, some bracing here and there, blankets, etc.

I called Sean, he came with his son Bret and a friend. Shayne from work stopped by to drop off a router from craigslist. Then on the way, Sean's father in law happened to show up. Then Bryce and his brother Ray across the street decided to join in. Just about the time we get that work party ready, Pete and Brady from next door pull up. Poof! We had ourselves a boat flipping crew!

Alycia, my wife, brought out the BIG camera, so the photos are a bit larger. You can also see her photography work and web design at http://alyciastaggs.com

The instructions:


Man this thing is light:


Many hands make light work:


It then sat in the yard for about 15 minutes while I attached the new bunks on the jig to support it. 2x4x14' with bracing, seems to do the job, and I will be adding some more bracing here and there. It also apparently collected 3 gallons of water.

Time to put her to bed:


Big thanks to Shayne, Sean, the boys, Pete, Brady, Teri's dad, Bryce, Ray, and my wife Alycia. I really appreciate everyone's help.

Next up, fillets and tape, after I build up the jig a bit. I also have some surgery coming up, so if I dont get a post up for a few days, please cut a fellah some slack, eh?

E

4.13.2007

Now its stuck on

Little bit of progress every single day.

The skeg is complete, glued up, and ready for service. I wanted a nice strong skeg, as the area we live in has some shallow mucky areas that might try to get their grubby little hands on our skeg.

Our friend the skeg needed to be not only glued up parallel to the centerline of the boat, but also vertical, as well as straight. The board I purchased had a bit of a hooey in it, which complicated the task slightly. It did work out fine though.

Here you can see the clamping to the 2x4 to hold the skeg straight. To get it vertical, the long level was run up to the rafter, trued up with the board, and clamped to a truss. There are perks to not having your garage completely finished!


After the initial cure, here is how it looks (frail, in my opinion):


Next, its time for filleting. My original mixture sagged out, which was a bummer. Instead of wasting the epoxy, I ended up scraping it off quickly, throwing in some more silica, and making it VERY stiff. It went back on, and turned out to be a pretty decent fillet. Not my best work, but not bad. I figured out a better idea of what it should look like when its right for a no-sag stick.

If you have ever made bread (or if your lucky like me, the wifey makes foccacia), you know exactly how it should look while stirring. It gets that floury texture while stirring in the last of the powder, then saturates into a nice dry putty that won't sag for anything.

Mediocre first fillet, after remixing:


Eh, not that stellar, but strong.

Other side, some of my best work:


Im proud of that one.

Here is a view from aft of the fillets with glass laid up, almost like a cutaway:


Cool huh.

A nice perspective, taped up:


Finally, the bow end, which is going to have the glass trimmed up this morning. I wanted it semi-blunted so that if something strikes it, its unlikely to splinter or break the end. I think the extra silica should really make it strong if we bonk some debris:


Off to trim, and decide on this fill the weave or flip it over thing.

E

4.09.2007

Skeggs

Some people mispronounce my last name. Some misspell it.

Today, I built a misspelling of my name.

First, we measure it:


Then a few cuts and some radiusing of the edges, and voila!


This perspective gives a better idea of the size of this hunka goodness:


The day today was spent running to town to get some mahogany (cheaper than vg fir), then to pick up some oar buttons for the little boat, then into the tug in a very blustery day (winds of 20-30 mph gusting to 40). Down to Ron's to pick up some fumed silica and some cabosil to do our fairing compound. Im not sure whether to lay a coat tomorrow, then clean it, or to just finish mounting the skeg and leave it so that its wet on wet for all the fairing layers for thurs and fri. The latter seems like a better idea, but I just dont have the time to waste, esp 3 full hours.

Makes you want to build a boat, doesn't it.

E

4.07.2007

Committed.

So there I was, laying fiberglass. Beautiful sunny day, temps in the 60's outside and the 70's in the garage for the first time this year. Glass is going down nicely, epoxy is flowing and curing just like one would hope. Im working on the wall side of the boat, having finished the car side about an hour ago. Then it happened.

I hear a strange popping sound, like a section of wood relaxing. Pop, crack, pop pop, creak, crack, pop. Instantly, I think "hmm, that can't be good". Well, whatcha gonna do, I have wet glass, a wet edge, and a full pot of epoxy to spread. I figure anything that happened couldn't be so bad.

Before, while I was starting the wall side:


After, when I shot some more pictures and figured out the cause of the popping:


Id love to go off on a swaring fit, throw tools, break things, such and so-forth, but this is one of those problems that just gives you an ulcer. It seems that the joint I glued at 24 degree temps and a heater (with pretty poor alignment) wasn't prepared for the stresses once it warmed to over 70 degrees. Since this occurred under green, still soft glass, it didn't spread or get too out of fair.

Light tells the story, nice weave though:


So naturally, its time to fix it as best we can. The joint was held by the same type of glass on the inside, so who's to say it won't stay together if we get it held in the right position? Time for some creative ingenuity!

Twofold, the bracing, and a shot of the final fiberglassing:


This will be, from now until eternity, known as the "water-passat" clamp.

I sure hope this works.

Here are some gratuitous photos of the boat and the glass work:


I will report back later with the results. Any comments or ideas on keeping this hull fair, please send them, I will post them on this thread.

To answer a commenter's question, I need to have the boat done by the 1st of June because I like my wife and she wants to go out on the lake. She will be in a bikini, fair trade.

That is all.