Okay, every day for the past two weeks it has been over 90 degrees. This is uncommon for our area, which is normally a middle 80's average, with a couple days a year over 100. Its been HOT. I find that when you have a boat, and it't hot, you want to use the boat. This makes you want to have the boat finished to a usable point.
Completion can happen, but it comes with TERRIBLE CONSEQUENCES....
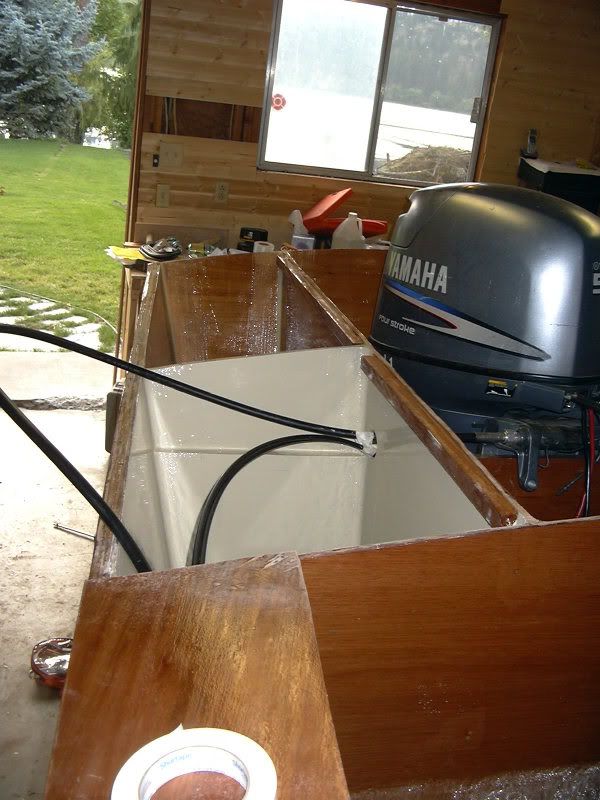
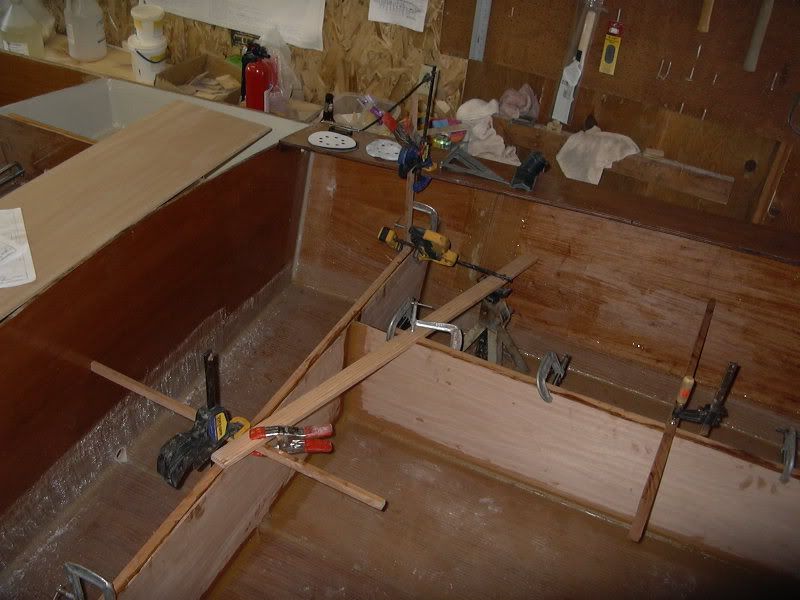
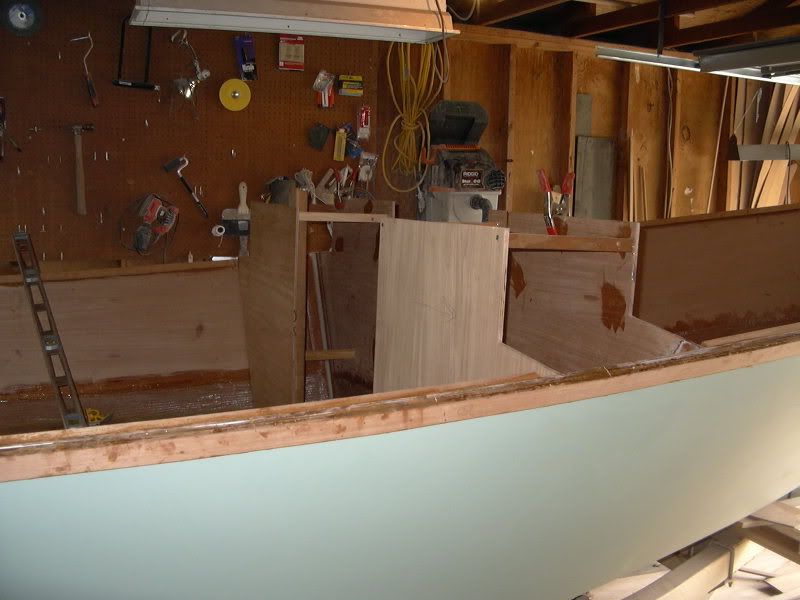
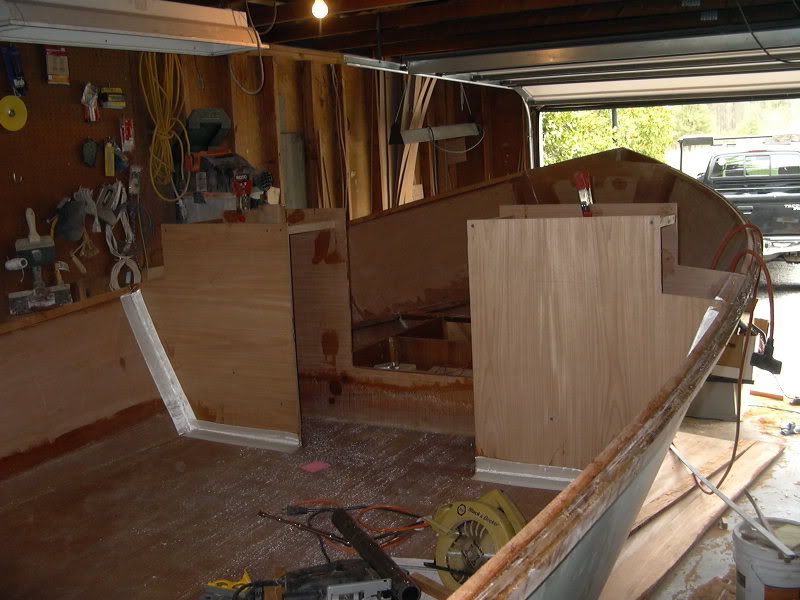
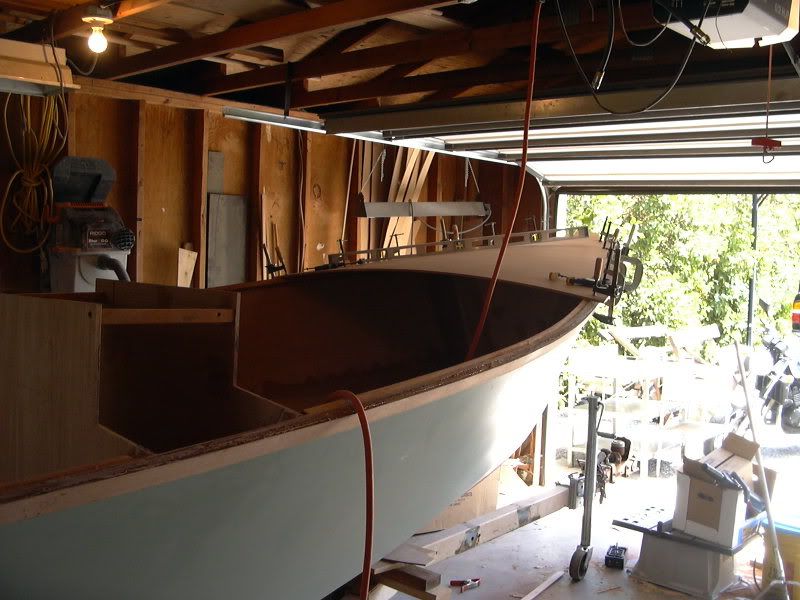
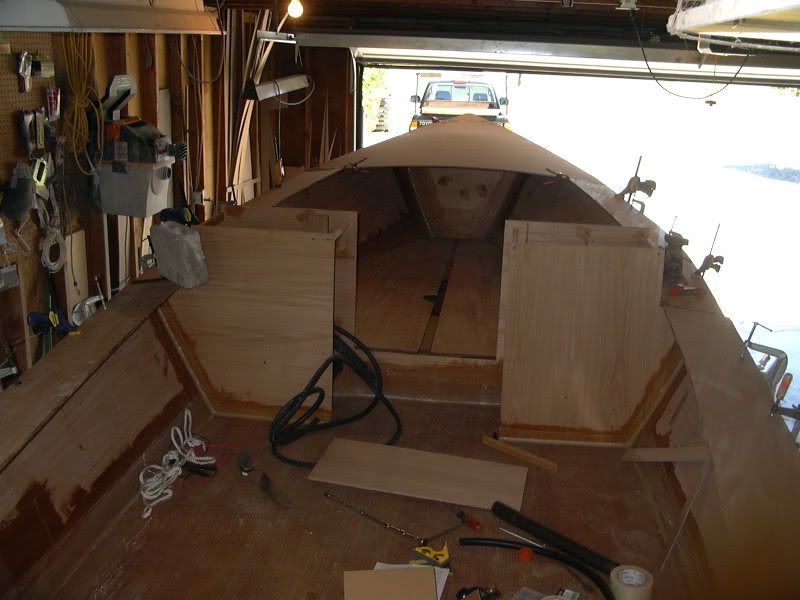
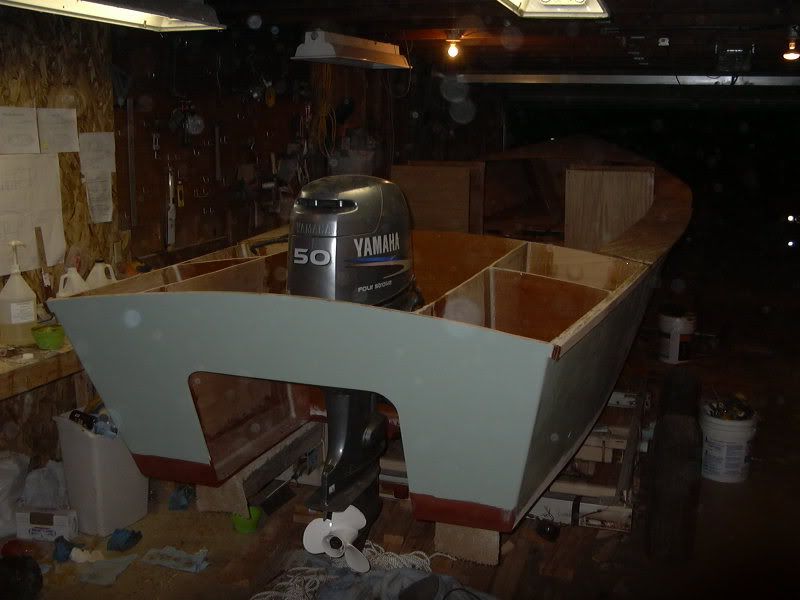
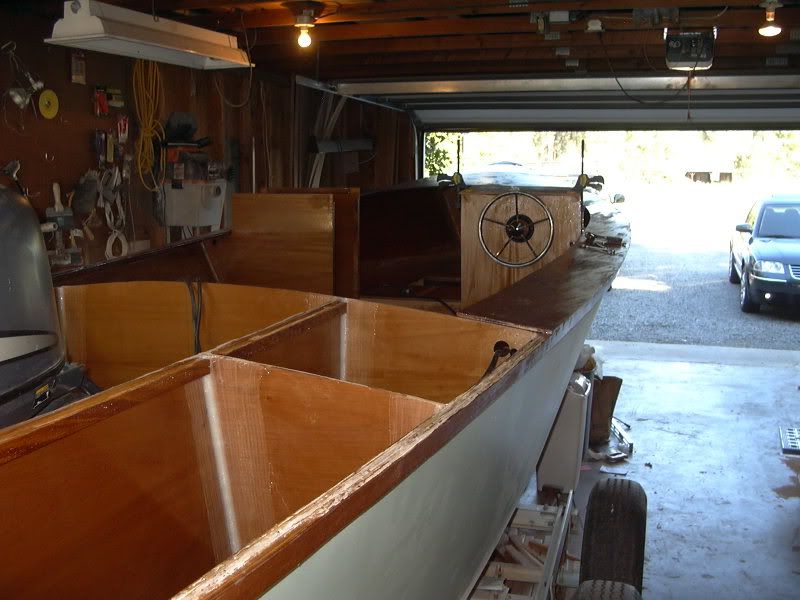
I planned on having it available to launch friday, so monday I started installing systems, and Shayne came to help precoat the boat with epoxy. Outstanding, I must say, on his part. The decks were finished out, and the filler was placed in the forward seating area:
Beauty-full, eh?
The system installation is pretty simple, just time consuming. The kit I used was the No-Feedback Teleflex single cable setup. I wanted smooth, easy steering, low maintenance, and no struggling against prop torque.
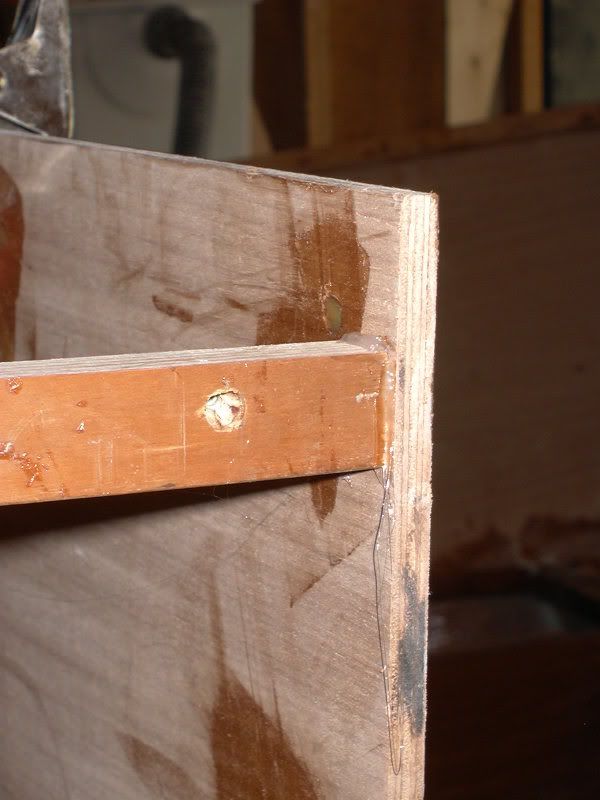
The kit includes a paper template. When combined with tape...
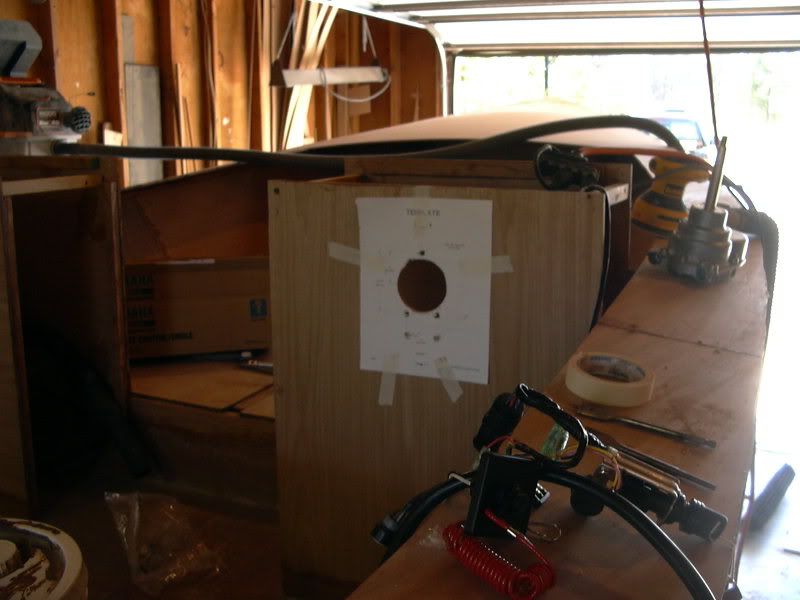
Pretty cake.
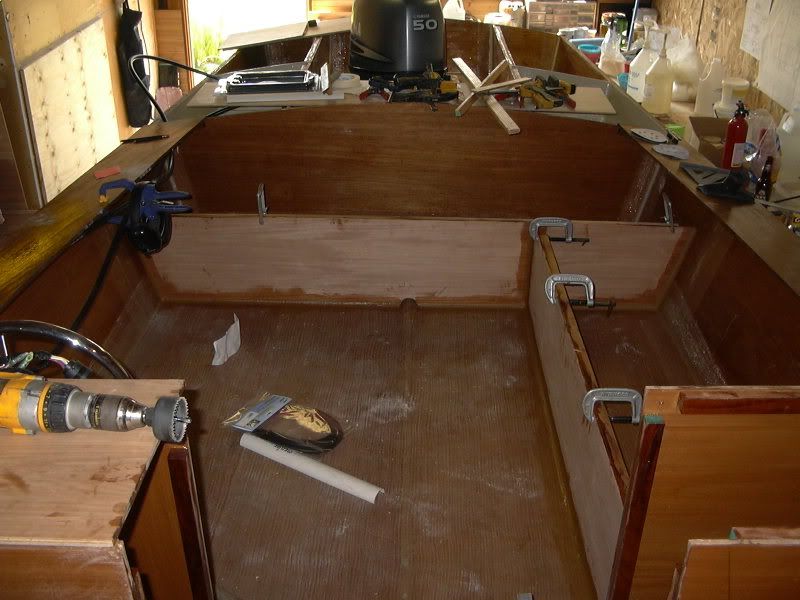
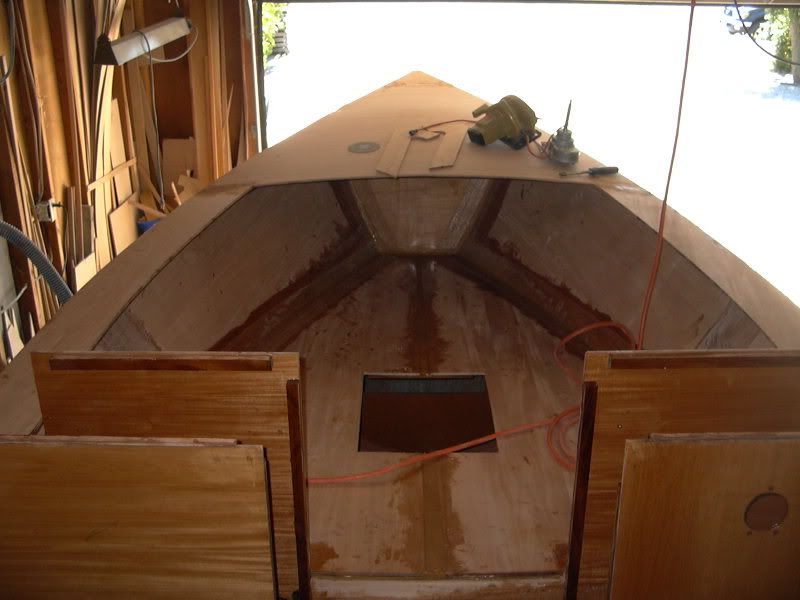
I poked the holes, then Shayne and I went to town precoating EVERYTHING, knowing that the boat is going to go for a swim soon.
Wednesday included the assembly of the steering system, which had its issues. The cable I ordered is 2 feet too long for my locations. I ordered a 15 foot cable, as it was measured out to about 14 feet from one end to the other. This is what they reccomended, as I rounded up to the next foot when I had extra inches. Yeah, much too long. I did get it wedged down into the aft compartment though, so it might stay that way until winter.
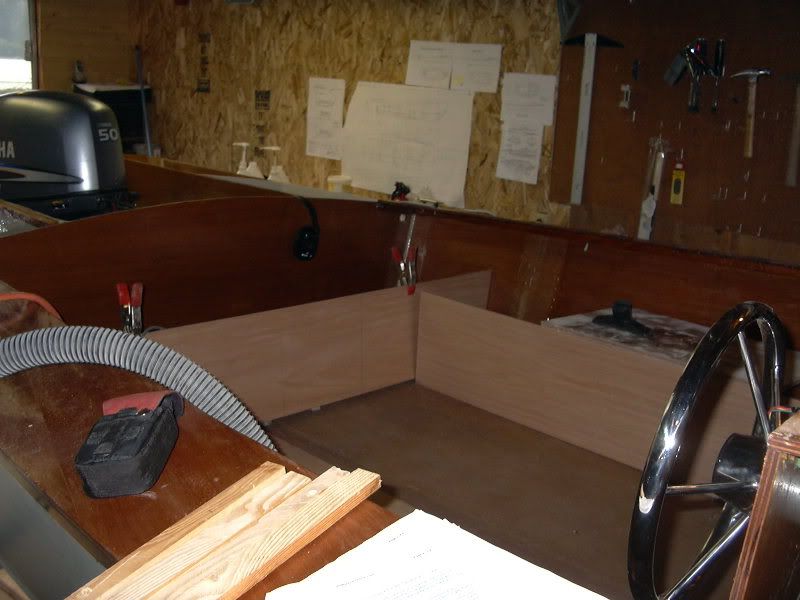
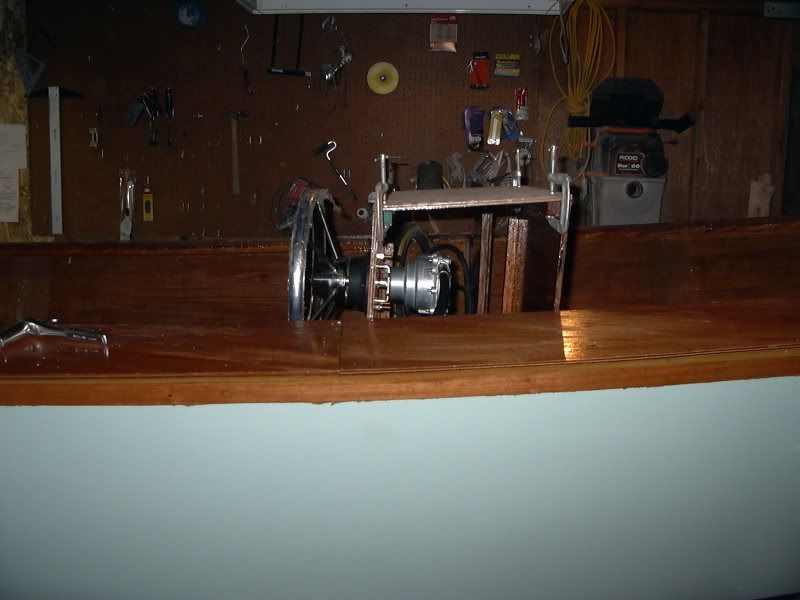
The console end of the install was painless, but the cable does have to take a bit of a torturous route in. It not only turns with a tight radius to get to the wheel (within spec, but tight), but it also hits the deck in that area. It will cause some issues with the coaming when I install it later, but that's for another day.
The console install:
I then worked thursday. This is where things went HORRIBLY WRONG.
We absolutely got our asses handed to us on shift. A good hot house fire mid-afternoon in the 100 degree heat, busy evening, and 5 calls after midnight gave us about 4 hours of total sleep. After work, I cruised over to the licensing office, received my HIN and license for the boat (0700 is my number, cool eh?) When I headed home, this boat needs to be swimming friday night (or sat morning), so lets get cracking, regardless of being tired.
I start on the fuel system, as it's easy to finish out. First, the filler hose was ready, and I placed the filler neck in the precut hole. As I eyeballed the hose in place, I picked out my spot to cut, looks good. I laid knife to hose, then clipped the coiled wire that gives it support. Stretched it back into place, and realized the error.
THE $55 HOSE WAS 3" TOO SHORT.
I used every word I could think of for carnal acts, bodily functions, blaspheming, and generally unpleasant language. I threw tools. In an attempt to make it work to have it in the water later that evening, I thought I could pull an inch off the nipple on the tank side, in its sealed compartment. As I gingerly twisted a short distance, I felt the nauseating pop of the hose slipping off the nipple, IN THE SEALED COMPARTMENT. I broke some unrelated items. I literally had to keep from crying. I have just given myself a full day of extra work. I now have to cut a hole in my seat tops forward. I have to buy a hatch that may not fit as flush as I would like. I hate myself.
I went outside for a moment, regrouped, and came back to the project.
The throttle assembly went in without a hitch. The cabling was easy enough, plenty of length, easy to install, messed around with cable length a bit, but it all worked out great. Except when the shop rerigged the motor, they left out the bushing that retains those cables.... ugh.... So I went to work making some bushings. They worked to a point.
After the steering and throttle were functional, I threw in my 3 gallon can from the tug. We were fuelled, controlled, and precoated. All is ready.
So then the wind blew. 30mph, gusts to 50mph. Severe thunderstorms. No Launch. I give up.
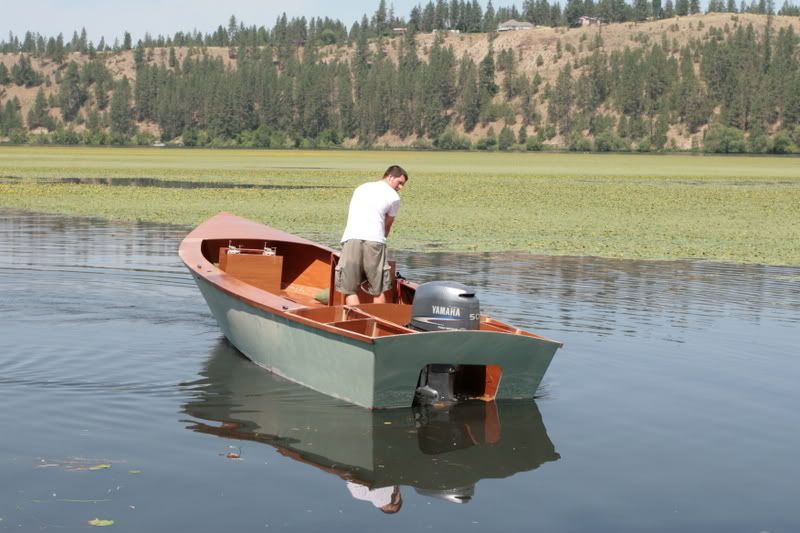
Saturday morning was warm, sunny, beautiful, light breezes, and the neighbors were headed out to get on the water. I think its time for sea trialing!
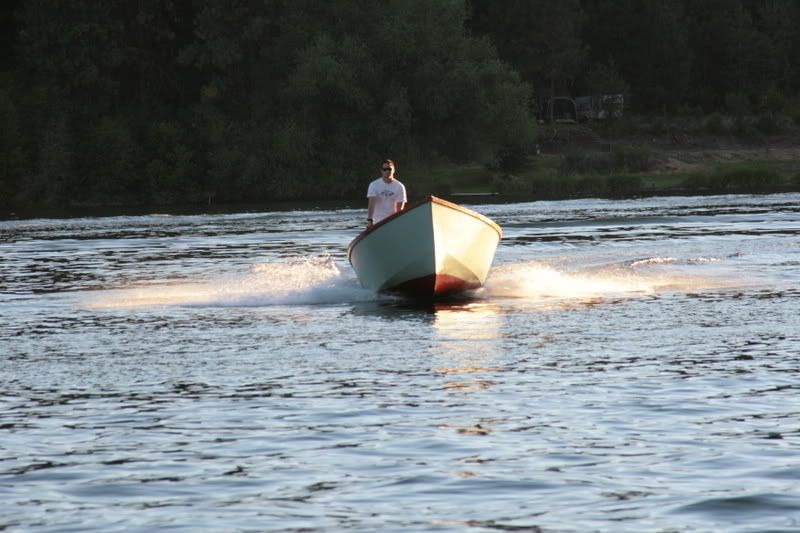
Broad daylight for the first time. This gives you a great perspective on the freeboard. Im 6'3" and standing on the sole:
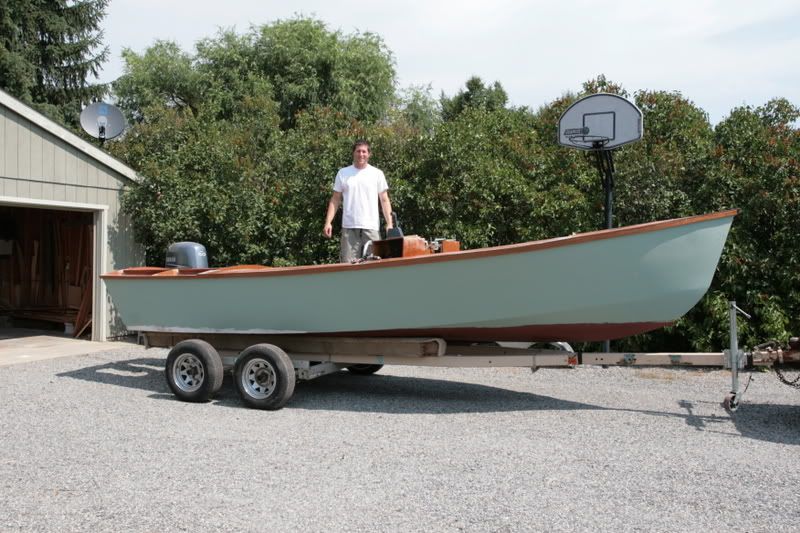
I must say, I was rather atwitter.
Over to the launch (we have a personal one for the neighborhood) slowly, as the boat isn't necessarily well attached to the trailer, just a couple tiedowns over the transom. It just ever so gently backs in, so I popped in the boat, and Chris "beaverlover" Gielow finished the backing of the truck. Motor fires right up. Gently put it in reverse. It doesn't move. Back in further. More throttle, doesn't move. Ahhh, the tiedowns..... She pops up like a cork and drifts off the trailer without throttle.
This is a good day.
Working out the controls, making sure steering and all cables are kosher, trim, etc are all functional at the launch:
It's all a go-go.
I cruise over to the house, pick up Chris, Dom, and Sean, then off we go!
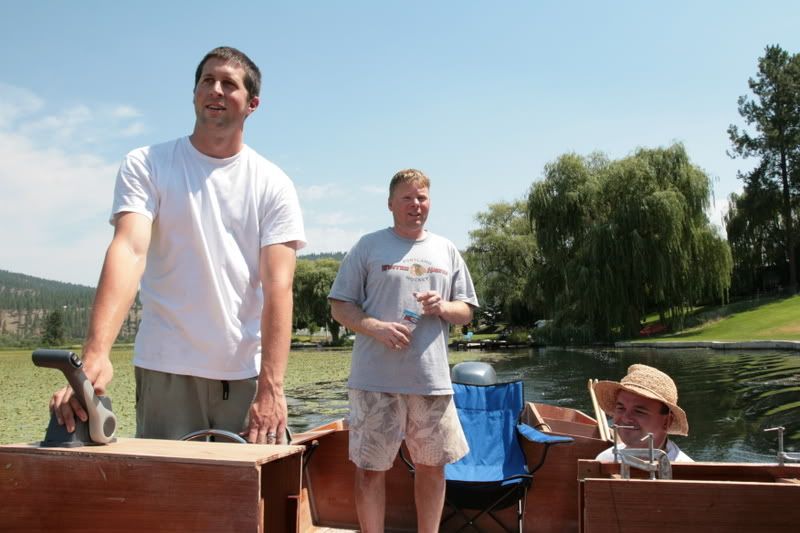
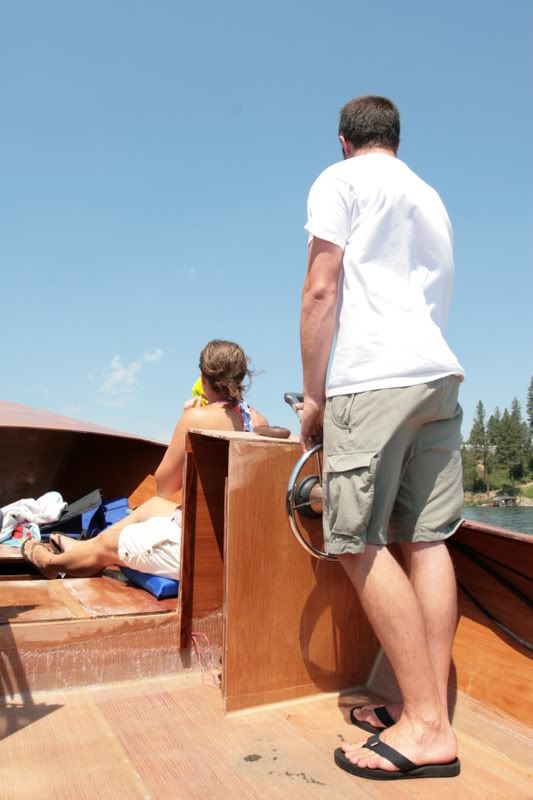
Here is a shot showing the freeboard on the interior, as well as the seating in the bow and its reference to the rest of the boat. Also, you will note, as promised, SWMBO in bikini:
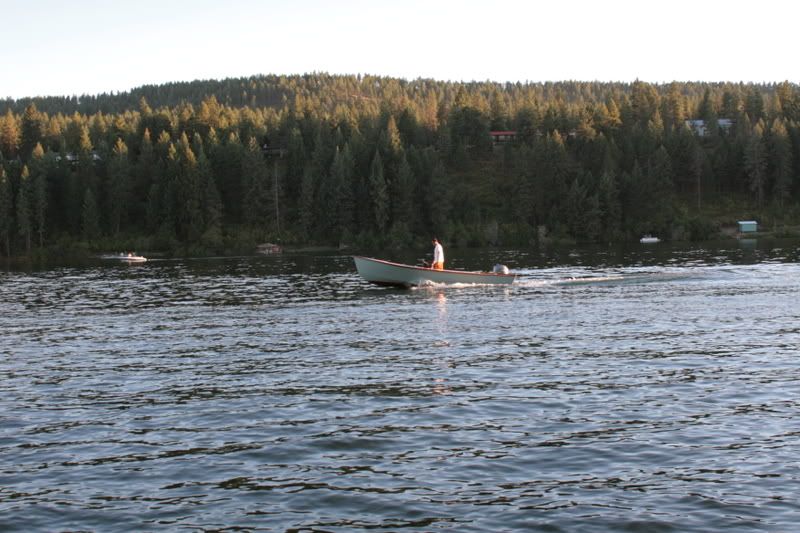
So here are the particulars on the sea trial (these will be reposted at forums.bateau.com ):
5 people, 3 gals of fuel in the aft storage area
full throttle: 25.5 mph by GPS
cruising speed 70% throttle: 19 mph
Notes:
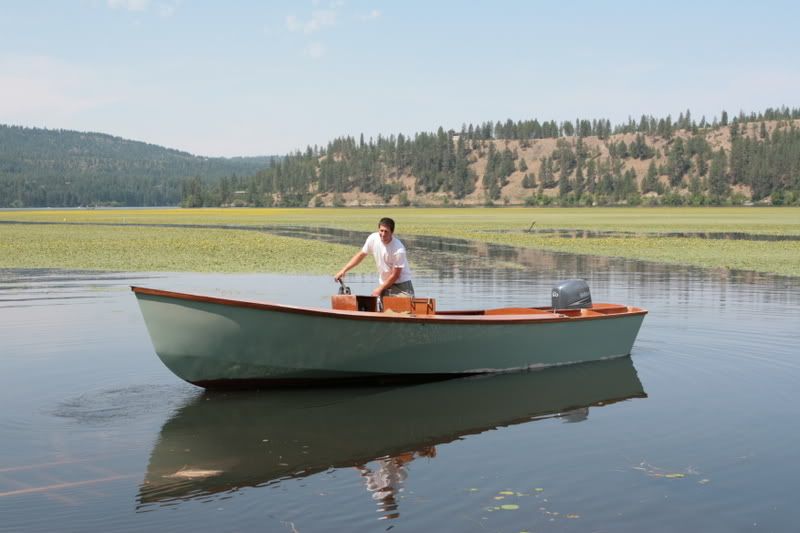
She runs away from her wake at 1/8 thtrottle, loses wake froth at 1/4 throttle, and has no hole, no strange planing movements, just slips from rest to any throttle setting comfortably. This thing is amazing. With a substantial load (2/3 of which were in the bow seating area) she left little wake, moved out with little effort, and plowed a substantial bow spray. It remains dry even with large chop and wakes, shipping only wind-driven spray. With the bow weighted, waves were so gentle as to not jar even a woman with back ailments.
The scuppers are not going to be a go as drawn, Jacques. With this load of people (about 900lb) the scuppers would be about 2" below the waterline at rest, and about 1" below green water when at full throttle. The decks would have been awash the whole time had the side scuppers been in place. I think the aft scupper is the way to go, through the transom, but let me know your thoughts.
The fuel vent is right below the gunnel, inside the port side cabinet. With this load, I probably shipped 1/2 gal of water. This is a blessing of the SNAFU on the fuel system, as I would not have seen this had I not screwed up the fuel filler hose. I think a ball check valve might work, in combination with high hose routing. Ill keep you posted.
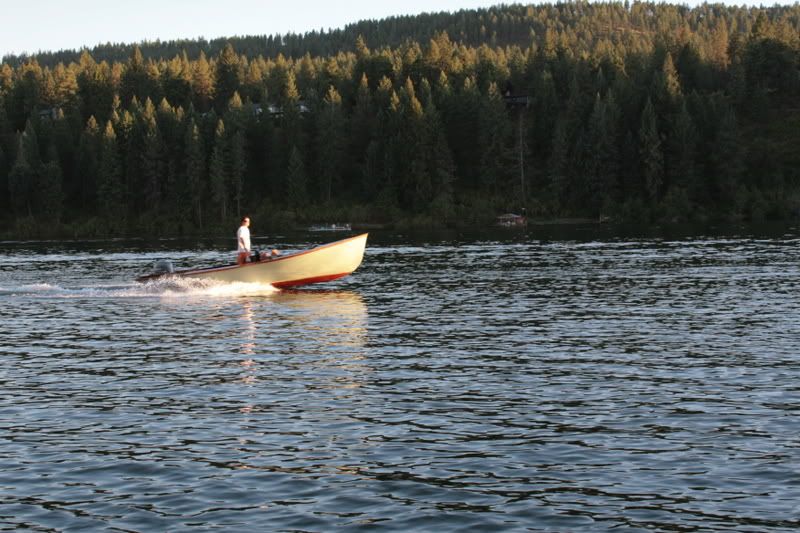
2 people, plus food and drinks, 400lb payload:
full throttle: 27.5 mph
cruising speed, 70% throttle: 20.5 mph
When turning, up to 70% of full lock is okay at any throttle setting, but more than that will cause massive ventilation. The type of ventilation that stops the boat dead in its tracks until the throttle is backed off.
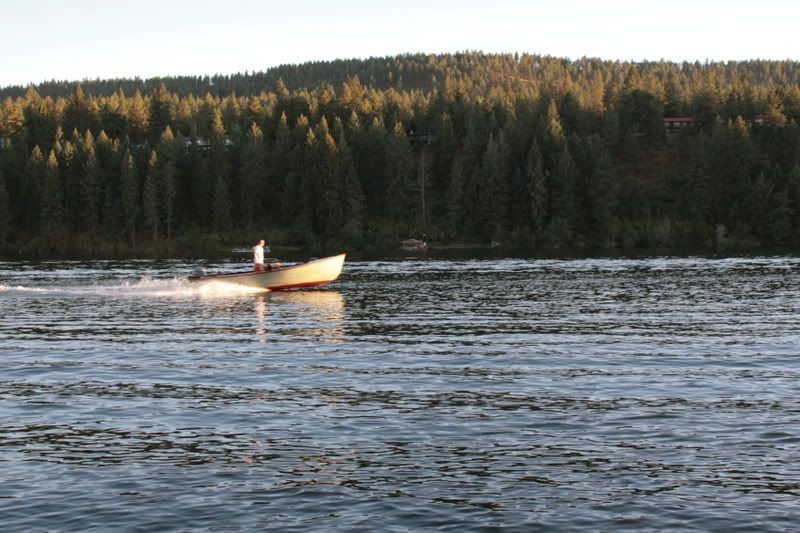
When light boat like this, she does pound at speed. Obviously we are only using the aft planing surfaces, so its essentially a 14' flat bottom. Sean was beside us in his boat, and noted that at least 2' of skeg is visible out of the water. We do not have fuel in the forward fuel tank at this time, but I am also considering putting in a water ballast tank forward (fat sack) for those rough nasty days, as this thing is a DREAM when the bow is in the water.
There are no rattles, no creaks, no funny noises at all. It sounds like a drum when it hits waves, with a nice quiet bump, no matter how big the slap.
It is a touch on the weight sensitive side abeam. A 200lb person can change the trim from one side to the other an inch or two when at cruising speed. Not a huge deal, esp once the seats are in place.
On the throttle, the boat moves in a relatively different way than I am used to. It's a deliberate rush, not a quick jerk, through the throttle. She's just too elegant to be in any hurry, but it gets to speed very quickly. There is no speed that I can find where she is uncomfortable or isn't efficient. When light, there is barely a hint of wake at almost any speed.
When off the throttle from cruising, expect a little longer drift than most boats. It seemed to be so efficient that it just kept on sliding through the water without any power.
The water moves away from the sides at the transom in a way I will try to photograph for you next weekend.
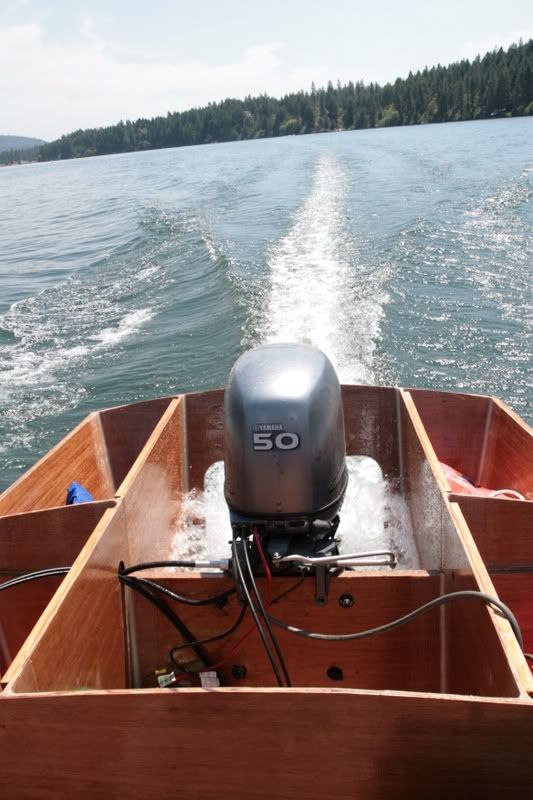
There you have it, she's been wet. It's not the launch, but the sea trials are complete, the list of fixes is long and arduous, but that's the nature of the beast. It will be back in next weekend when temps once again sneak over 100F. Until then, here's a nice parting shot of her wake with 5 aboard, at about 17mph:
Feel free to post any questions you may have.
E