5.23.2007

I knew I forgot something


I know, I know. Sometimes we get wrapped up in life and forget to do certain things. The fishing has slowed down, but there have been some extra shifts at work. Went to Moab for a long weekend (highly reccomended). Blah blah blah.

Fairing is the time when a majority of boat builders lose interest in their projects. There is the tedium of filling, coating, sanding, fairing, recoating, sanding (sanding) {sanding} [sanding] and then sanding. There is the specter of how long they have worked and how far away the end is. There is the layering of projects that need to be finished.

None of those have slowed me down. I just have been too lazy to post. I post in the evenings, and I would rather hang out with my wife than sit and stare at the computer.

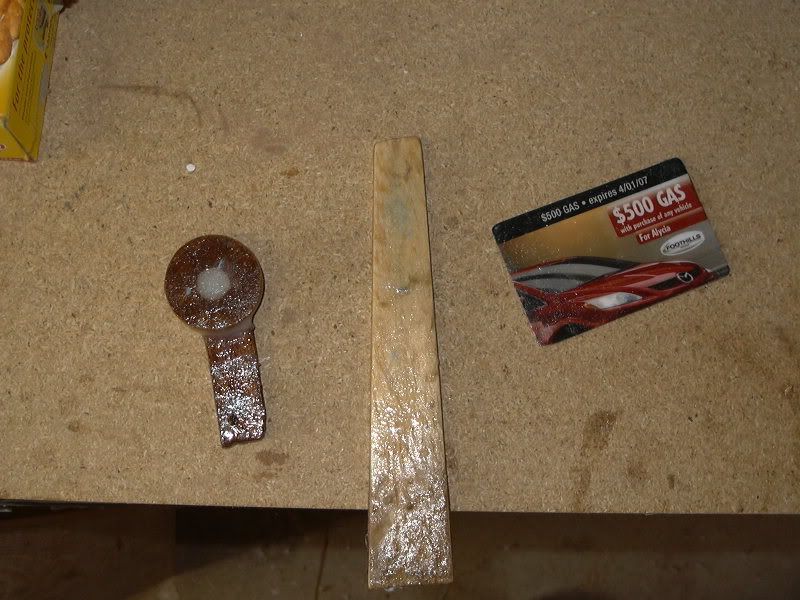
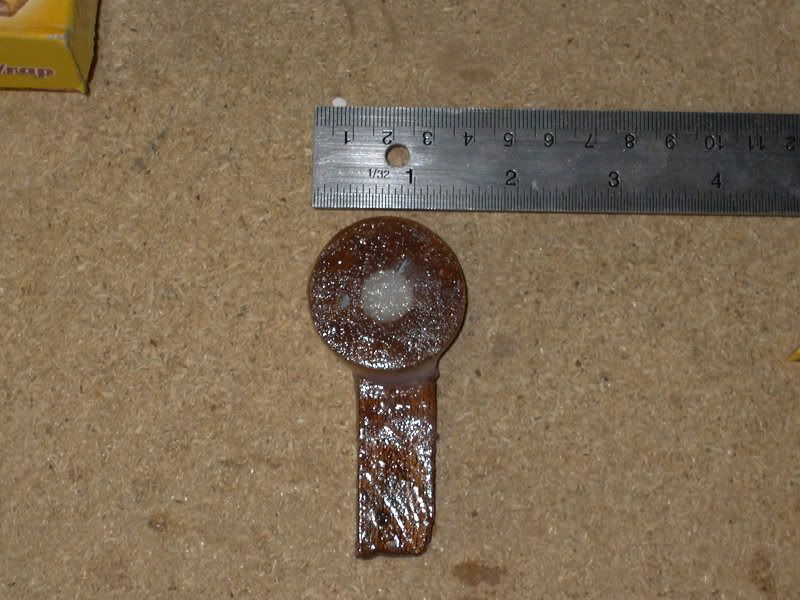
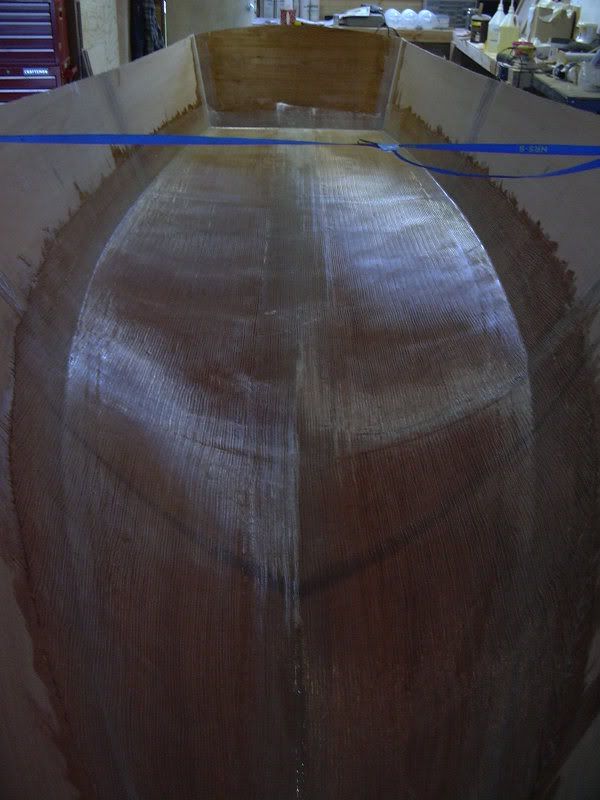
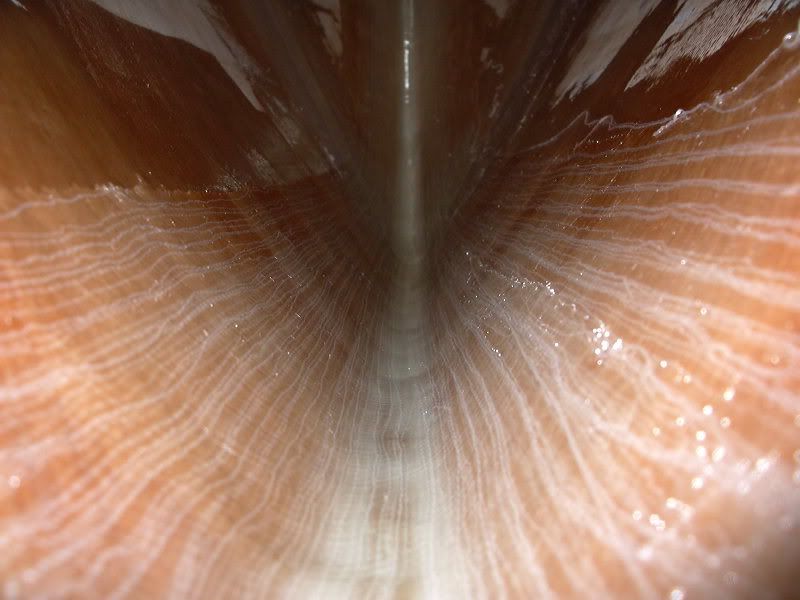
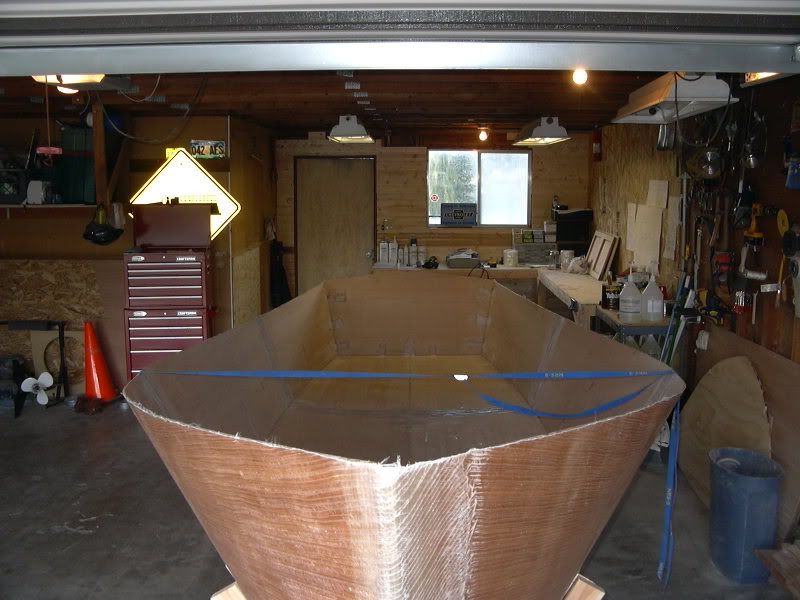
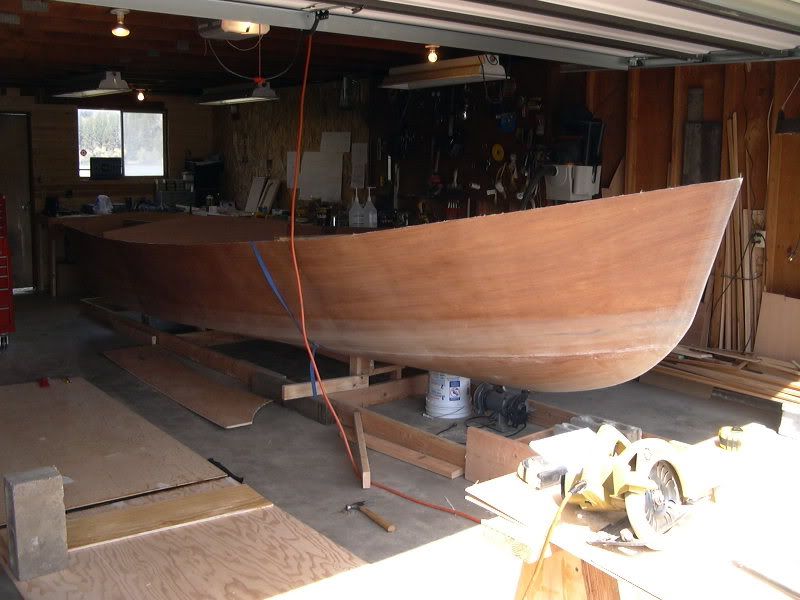
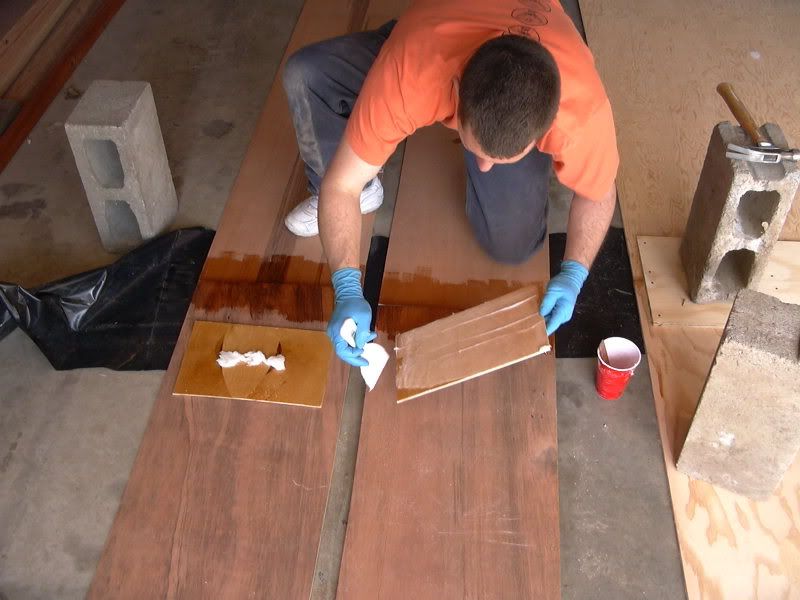
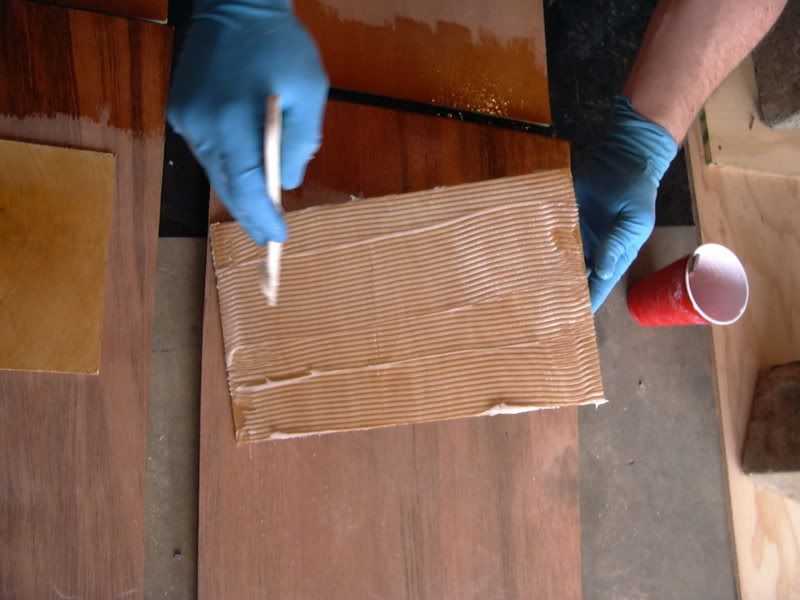
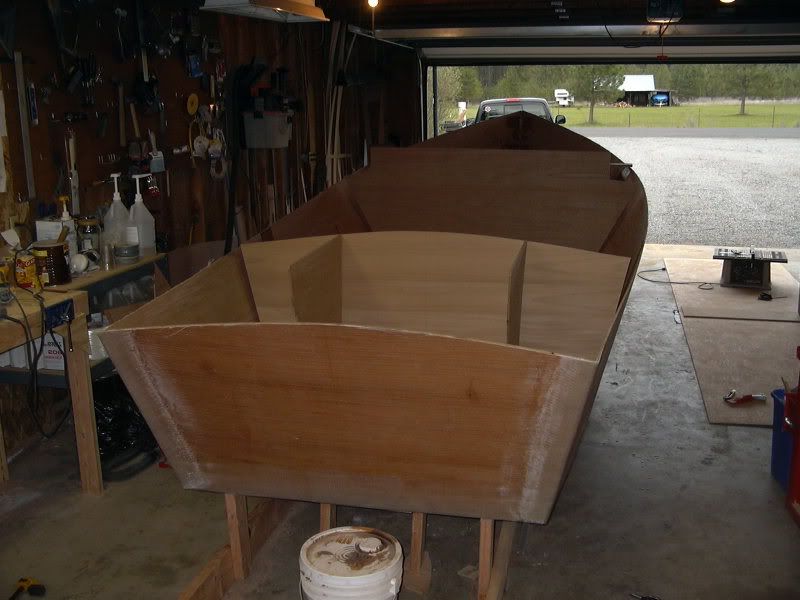
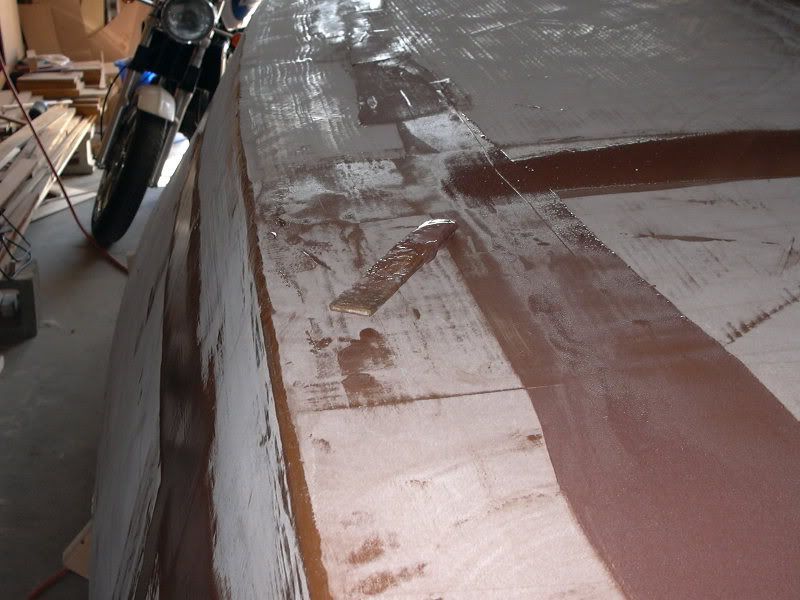
Oh, and the photo at the top is a stirring stick that I forgot one day, and stuck to the boat. Oops.

ONWARD!

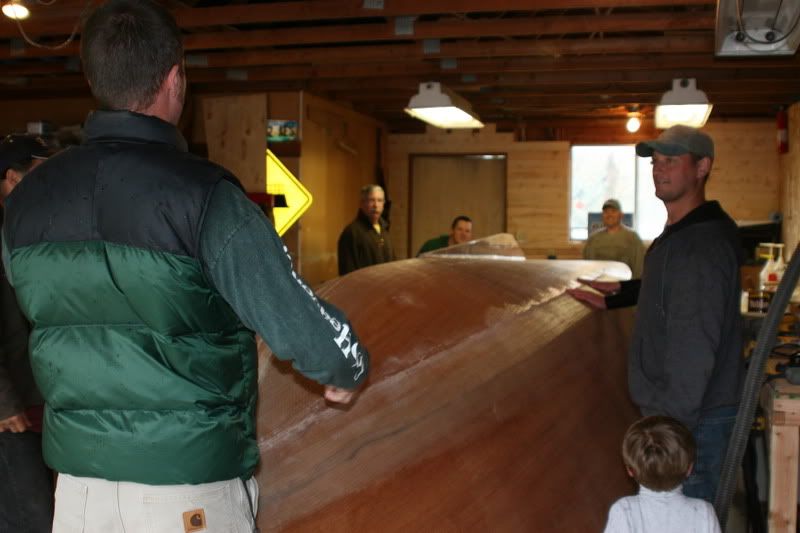
So with little fanfare, Pete, Brady, Sean, and the Toddler came by to give the el-rollo treatment to the considerably heavier hull. So little fanfare in fact, that my photographer (who stated she couldn't help lift due to her being the photographer) didn't snap any shots. Ah well.

So first she was back on her lid and on the jig (in combination with the uber sawhorses assembled underneath):
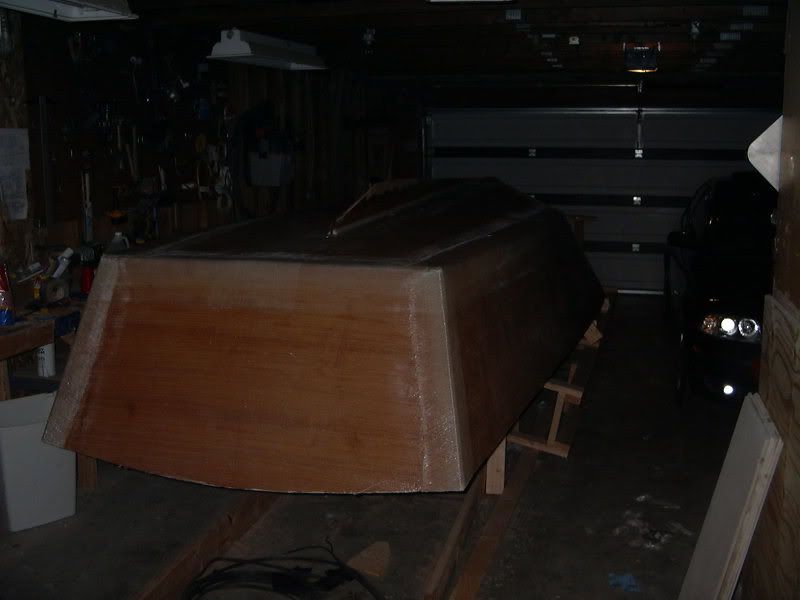


Then add some baby-poo:
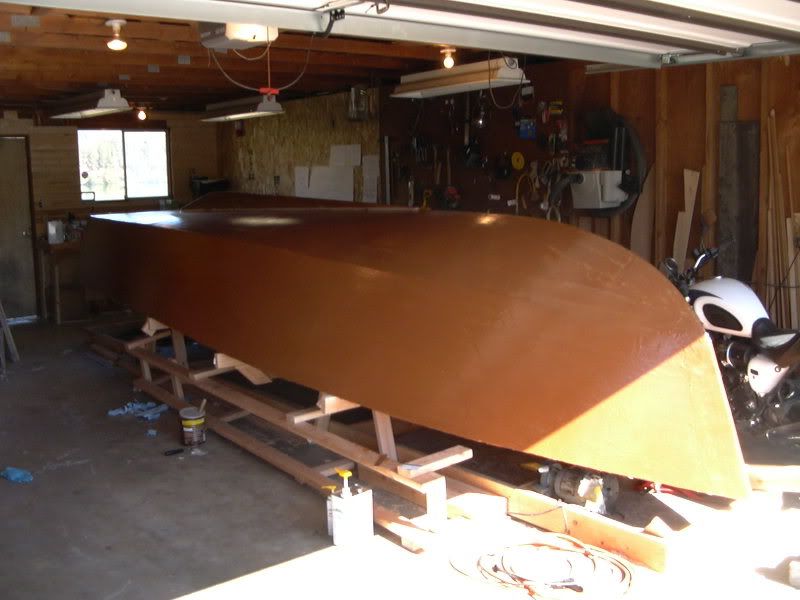


Or was that phenolic balloons and silica...

Knock it down:
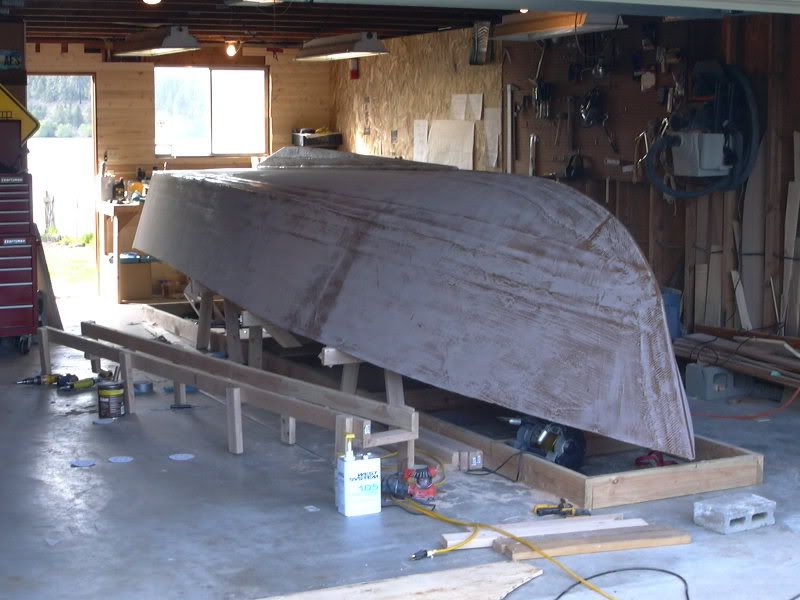


(scroll back to the top and note this is where I stuck the stirring stick, with a mighty bond, to the boat)

Then recoat, though I did a rather ass-like job:
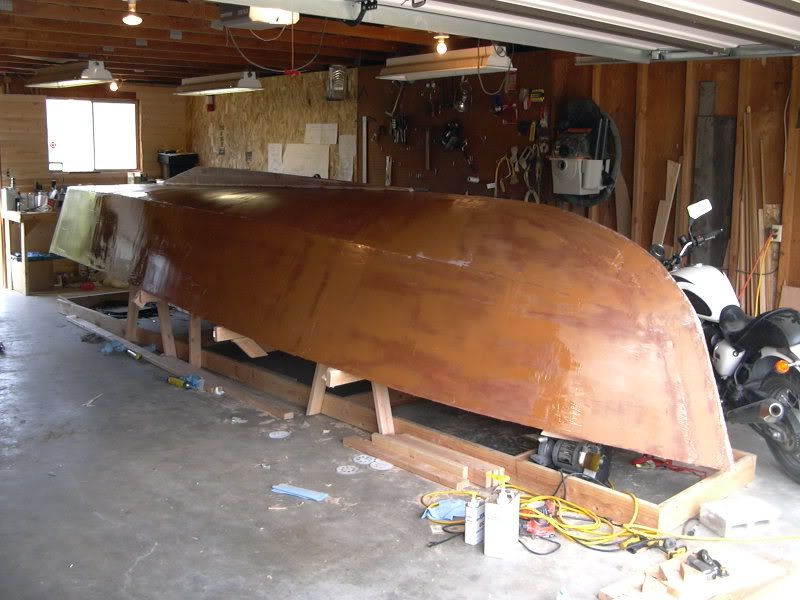


Then sand again...

Then forget to take photos on that sanding.

Then slob on ANOTHER coat, this time with a little silica, microspheres, and a little talc to make it sand nicely.

Then forget to take photos of the coat.

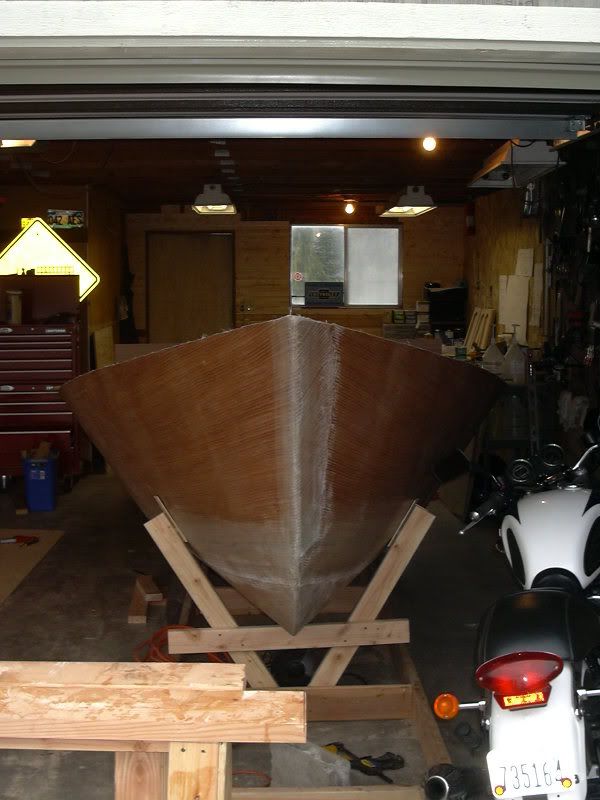
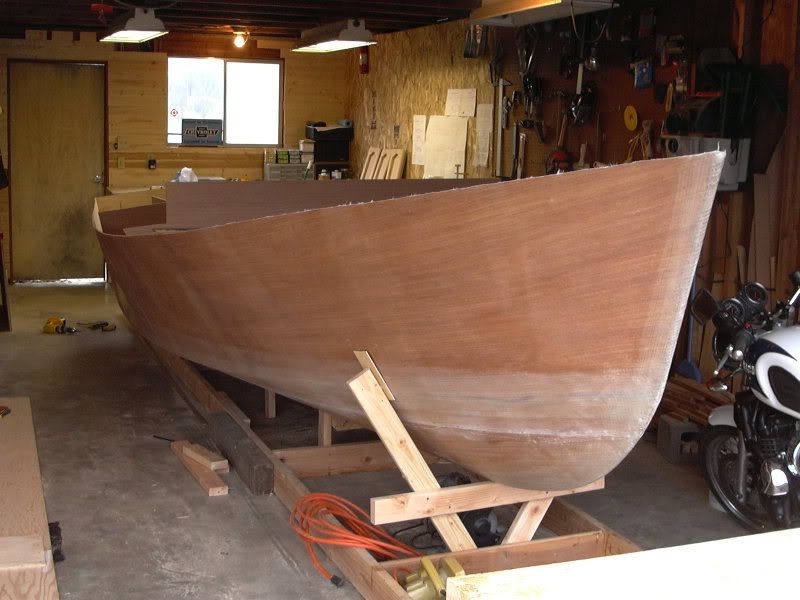
Then SAND AGAIN.....:
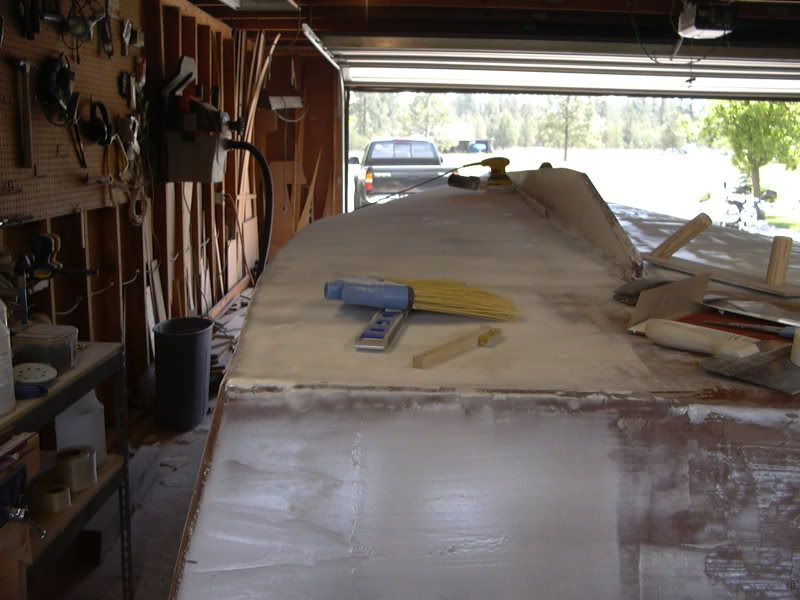


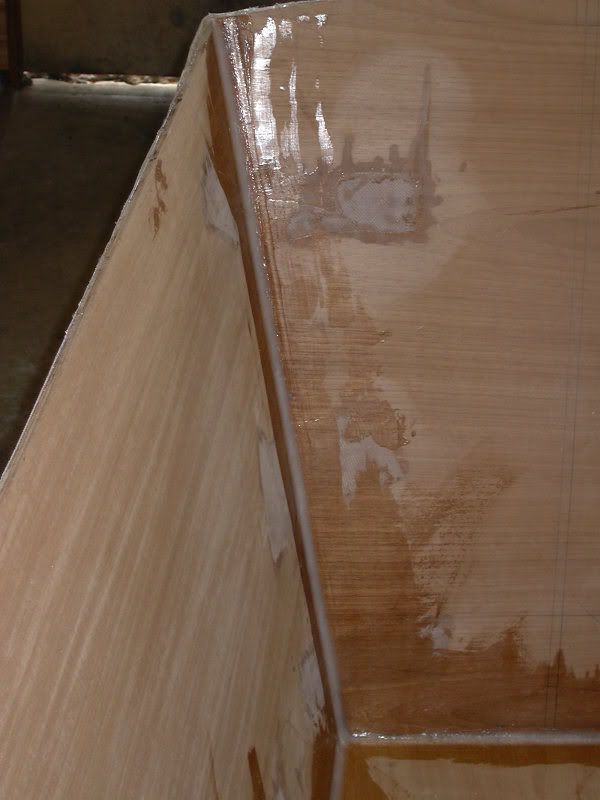
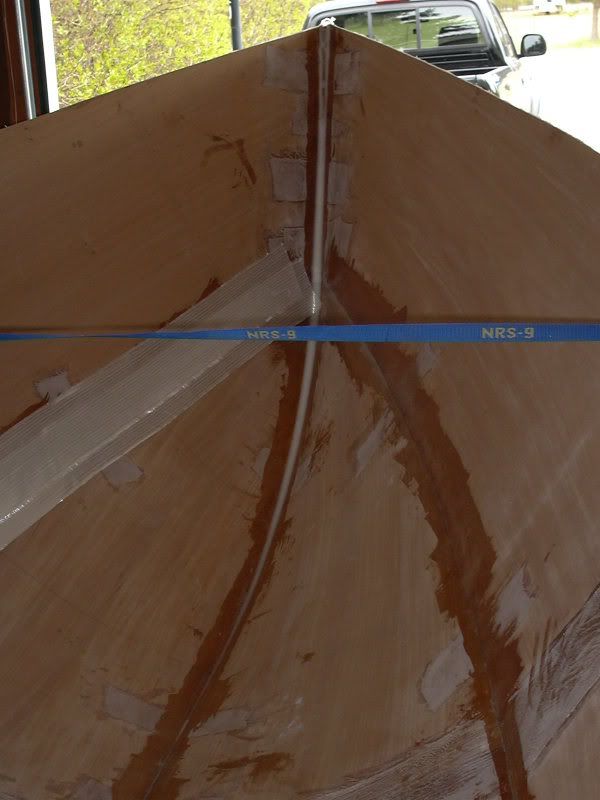
Then bust out the quickfair for the low spots, mix up some microsphere and silica goodness for the fairing of the transom and the aft end of the bottom to remove the tape induced hook:
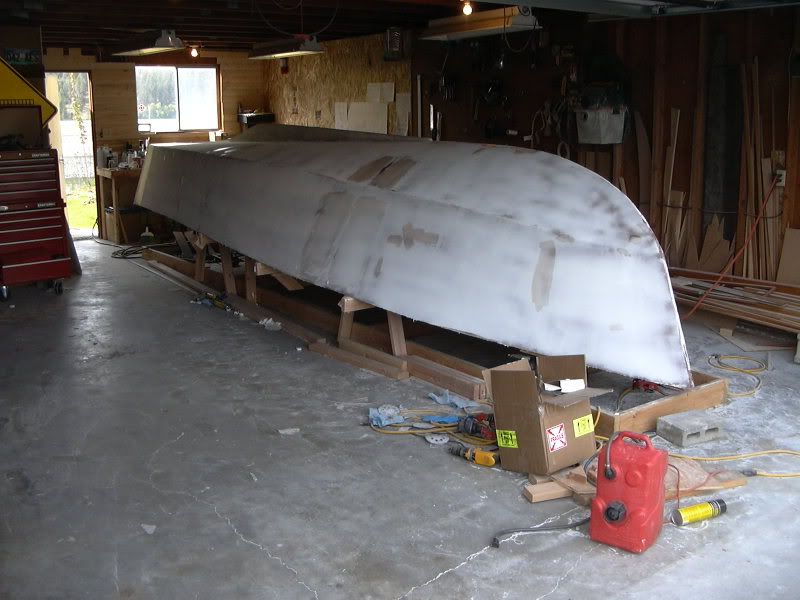


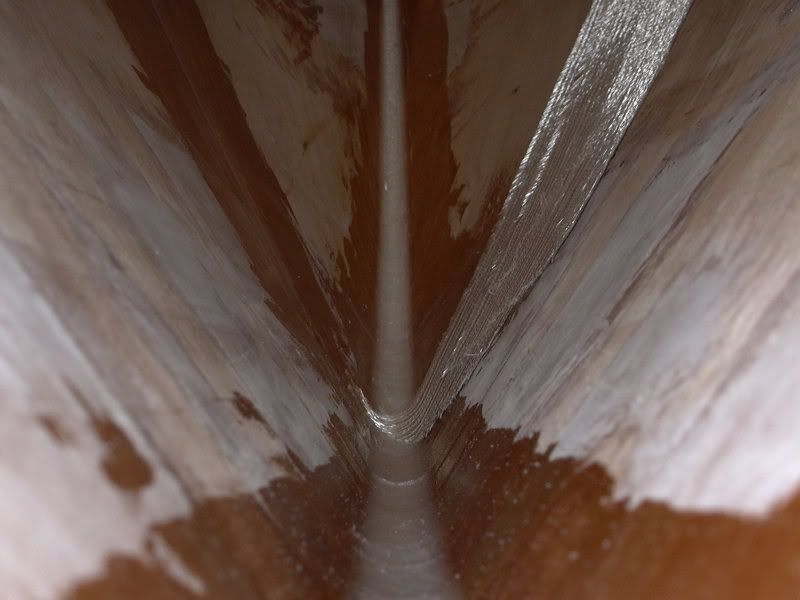
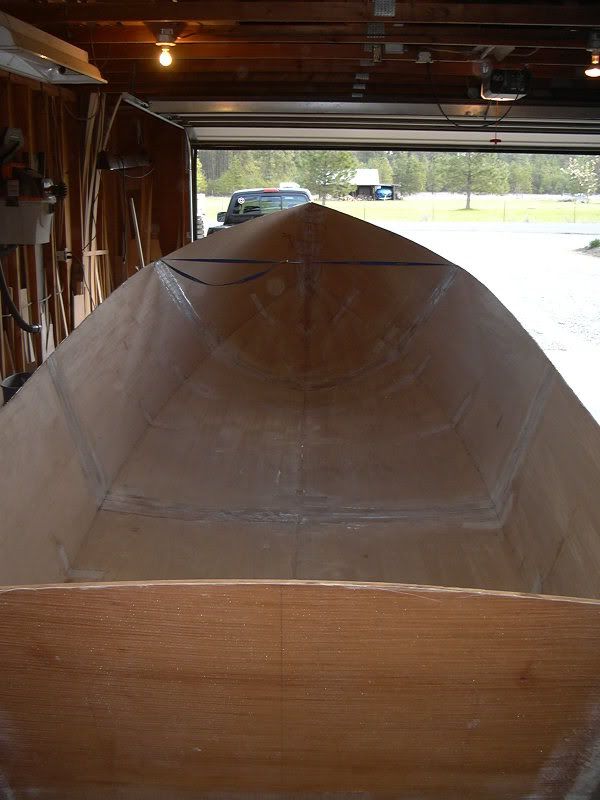
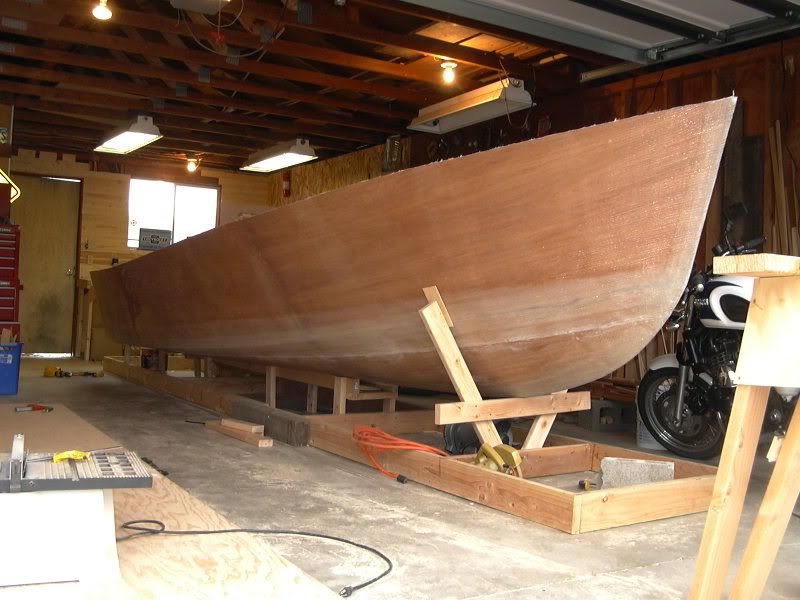
Here is a linear look down the hull to get an idea of the fairness (though it looks better in the photo than it is):
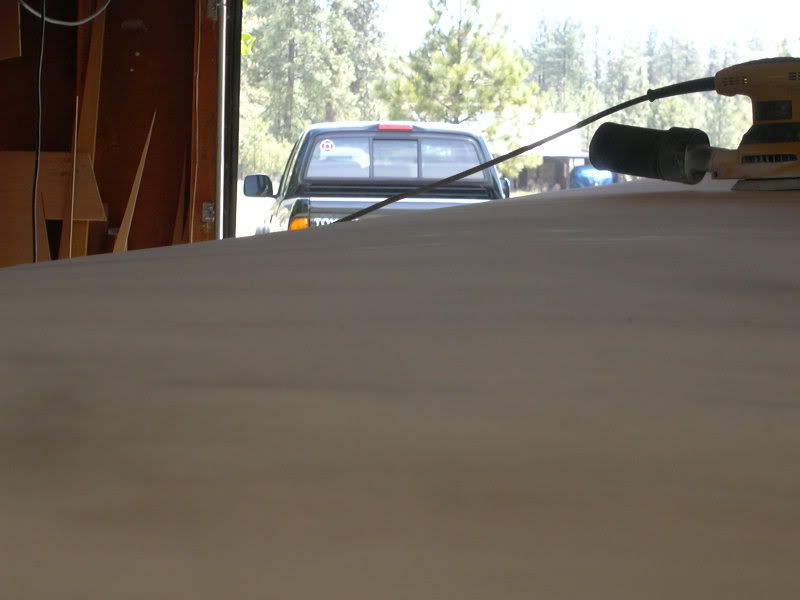


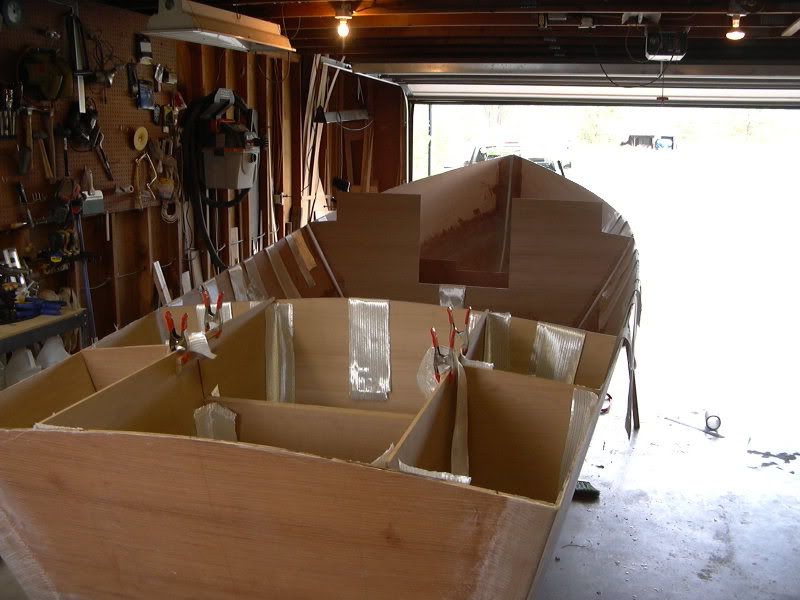
As it sits tonight:
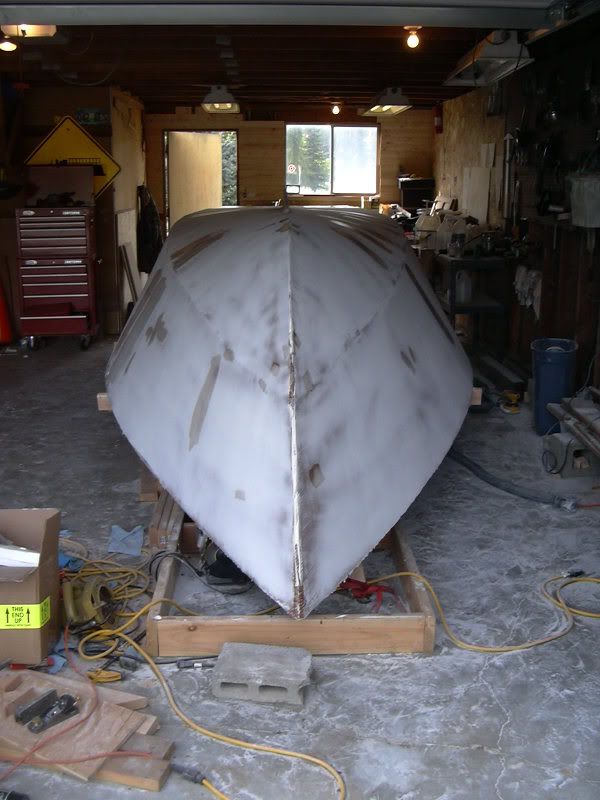


Over the past week Ive burnt through roughly 75 50 grit sanding pads, 10 sheets of 60 grit stick on 1/4 sheet, 4 sheets of 9x12 50 grit, and a roll of carpet tape. Oh, and my rotator cuffs. Its been a good deal of work since I tried to longboard most of it. As it turns out, that takes a LONG time. Longer than I have. I got back aboard the random orbit sander wagon, although it has left me with a wavy surface. Thats not necessarily due to the sander, moreso due to my inept, random, unfair, and anti-smooth application of fairing compound. Do not, under any circumstances, have me do your drywall.

On that note, has anyone looked at the calendar lately? Its like a week and a half to June. I am a miserable failure. We now have two choices. One, accept the loss as one of laziness, lack of skill, and repeating projects due to idiot mistakes. This is the course of builder error. Two, we can blame outside factors. Started in Oct, and had exceptionally poor weather, not gonna get any epoxying done when it was 10 below zero at night. Or the plywood issue. My long term readers may remember my 5 week long wait for plywood that was stuck at the border.

I vote we blame everyone else! It can't possibly be my fault we are behind schedule. Or yours, if your project is behind. If we blame others, then we can continue working with no remorse.

Due to contributing factors, I am going to add the 5 weeks I missed to the finish date.

July 4th.

Wish me luck.

Anyone in the pacific NW that wants to help out, see the boat, or help flip it over, just send a comment and let me know!

Im gonna go rest now, Ive got sanding to do tomorrow.

E

5.04.2007

Fumes

Normally when these blogs get bogged and beleaguered, lost and left alone, its because the project has decelerated, been neglected, or stopped. Not This!

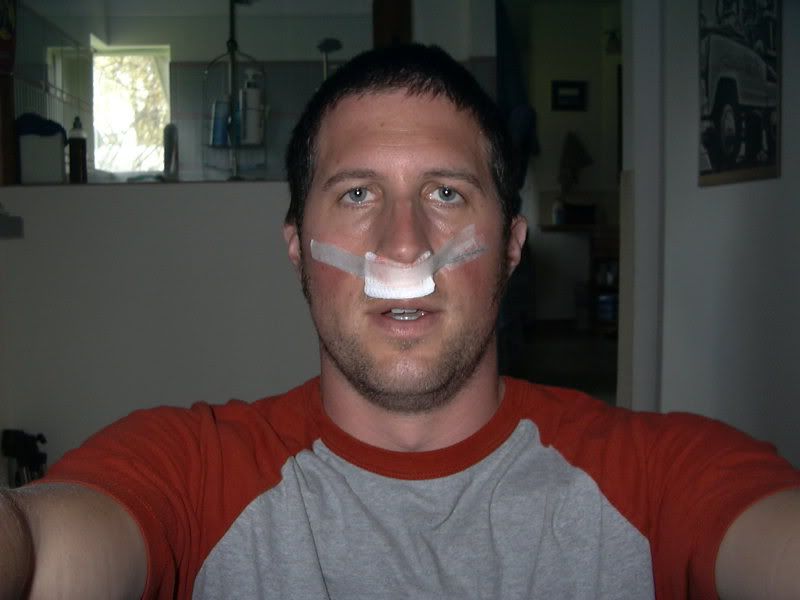
Since the surgery, I was feeling pretty puny, but better each day. I also have to shave at work, so I haven't been while Im off. Thoughts?


Instead of slacking off like most bloggers due to apathy, I have just been so stinkin' busy on the boat that I haven't had time to blog. Part of this is because I work on the boat until 5 or so, then blog until the beautiful bride shows up from work. Lately other things have been taking this time up:


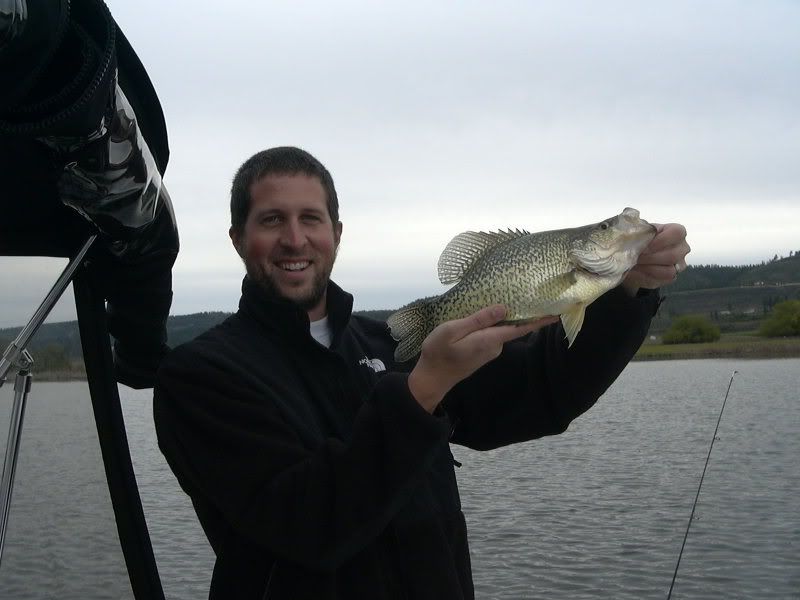
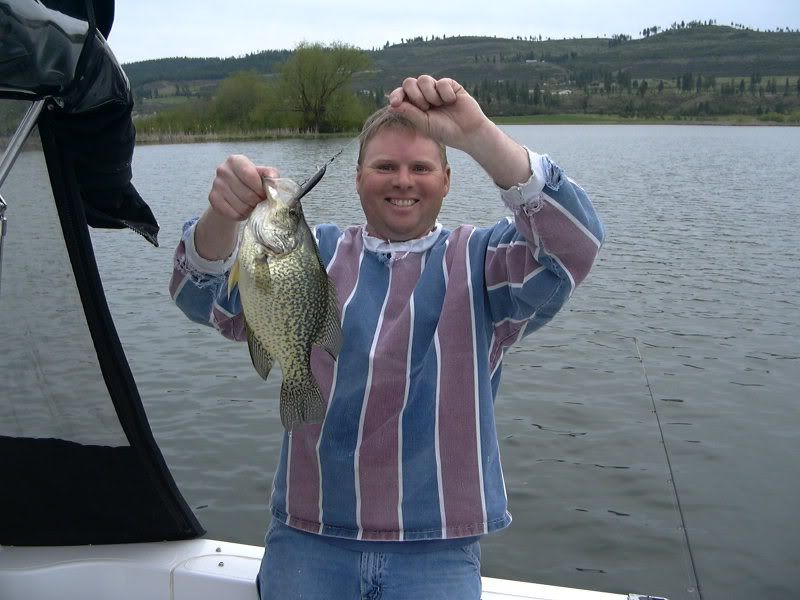
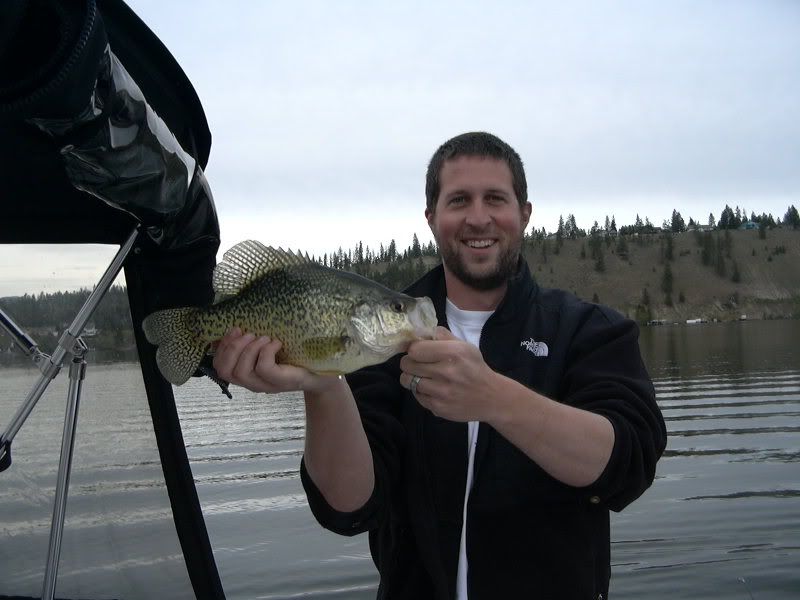
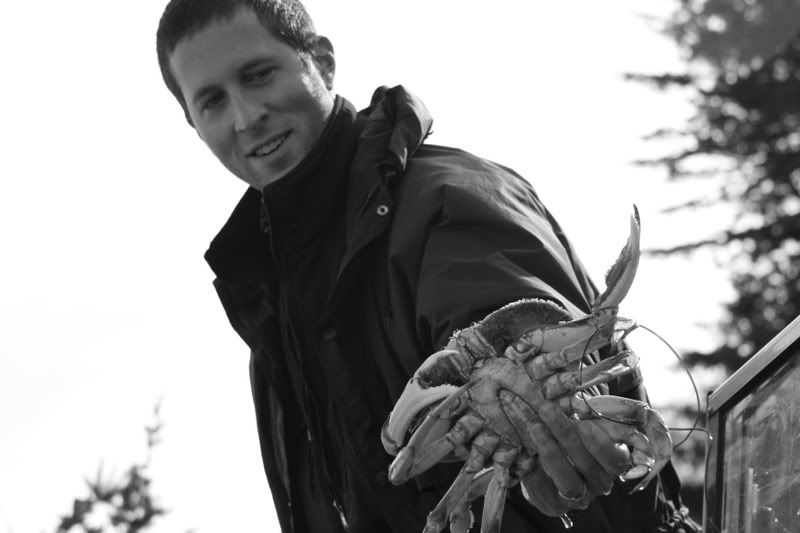
The bite is ON! Sean has been hosting all this spring, we developed a system, and reliably catch 2-6 of these pigs a night!

Sean with his:


Another monster:


Isn't this a boat blog?

Shes gone from a hollow shell of a boat, albeit right side up, to a stiff, strong structure thats ready for bottom fairing and paint. Let's dive in!

This is my filleting tool kit:


One homemade filleting tool, one stirring stick of scrap ply, and one mail-provided plastic card. The stirring stick is convenient to have in a wide width and about 4" longer than the cup you will be stirring in. The card is great for cleanup and for smoothing areas that the filleting tool can't get appropriately. When you travel, keep your door cards. They have personal data you don't want to share, and they make a GREAT tool.


I've been asked about the filleting tool before, so here it is. It was a piece of hollow dowel that held a railing off the wall in my house. I cut a 1/4" slice off it, and epoxied it to a scrap of mahogany taper that was going to be burned anyways. This tool makes smooth, clean fillets in just about any corner, it's just a hair bigger than what the designer reccomends, but just makes beautiful fillets. I reccomend making one.

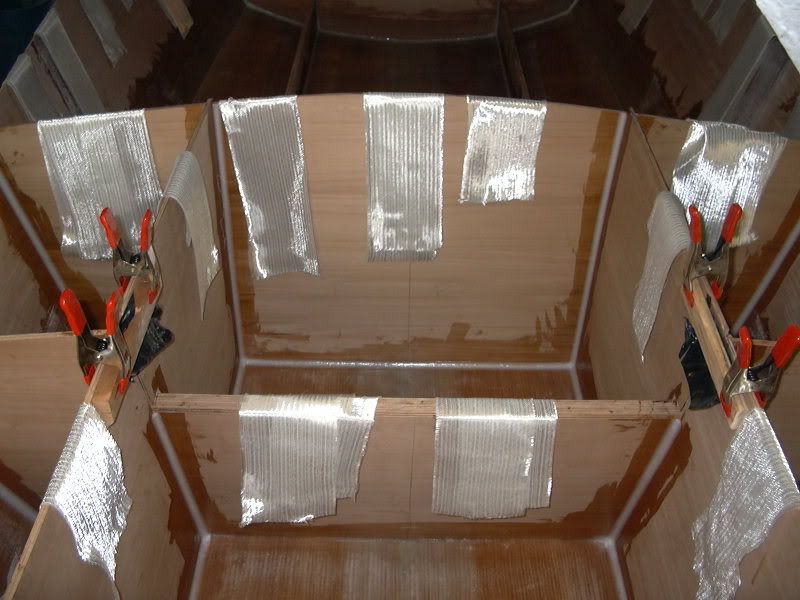
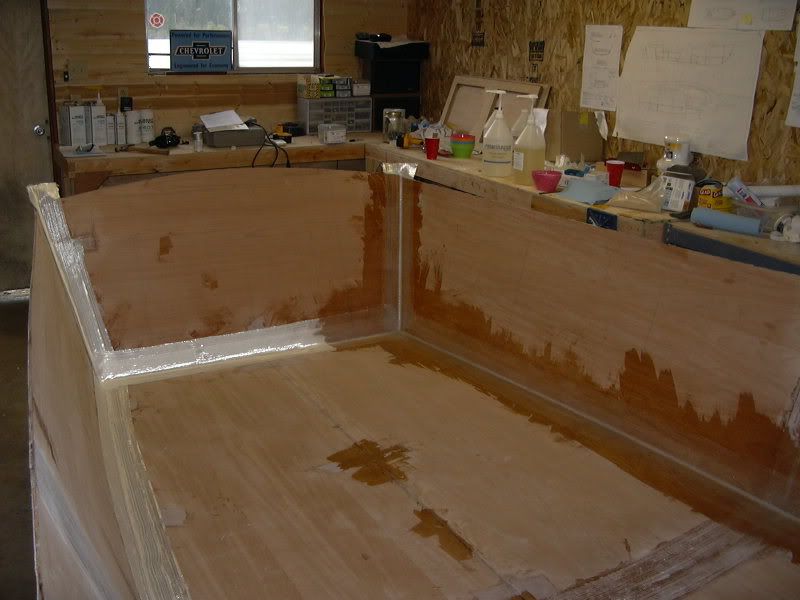
All the guts mocked up, tape cut, and prepped for fillet/tape:


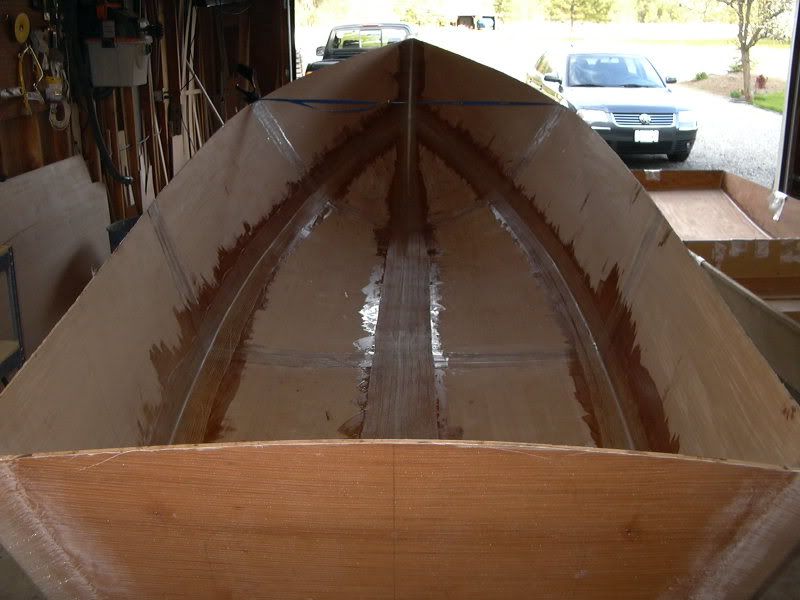
Bow sections filleted and taped up:


Laying fillets in the passenger area:


Filleting the engine compartment and slopwell:


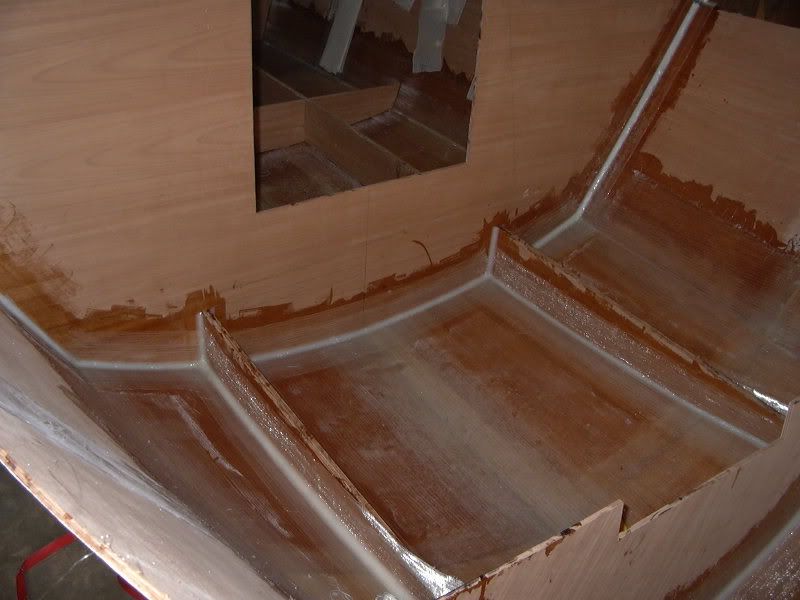
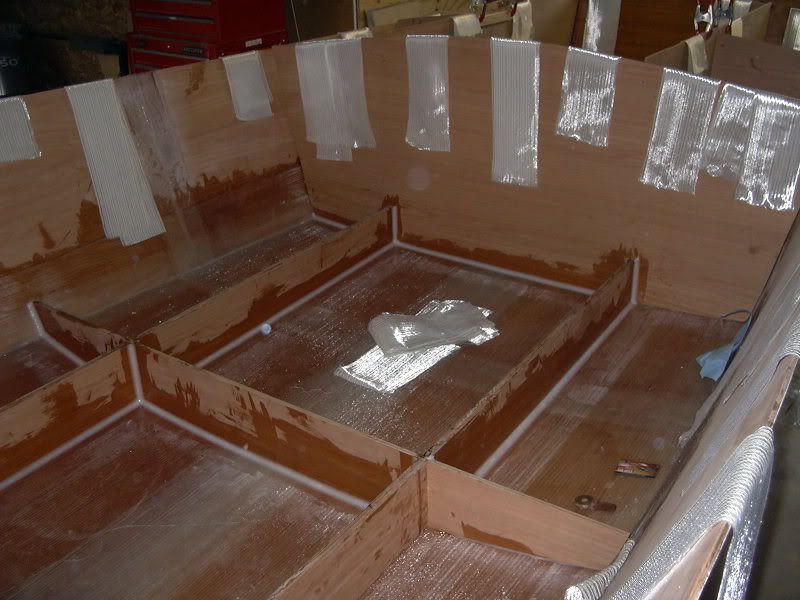
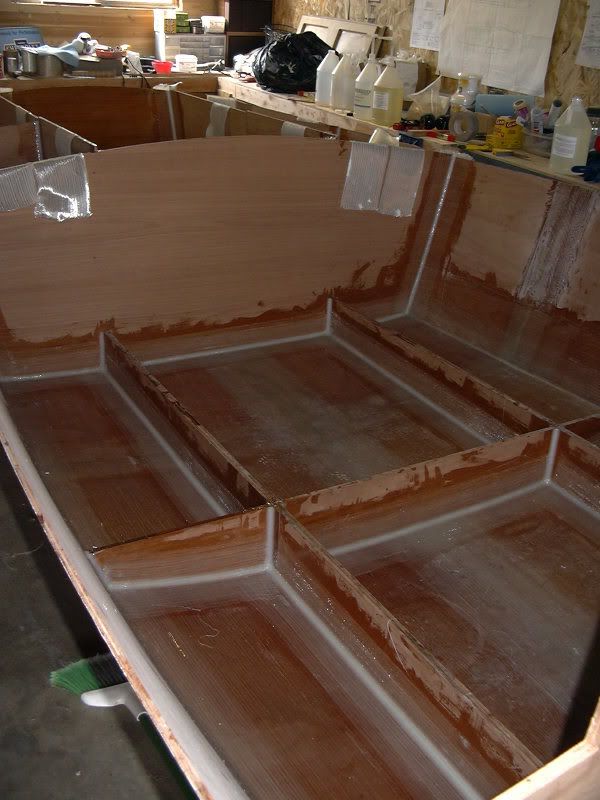
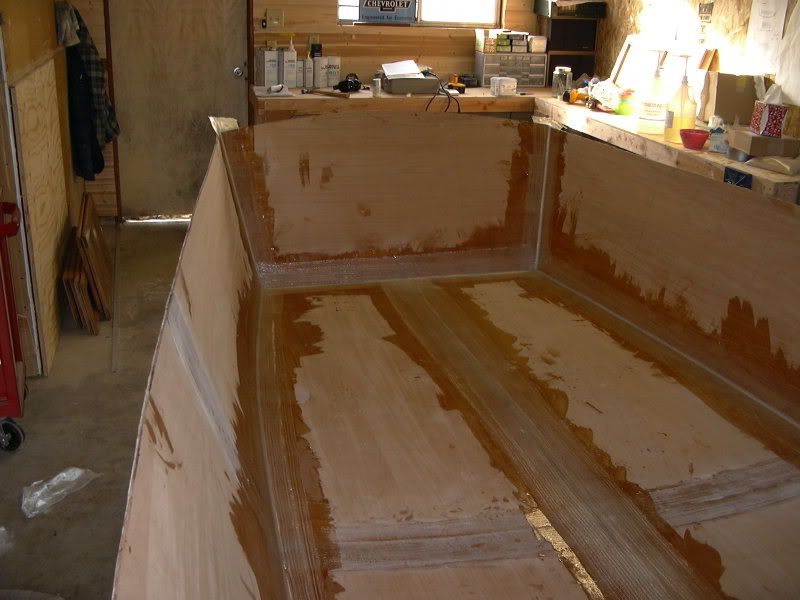
Taping begins in earnest... The main passenger area:


Taped up motorwell and splashwell:


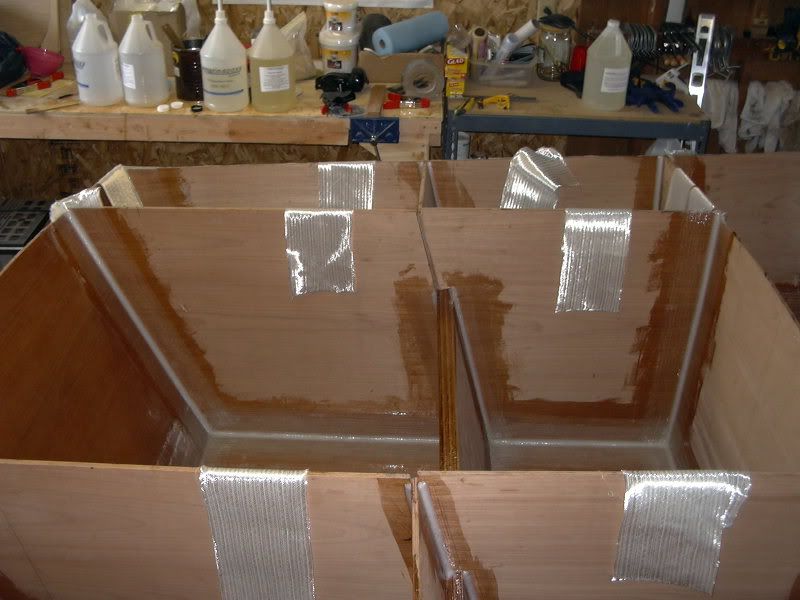
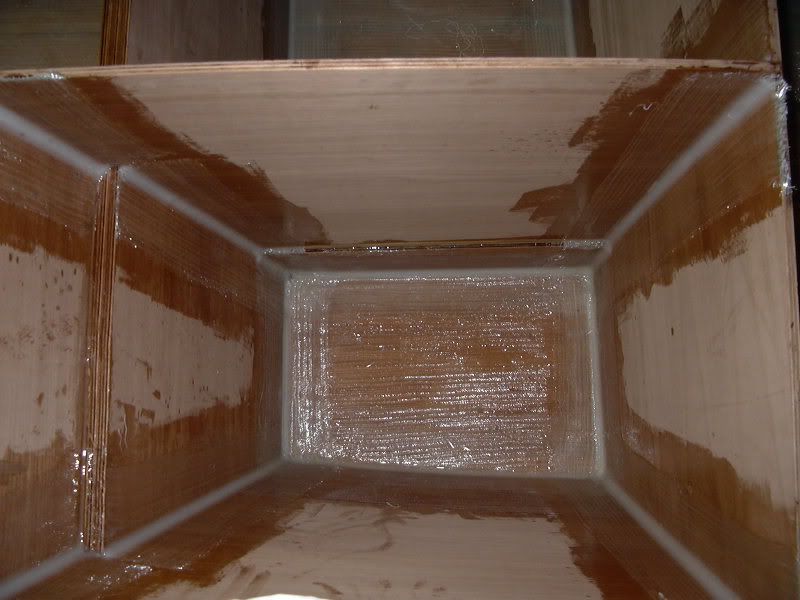
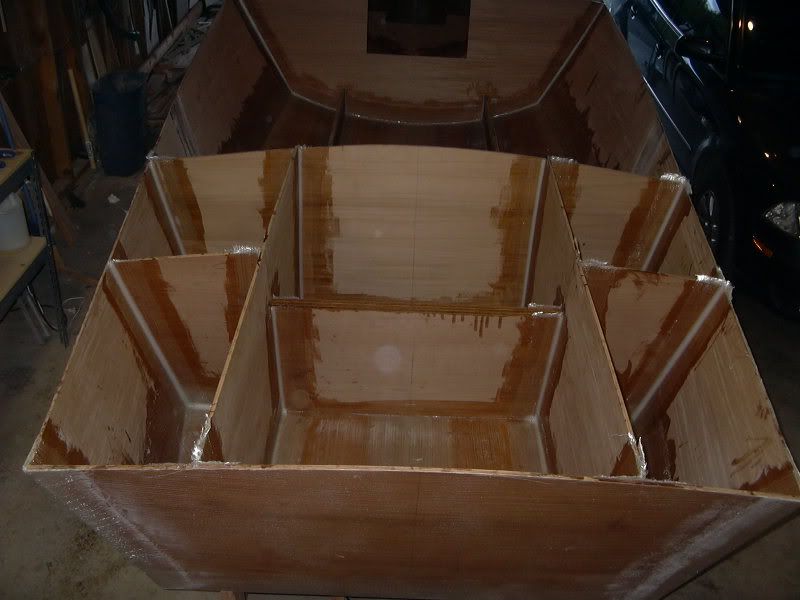
I was fumed up and feeling artistic. This is one of the flotation/storage wells on the side:


Feeling triumphant at the end of a 9 hr glassing frenzy:


Anyone wanna help me flip this thing over tonight or sunday?

E

4.26.2007

Cramped

This was one of the tougher pieces of glass ive ever had to lay. Due to the fact that I was going to lay both sheets in one day, and I wasnt going to climb around all over one wet one and one dry one, I laid both simultaneously. Not easy, but effective.

Doug -- Use the sheet remnant from the BOTTOM panel as a template for the INSIDE sheets. Makes cutting this to fit a snap!

The bow sucked, not very easy to get everything perfectly tight and dry. Im glad I switched over to the medium speed hardener. It did however get put down and relatively close to a 50/50 resin-glass ratio in most places. The corners, eh, not so much. Little wetter.

Finished product:


The bow overlaps:


From the front showing some of the sexy curves on this boat:


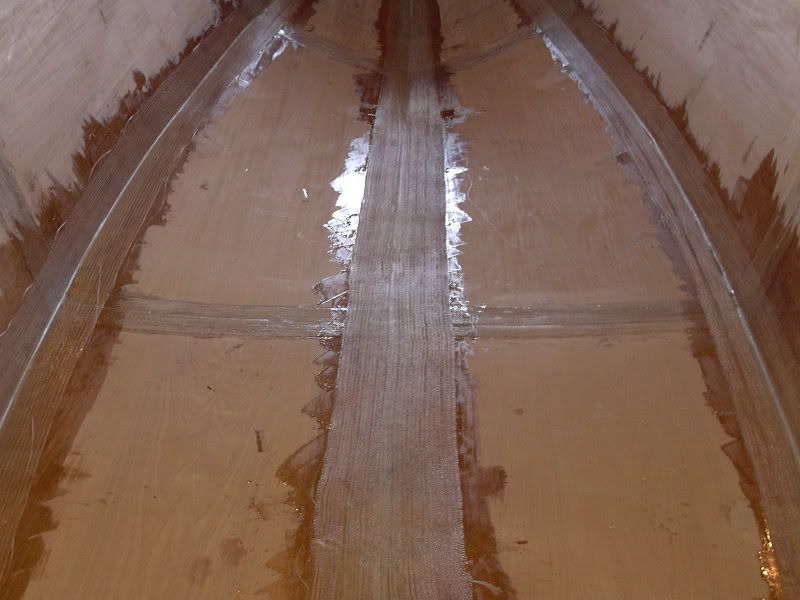
Closer to see the weave:


Today, we start fitting in the guts!

E

4.25.2007

Fortuitous timing

Another day, a new lease on breathing, and progress!

Felt good this morning, the air goes in and out, the blood goes round and round, with very few exceptions. Im finally feeling up to medium sized tasks, and the doc says just to not get nuts, so Im back at it.

Filleting was the plan of the day. Fillet the inside of the hull today, tape tomorrow, glass friday. Should be a good schedule, not too much to ask.

Filleting went well. There really are relatively few places that need a big (13mm or 1/2" radius) fillet laid in, so this was cake. Nice mixing Marinepoxy from www.boatbuildercentral.com really did the trick.

I didn't think about taking pics until after the filleting was done. Ironically, it was done at about 11:30 this morning! I hadn't anticipated it going so smoothly or quickly, so I was enthused. A whole afternoon left....

Out came the prevously cut tape. Started rolling everything out, checking fit here and there. Hell, why not, I bet I can get this taped today too! I threw one layer out, then remembered that I do have a camera, and a blog that occasionally gets read by moderately interested people.

The transom fillets:


The bow fillet (note how it tapers to nothing as the bow gains its fullness):


Then began taping in earnest. The fillets were still quite tacky, but not wet anymore. This (if you are doing a similar project) is a convenient fact to keep in mind. I could immediately lay my tape out, even in the 2 and 3 layer fashion required, and stick it in place loosely until I got the saturating epoxy on it. EXTREMELY helpful part of working "wet on wet" as they say. Saved me at least an hour or two of prep work, and a couple hours of sanding time.

Picked up the camera during a glove change:


When I finished all my tidying up and cleaning off of the supplies, I then degloved to shoot pictures of my handiwork. This is partly for your informative pleasure and mostly for my inflating ego.


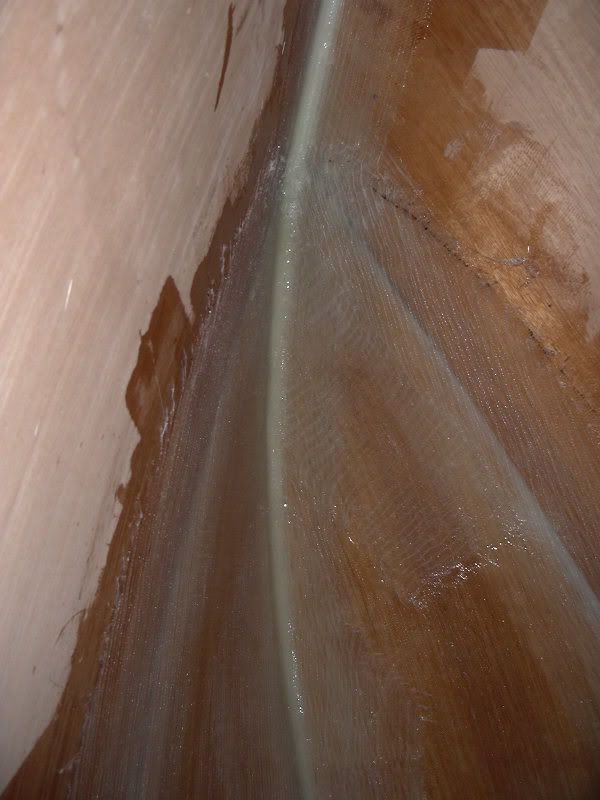
The weave a little closer:


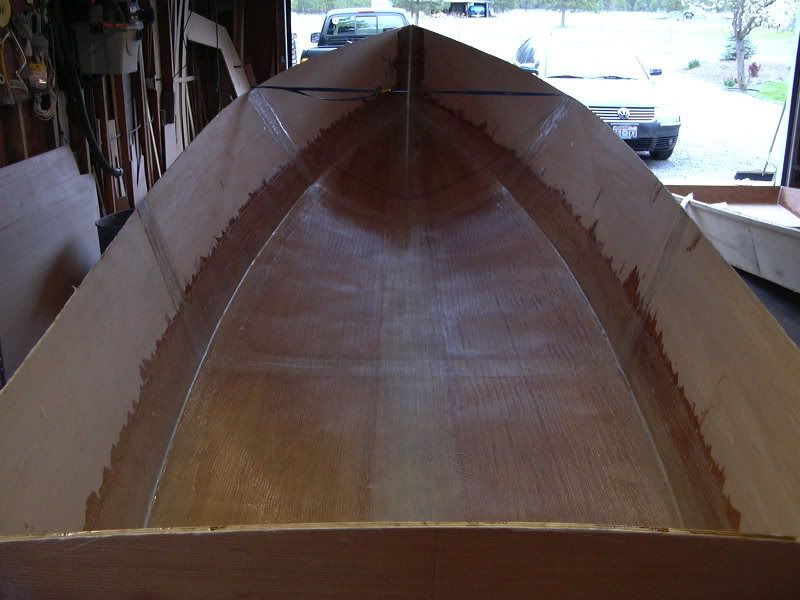
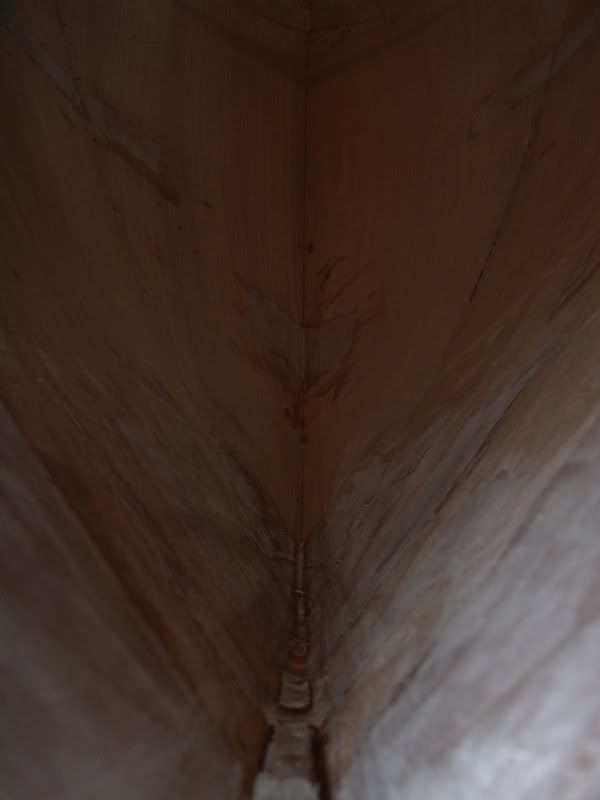
Shot down the bow to show the fillet covered with glass:


For the fortuitous part:

I had set out on my plan for fiberglassing happening friday. I then posted a few questions over at http://forums.bateau2.com/ concerning the interior fiberglassing. On certain designs you can use the remnants to sheath the inside in strips. Unfortunately for me, I would have to make too many little strips and odds and ends, so I chose to order up another roll of 20 yds. This is a whopping $175 or so, and in the grand scheme of the boat a mere drop in the bucket. Plus I will use the extra to build other projects in the future (that boylesboats jonboat Ive been lazing around thinking about). I asked the guys over at e-boat (from whence the plans and all supplies came) if they could get the rolls to me by friday, to which they said no prob. My order was taken, processed, and dropped at DHL in the course of 3 hrs. I got my first shipping notice from DHL an hour later, saying my goodies should be here thurs. PERFECT! Huge help, amazing service and a good crew.

Flash to today. Lo and behold DHL pops in a full day early with my glass! I will be cutting, prepping, and laying glass tomorrow......

Jacques, Joel, Dave, Thanks!

E

4.23.2007

Follow up post (2nd today)

Just wanted to tidy up the loose ends.

Went out and finished up the prep work on the inside of the hull. Its looking quite ready for glass on the interior! All the tabs have been sanded down, the butt blocks roughed up for adhesion, and the edges raduised a scoche for my own personal sanity.

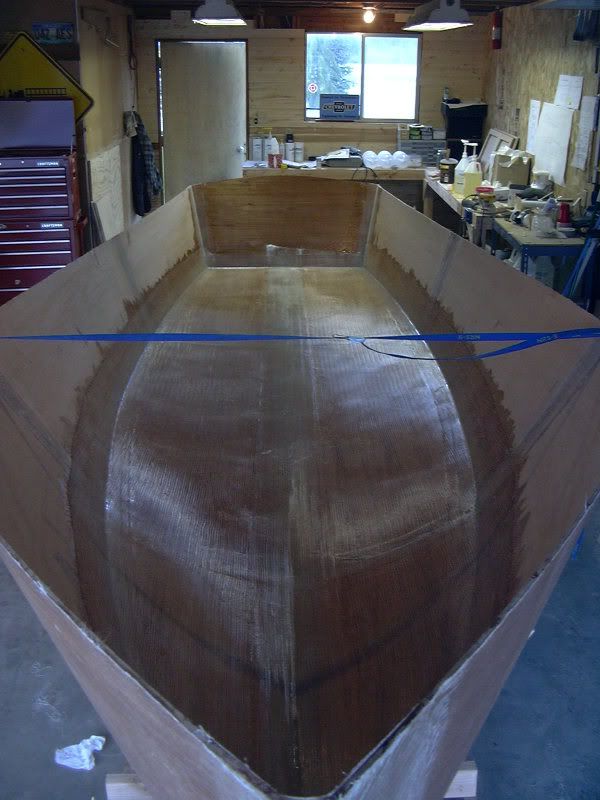
Overall:


One up the bow, one down. The one down shows where the bow fillet needs to be finished out (packed with more epoxy) from when it was filled exteriorly:


More Gratuitous Frontal Nudity:


Its like 70 out, Im gona go fish.

E
Feeling a little better


Well now that Im not quite feeling as poorly, its back to the blog.

Recovering well, have had some throat issues with all the blood and "healing secretions", fatigue, etc, but its on the wane. Time to post a few things from before I was laid up.

First off, Shayne finally got bit by the bug. Coming to help flip the boat (and some anti-social issues at home) catalyzed him into building a boat. He decided on a simple jonboat built out of construction grade wood as cheaply built as possible. I think we are in it a grand total of $125. 15.5' long, 52" wide, should be perfect for a 9.9hp motor. Boyle's Boats out of Louisiana provided the plans.

Of note is the notched trowel method of spreading glue for a lamination. Shaynes first boat is going to be a butt block built boat with 1/4 lauan sides and a 3/8 fir keel. This pair of photos shows why you should use a notched trowel to spread your glue:


And a closeup of the glue:


Afterwards, we laid them out on the joint, used a rubber laminate countertop roller to get the glue pressed in and the air pressed out, then nailed up the 3/8 stuff with ringnails for stiffness. Should be a fun little boat for he and his daughter(s).

On Nina, I piddled around with a mockup using the jig structure. All the internal framing went in and was test-fit. While it was in, I leveled the boat off, made sure all the keel sections were flat, parallel, and where they needed to be. I then braced the transom, amidships, and the bow. This bracing will protect the sheeting and stabilize the boat while I add support structure and fiberglass.

A quick glimpse of the interior structure in place, and the transom braces on the jig:


The bow bracing is 2x4 screwed and braced, followed by 1/4" plywood pads to stabilize the vertical structures. The pads are hot-glued in place to the bracing so that they have a little flexibility.

Gratuitous frontal nudity:


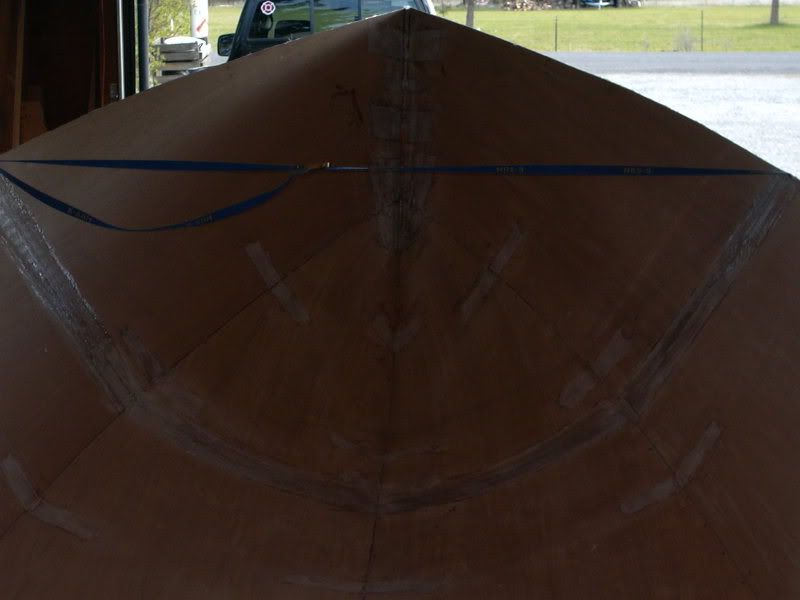
And a shot to close, just showing the sheer of the boat, and her overall size and shape (starting to get a little excited at this point):


Gonna finish the interior prep work for laying glass today.

E
4.19.2007

More posts soon, but not too soon...


Had my surgery yesterday.

Little pain, LOTSA tired.

Never had anasthesia before, thats an interesting experience.

Things are gonna be slow for a few days, but barring any big problems, I think I might be able to get back out in the shop monday possibly.

Will have another post on the boat tomorrow I think.

E
4.14.2007

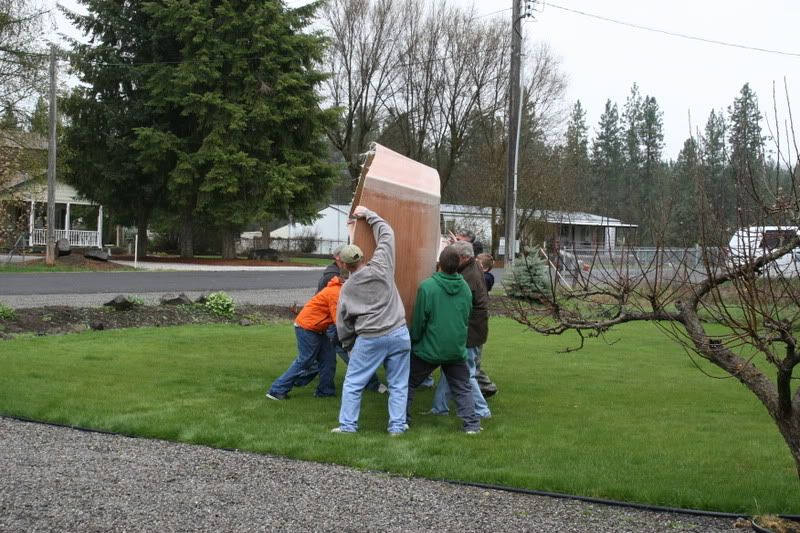
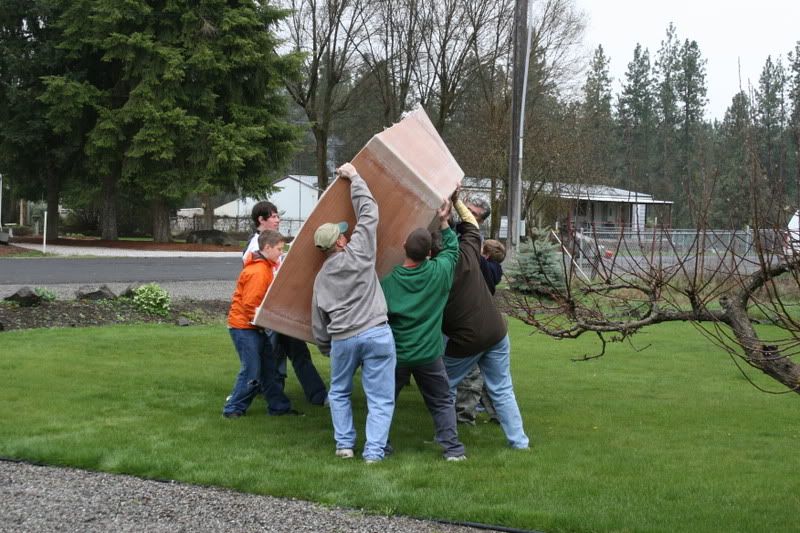
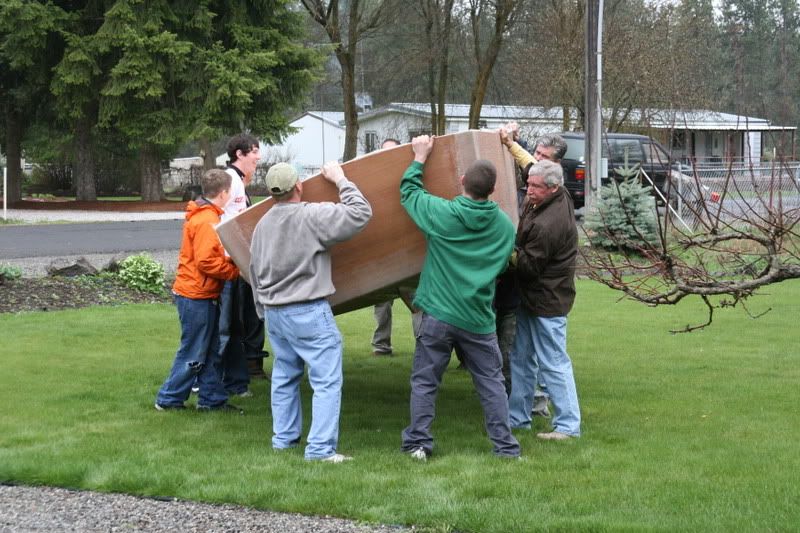
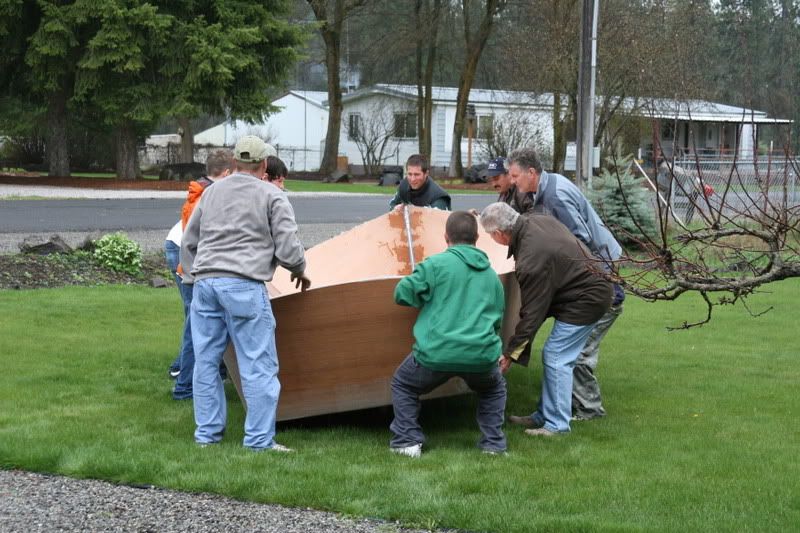
El Rollo

It just kinda happened.

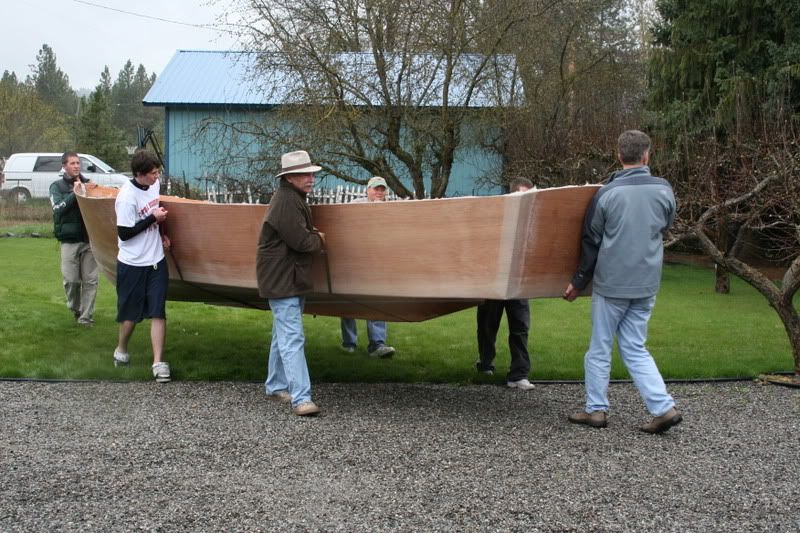
I decided it was a good time to roll, so I hinted at a couple people around here that I might need a hand. I figured one or two extra hands, some bracing here and there, blankets, etc.

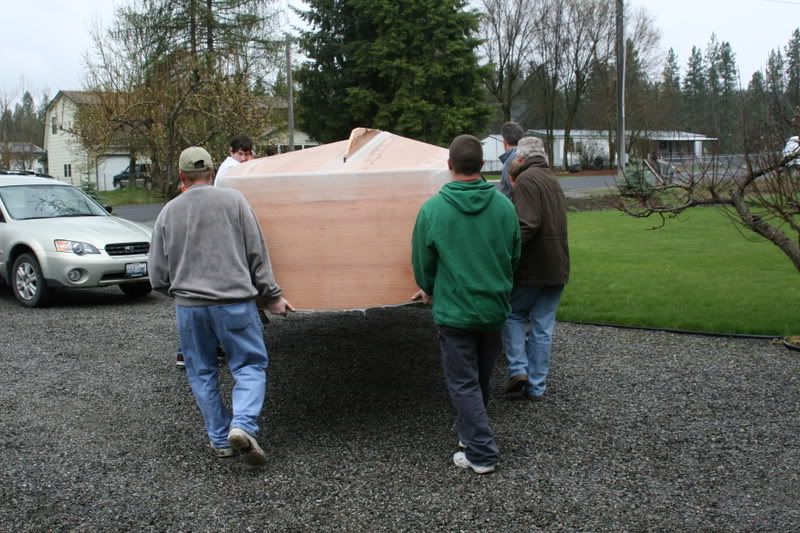
I called Sean, he came with his son Bret and a friend. Shayne from work stopped by to drop off a router from craigslist. Then on the way, Sean's father in law happened to show up. Then Bryce and his brother Ray across the street decided to join in. Just about the time we get that work party ready, Pete and Brady from next door pull up. Poof! We had ourselves a boat flipping crew!

Alycia, my wife, brought out the BIG camera, so the photos are a bit larger. You can also see her photography work and web design at http://alyciastaggs.com

The instructions:


Man this thing is light:


Many hands make light work:


It then sat in the yard for about 15 minutes while I attached the new bunks on the jig to support it. 2x4x14' with bracing, seems to do the job, and I will be adding some more bracing here and there. It also apparently collected 3 gallons of water.

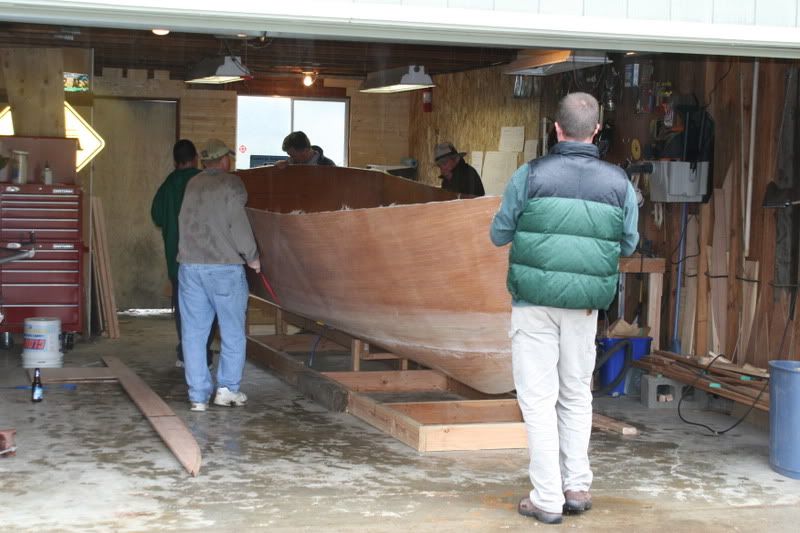
Time to put her to bed:


Big thanks to Shayne, Sean, the boys, Pete, Brady, Teri's dad, Bryce, Ray, and my wife Alycia. I really appreciate everyone's help.

Next up, fillets and tape, after I build up the jig a bit. I also have some surgery coming up, so if I dont get a post up for a few days, please cut a fellah some slack, eh?

E