Double post this time!
Firstly, for those who work alone all the time, this might be a helpful tip. Having some car tools around made this exceptionally helpful remedy for my lonesome boat shop. Lifting the forms to the correct height while clamping 2 uprights to not only the form but also to the strongback can be a challenge. BUT! We have a solution!\
If we can lift from the center while balancing on the upright 2x4's, we only need one set of hands for clamping, thus:
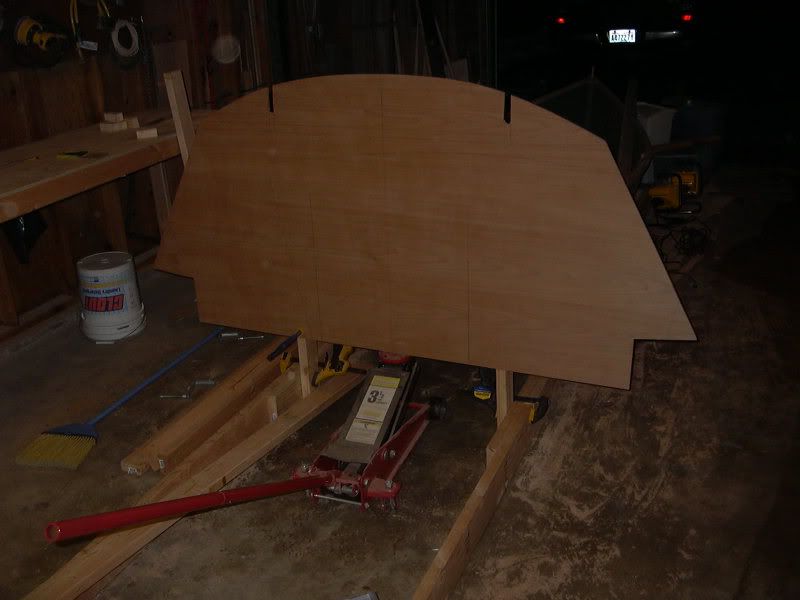
Senor car jack to the rescue! What a time and labor saver! It is nearly micro-adjustable, will go precisely where it's told, and has wheels to boot. Odds are at least half of the readership have one of these nearby or borrow-able, so keep it in mind. It is a little heavy to move in and out of the strongback, but well worth it.
Here is the finished product of the jack's labors:
And now for the bad news:
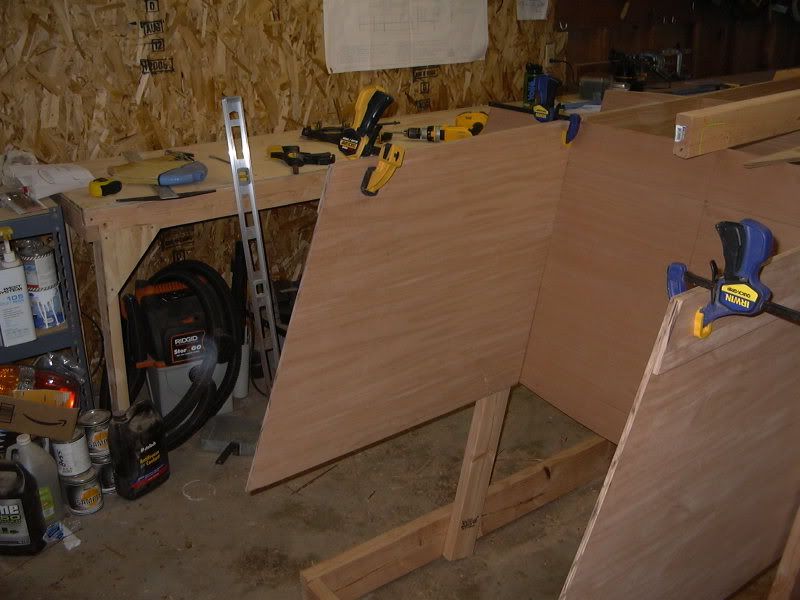
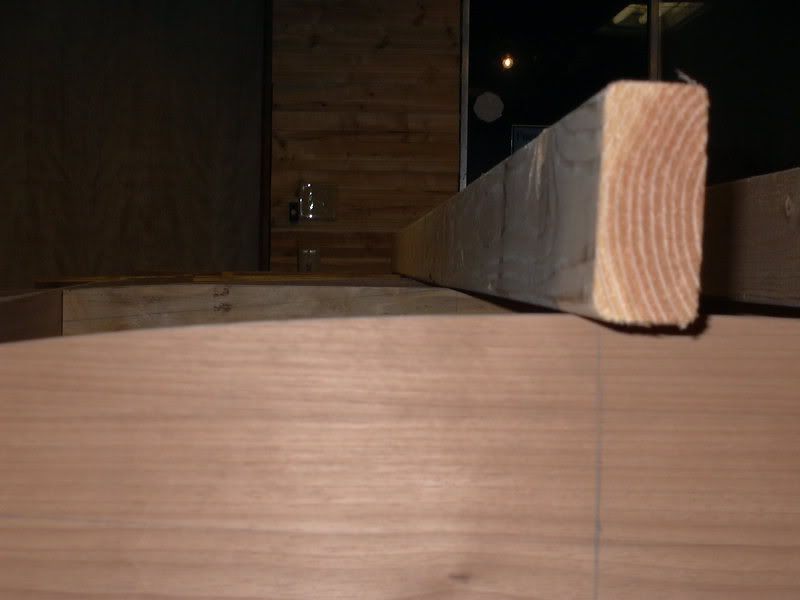
I had one helluva time figuring out why everything was measuring up PRECISELY (less than 2mm off in all directions), but the transom was lining up 20MM CROOKED. I take the jig apart, I put the jig together. I take the frames out, I measure, I put it back together. I take the stringers out, I put it back together. NOTHING CHANGES! I finally have deduced it to the transom or clamping boards. Tape measure here, tape measure there, T square. Son of a.......
Turns out, while the bottom surfaces of the transom lined up perfectly, I was 9mm off on one side of BOTH clamping boards. &**)@#&%^*@&^#. After said swearing tyraid, I hung up the apron for the night. Slept on it, thought about it, and out came the circular saw. Set to the depth of the clamping boards but just above the transom, a cutting we will go.

Atrocious photo, I know. Coming up from the bottom you will see a dark line sloping downward from right to left. Thats the error. After some cutting, we spent a little quality time with the 1/2" chisel getting the last of the goo off the bottom without damaging the transom. All happy.
Let this be a lesson to any builders. Be willing to fix those errors no matter how tough it may seem. Try fixing it first before you rebuild. This error would have cost about $185 to rebuild the transom, but a little extra labor made it perfect.
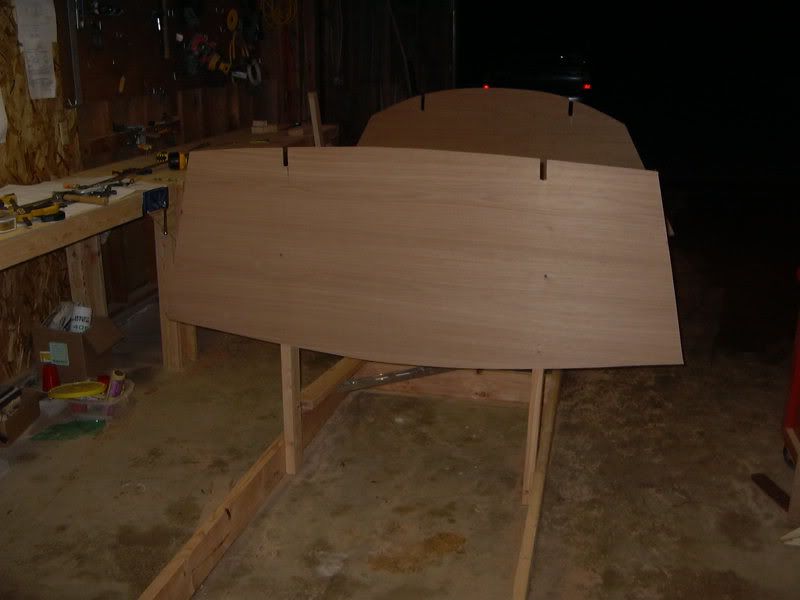
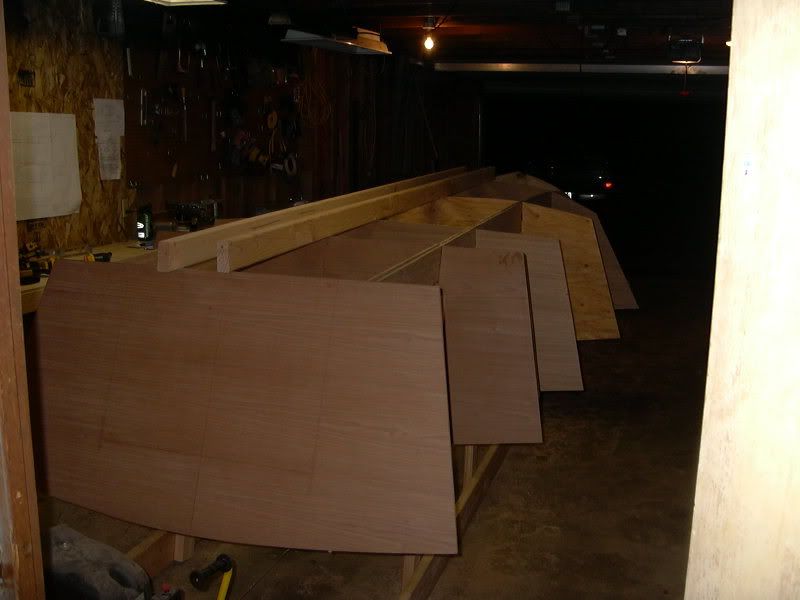
With said error on the mend, let's get back to the 3D part of our saga. Over the past 2 days the forms have gone up, the stringers were set, and the first (A) frame is all thats left (which I will be doing as soon as I get done blathering on here). To the photos!
Superjig 5000:
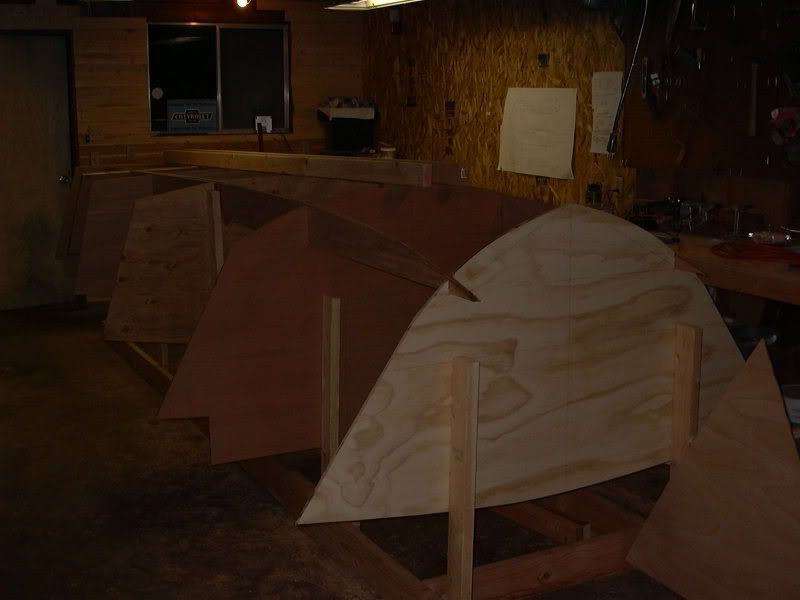
This is how Jacques has designed the motorwell to go together. These motorwell sides are essentially screwed in place while the jig is built, since disassembly would be impossible as it holds the clamping boards into a notch. Pretty fancy if you ask me:
Another shot, of the nearly complete jig, transom and all:
Finally, this one is for Doug, and the others who will build this boat. Dead nuts straight and flat, eh:
As always please don't hesitate to ask if there are any questions or if you want to see something in another post. I am also working on my sitemeter, as the new format has changed some of the code. The more feedback the better!
E

3 comments:
Merry Xmas & Happy New Year! Only 6 months to go! 480 visitors wow... Keep it up! F&T
Thanks for the kind words, and we will see how that 6 months works out. Maybe sooner?
Well said.
Post a Comment