1.26.2007

Confessions of a boat blogger

This is just an off-topic post, thus the double post from the Department of Redundancy Department.

These are the lengths we bloggers will go to put our info out there, keep you readers satiated, and hopefully illicit an occasional email/comment/post on the various forums!


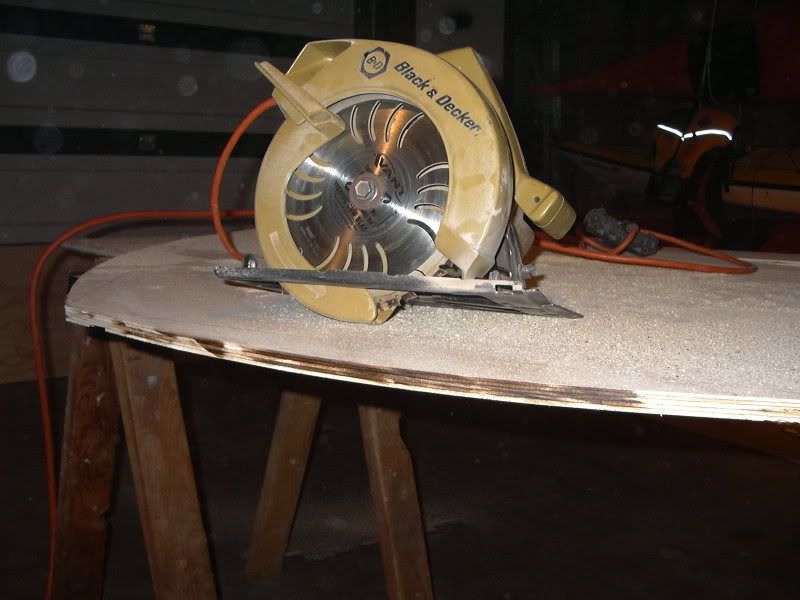
See, Im serious about keeping this blog alive! Sawdust isnt reccomended for drives, but its really just a matter of careful saw work, a vacuum on your sander, and true, dedicated devotion to the beloved READER!

E

Screw the cold.

I got sick of being frozen out of work. Its time for epoxy!

Daytime temps have been floating around...

Its been...

Alright, who the hell put &%(&(!@# Rocky mountain high on this computer? SERIOUSLY? How the hell do I blog listening to John Denver? Long Beach Allstars, thats better. Sorry.

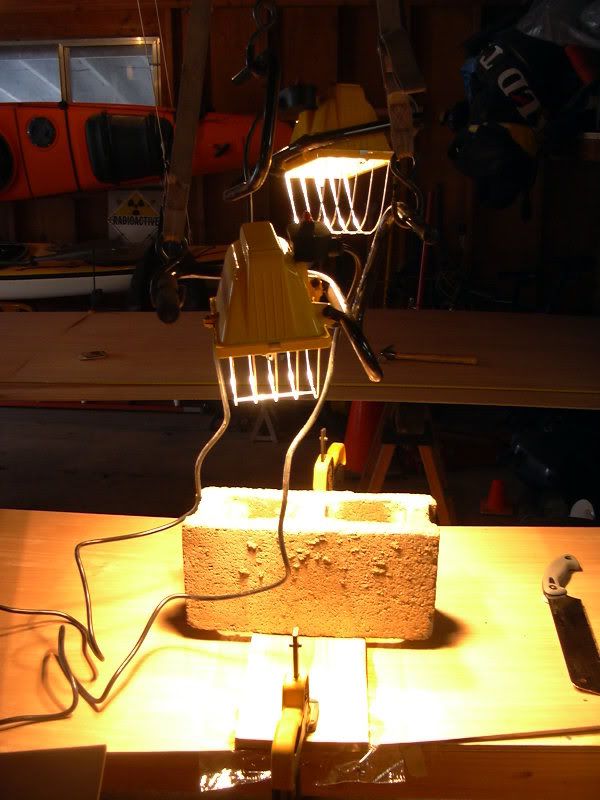
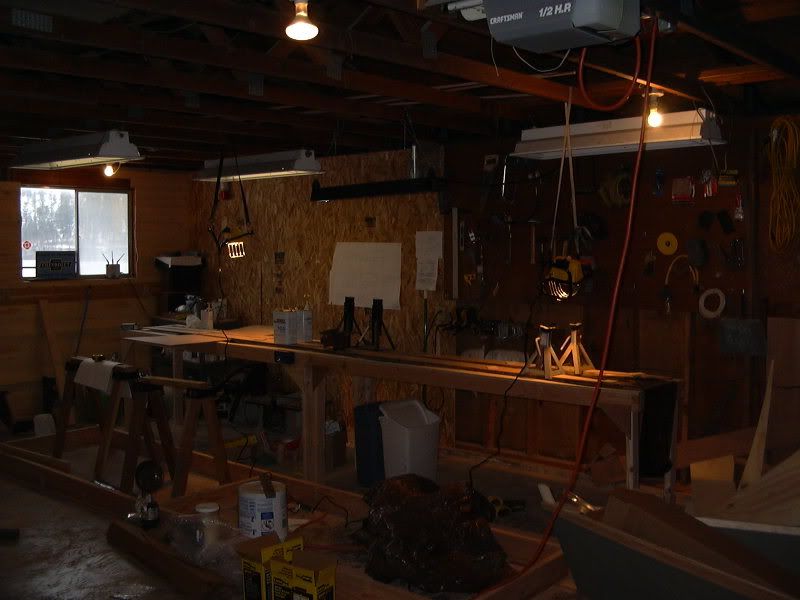
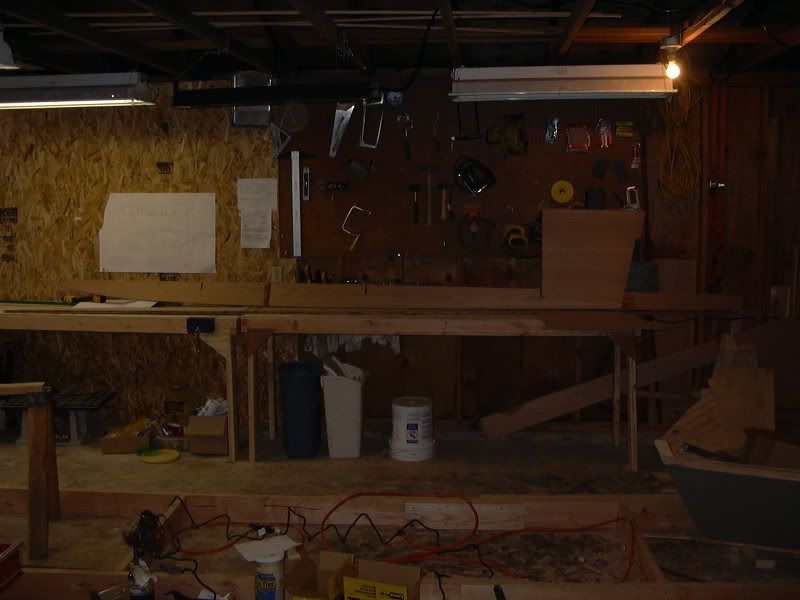
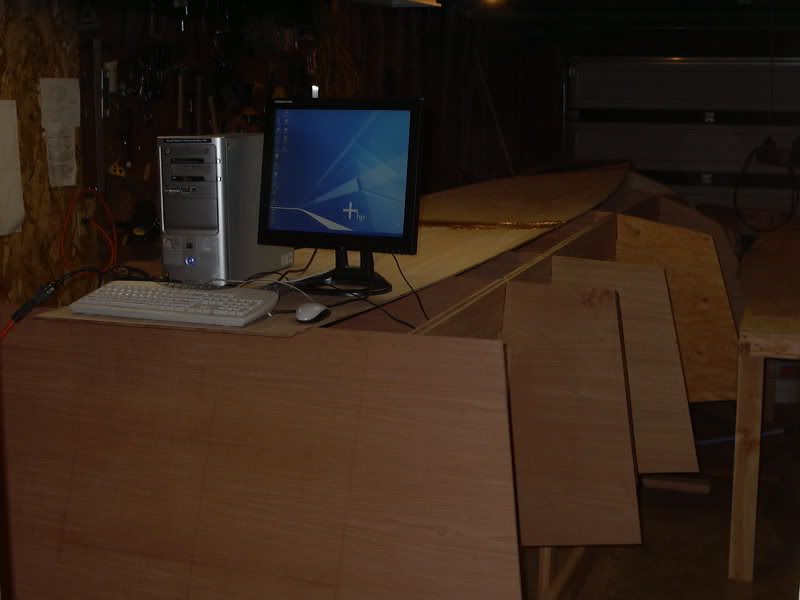
The daytime temp in the shop has been hovering in the 10-20 degree F range forever. It warmed up to a balmy 34 the other day, so I pulled the trigger on the bottom panels. As previously discussed, Im building this boat without the ability to heat the shop, so your humble (?) narrator is heating the working surfaces only with radiant heat in an attempt to get curing temps high without throwing heat in the whole structure. Here is a shot of the (rather ghetto) setup.

My cheap version, 2 500W worklights. Theoretically 100W of heat, right? Theoretically Communism works too....


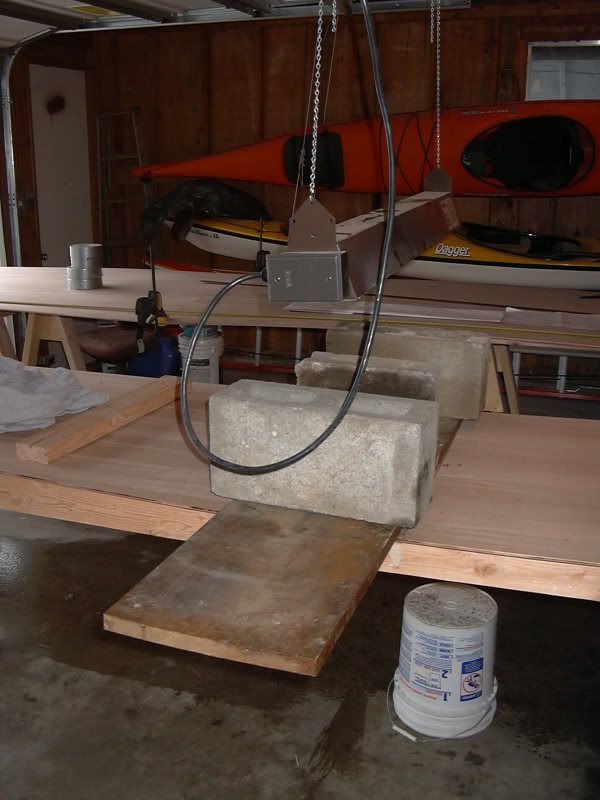
A bit more strategic and effective, the 1500W radiant heater:


Surprisingly, the lights are getting me 50F to 60F surface temps, and the big heater is giving up to 70F surface temps. No bubbles from offgassing as well. Its working well, so well that I have the second panel gluing as we speak. We will see if it sustains temps throughout the night as we expect 20 or less temp wise tonight.

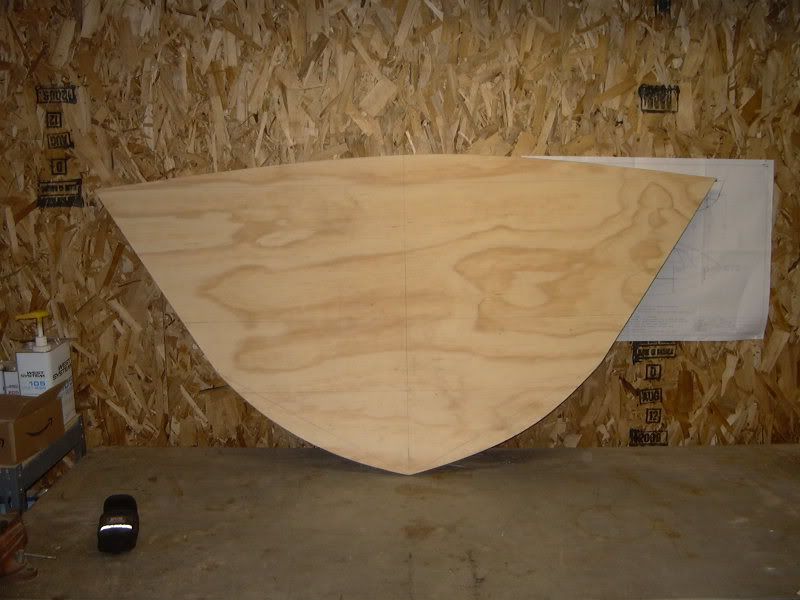
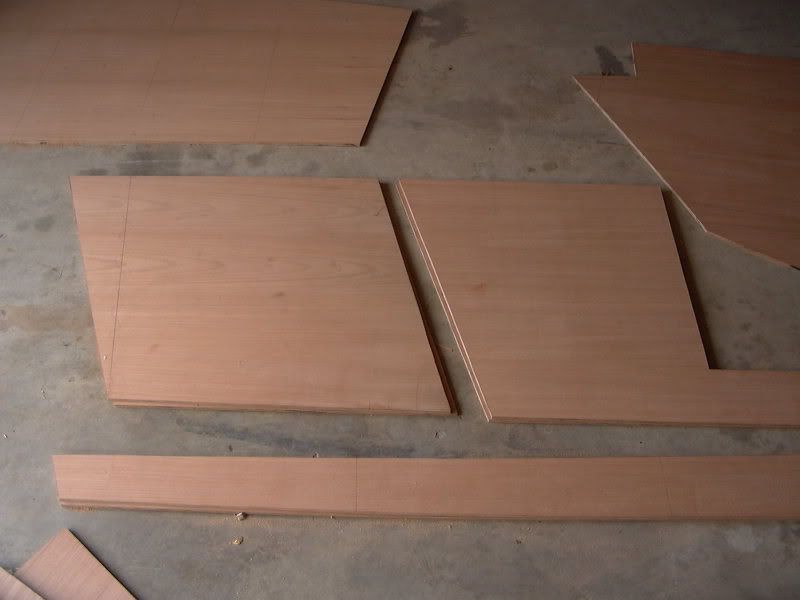
While laying up the first panel, I cut out the two side panels...

WOW, I think the lead singer of Long Beach Allstars is tone deaf. Merle Haggard? Nah. Believe it or not, Moulin Rouge soundtrack. That works nicely.

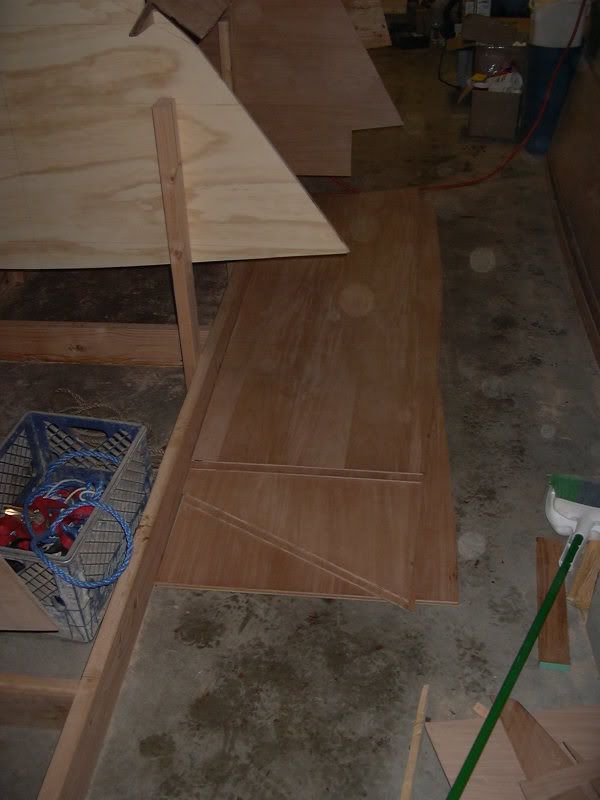
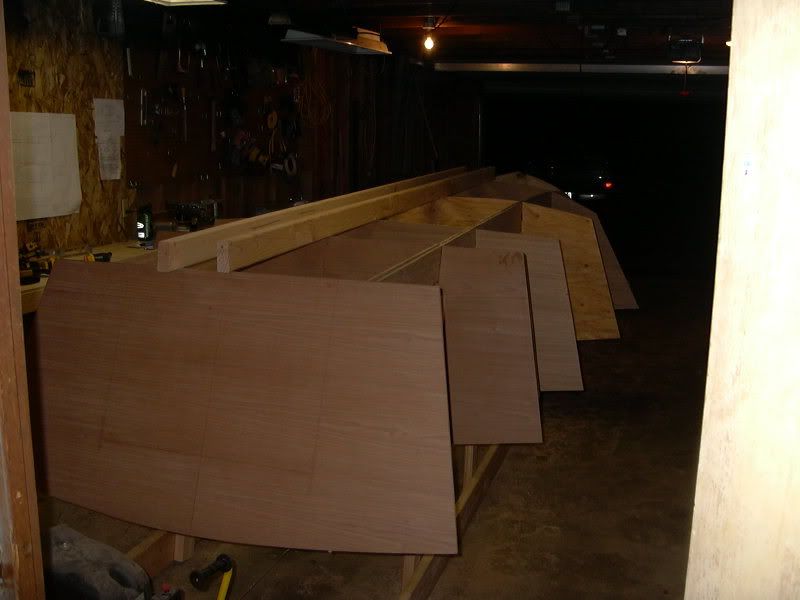
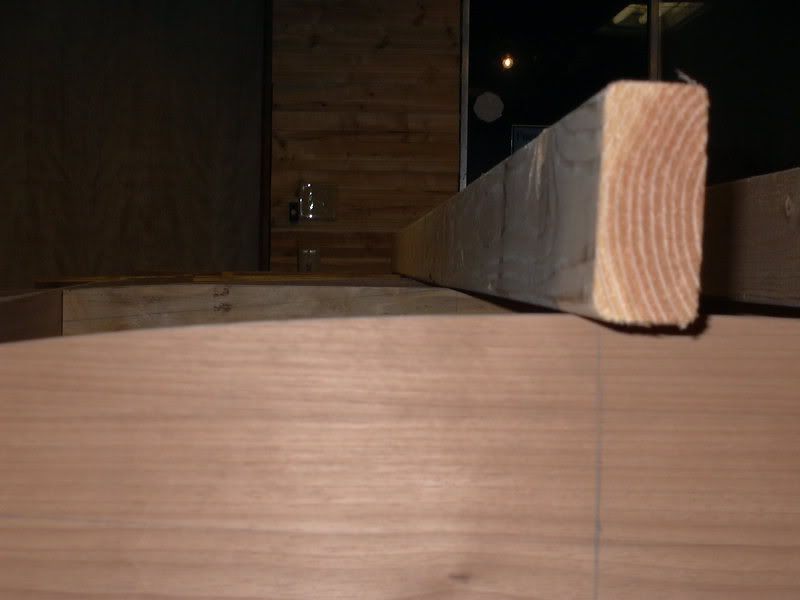
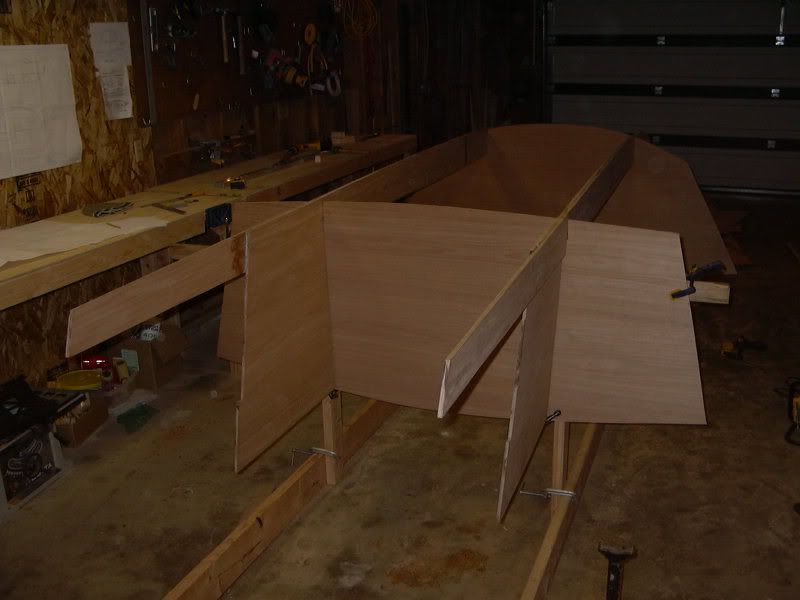
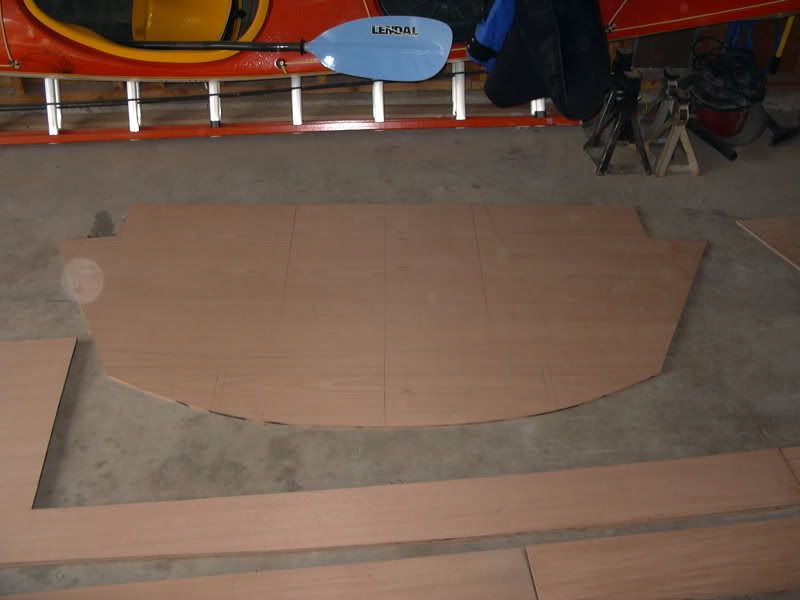
The two sides are stacked aside, and look like this:


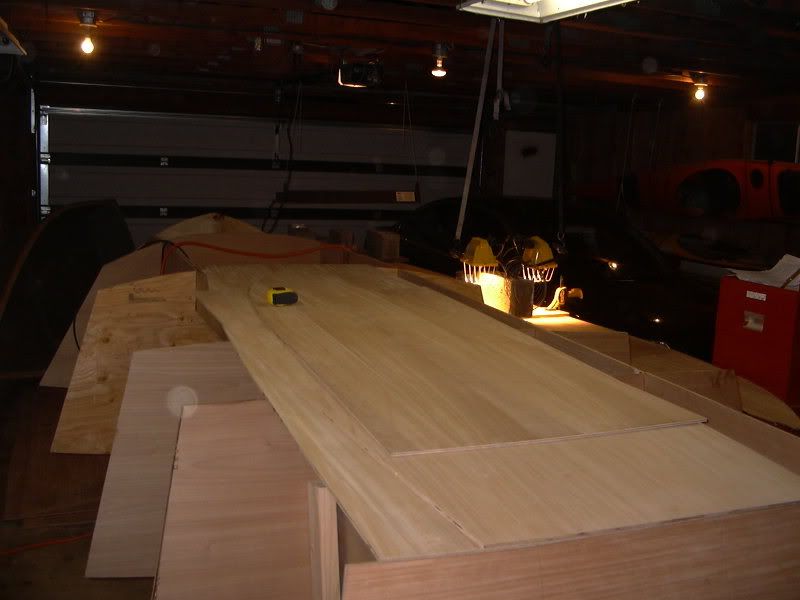
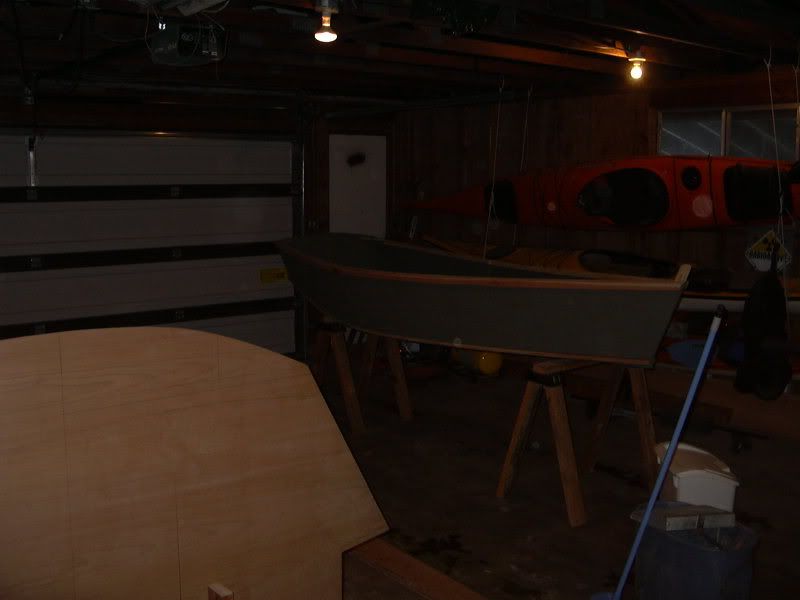
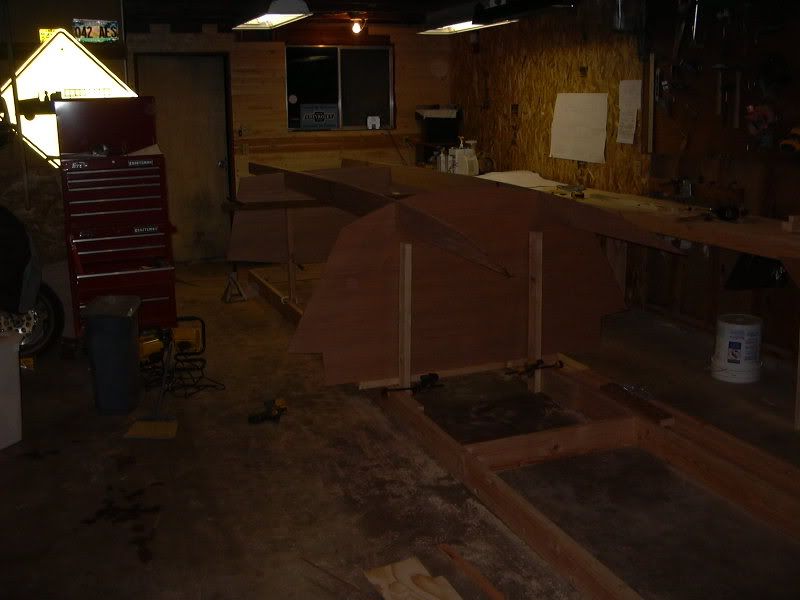
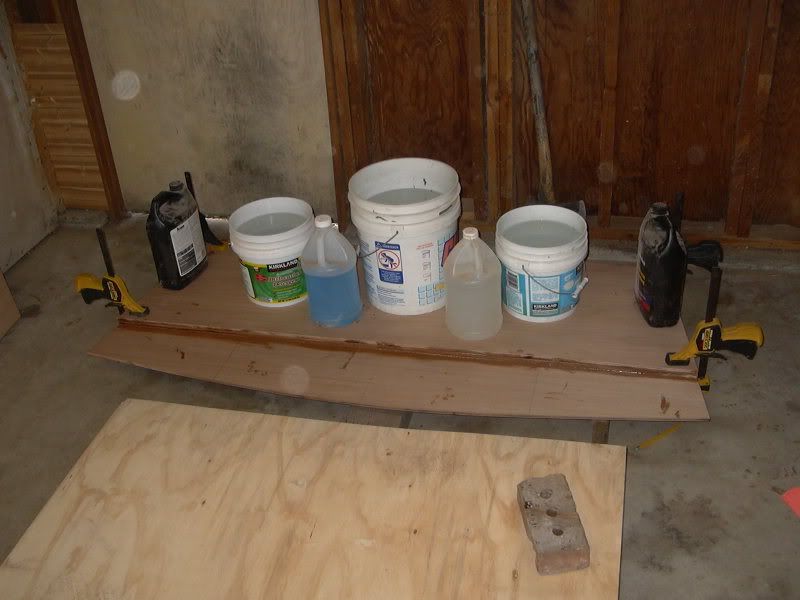
The reason they are sitting aside, and that I can only glue up one set of 'glass butt blocks at a time is SWMBO(google it)'s car MUST fit in the garage at night, otherwise said boat project goes away. It makes for a rather perculiar looking garage sight at night:


As you can see, in a two car you can fit a motor, 3 sea kayaks, 1 11' rowboat, a 25 foot long boat jig, 11 sheets of 6mm plywood in various full and cut phases, a gluing station with one panel gluing up, and the SWMBO-mobile. Tight, but it works.

For those of you who are truly committed to reading this blog will notice I had another hiatus. Comp crashed BIGTIME. New PC as we speak. What a hassle.

Bottom panels are to be stitched within the week, short break, then side panels and the complete stitchified boat!

E

1.07.2007

We have power!

Granted, this post has no interesting boatbuilding information, but one has to blither incessantly somewhere, and my wife has heard all of it already.

The motor has arrived. It is a two part story though.

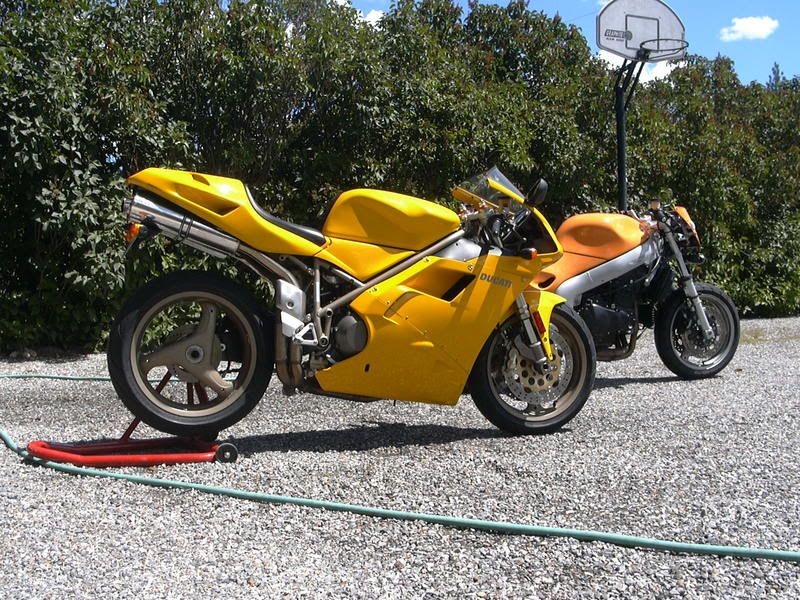
Firstly, I parted ways with my mistress. Shes Italian, incredibly sexy, fiery tempered, but curvaceous. My wife knew all along about her, but we both decided that between what it cost to keep her in my life (very high maintenance, but worth it!) it was best to part ways. She was very quiet about it, but left without too much of an uproar, at least until her new beau threw a little money at her.


She was a 1998 Ducati 748 Monoposto, which I had spent a great deal of time riding and caring for. We were very close. Its a sad loss, but it was time. Between the speeds that I learned to ride on her and the maintenance of a bike like her, when compared with how little I had ridden last year, it didn't make fiscal sense. We live with the decisions we make.....

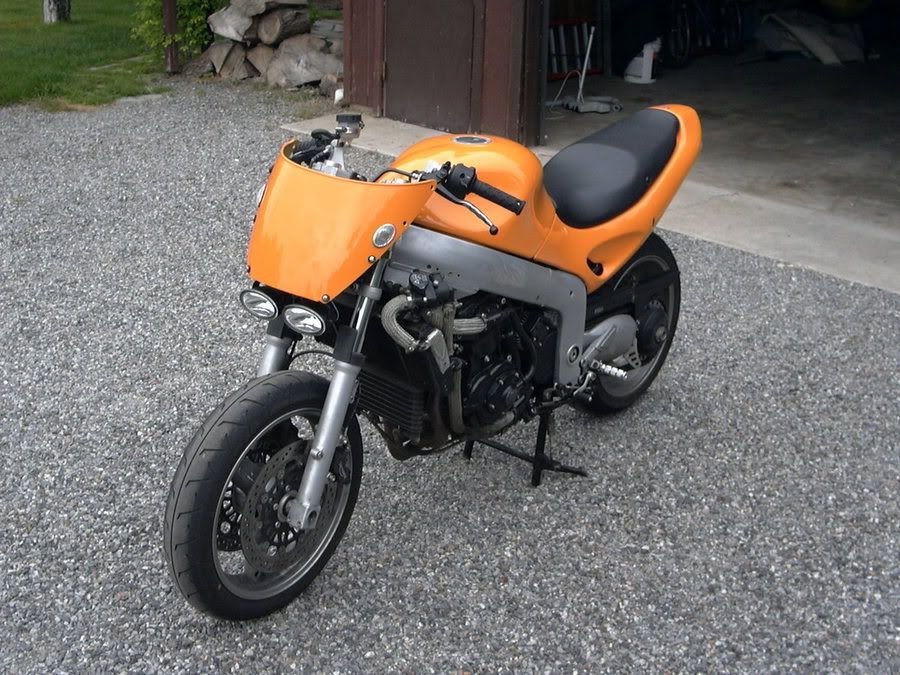
The other bike, for my nutter friends in the UK, was a Triumph Sprint ST that someone stacked up pretty badly. I took her from ball of metal to streetfighter meanness in a monthlong building frenzy. Sold her for a bit of a profit, and just couldn't find another deal as sweet. Not to mention riding her was the dog's bollocks!


Part B:

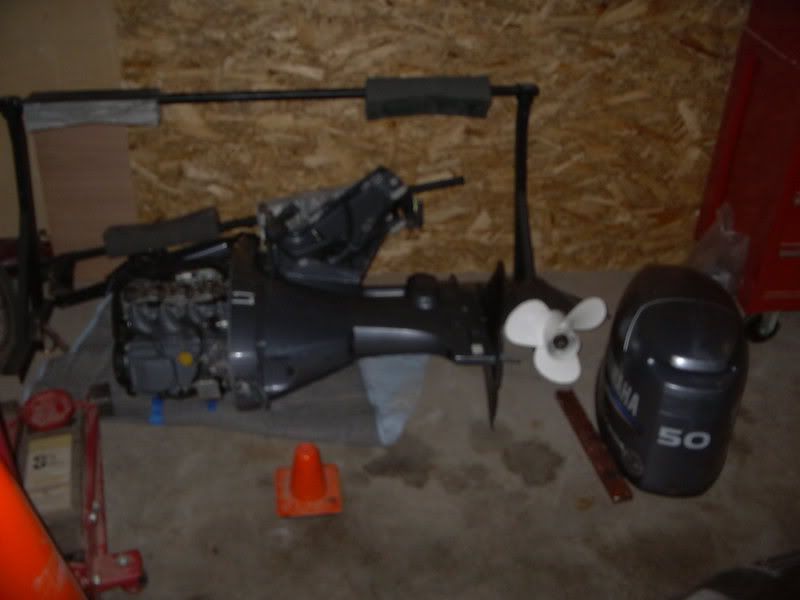
With the proceeds of the bike come the new motor! I managed to find a 2004 50hp Yamaha 4 stroke tiller engine for the price of $3000 (By the way, if anyone is interested, please contact me, there are more available). It needs to be converted from a tiller handle to a remote controlled motor (steering wheel and remote throttle), but thats a bridge we will cross when we get there. Im sure its nothing a Yamaha dealer can't help with. These are used motors from RIB's used on tour boats. 400 hrs, industrial use, but with industrial care. It'e all you can ask when the motor is $1000 below book value.

One of the best cowlings:


For those who have had a pint or two, this will look normal. For the sober, this is the best I could do with the dead camera battery:


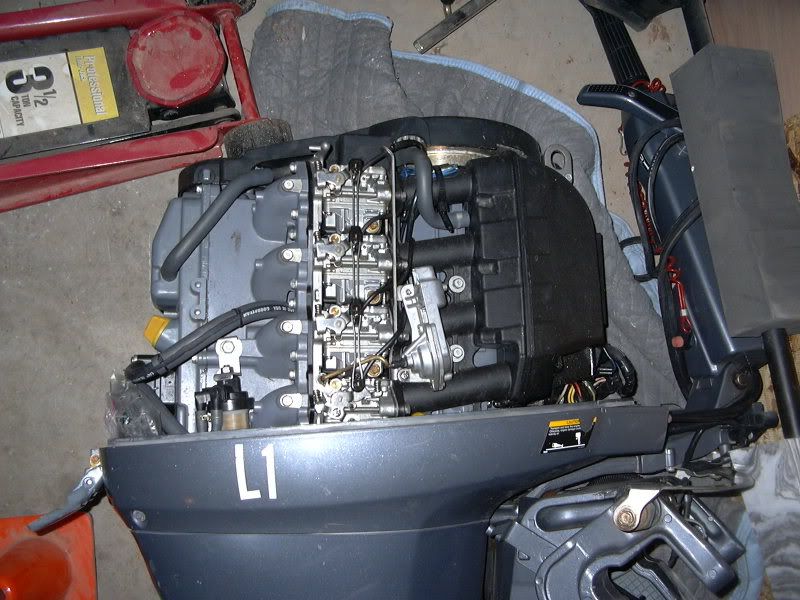
But for the exterior's poor appearance, check out the powerhead!


With the designer's blessing this is the largest motor the boat can handle. Though she's designed to move at around 15-18 mph, I am targeting 30mph based on a similar boat built in the UK to an older design (Atkin's NINIGRET). Their boat saw 27kts over land, and we are hoping to see similar results.

Really, this post is more of a gloat, O my readers. My apologies, but it will be a fundamental part of the build later on. We are expecting weather next week that will be unpleasant at best to work in, being that the high approaches 15F and the lows near zero. Ugh. What I wouldn't give for a real shop, with INSULATION! HEAT! Check back often!

1.04.2007

Massive mistake, but disney ending.

Well the weather gods have shone down upon the ski slopes poorly, with rain up above 6000 ft, followed by cold. Makes more of a skating rink than a ski hill that way. Bad news for skiing, good news for the boat! Actually lucked out with some almost-50-degree weather, which is nearly unheard of in this area.

Double post this time!

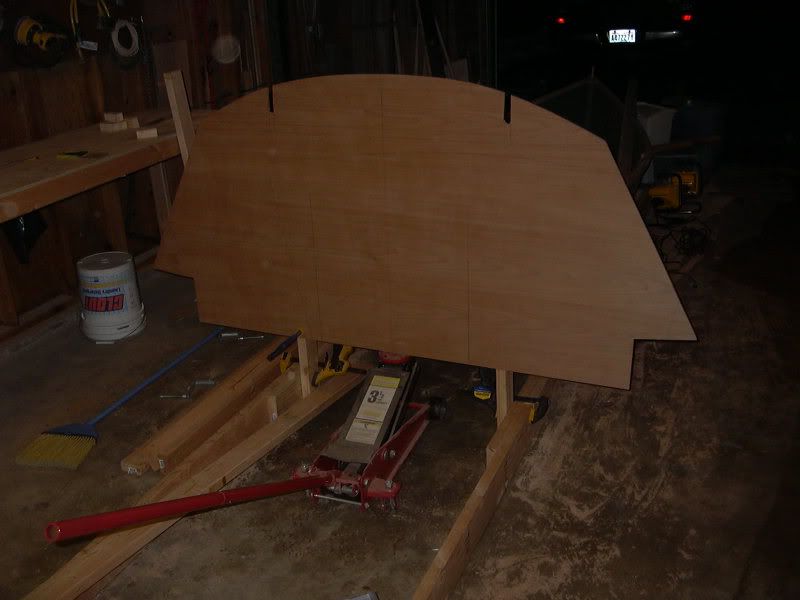
Firstly, for those who work alone all the time, this might be a helpful tip. Having some car tools around made this exceptionally helpful remedy for my lonesome boat shop. Lifting the forms to the correct height while clamping 2 uprights to not only the form but also to the strongback can be a challenge. BUT! We have a solution!\

If we can lift from the center while balancing on the upright 2x4's, we only need one set of hands for clamping, thus:


Senor car jack to the rescue! What a time and labor saver! It is nearly micro-adjustable, will go precisely where it's told, and has wheels to boot. Odds are at least half of the readership have one of these nearby or borrow-able, so keep it in mind. It is a little heavy to move in and out of the strongback, but well worth it.

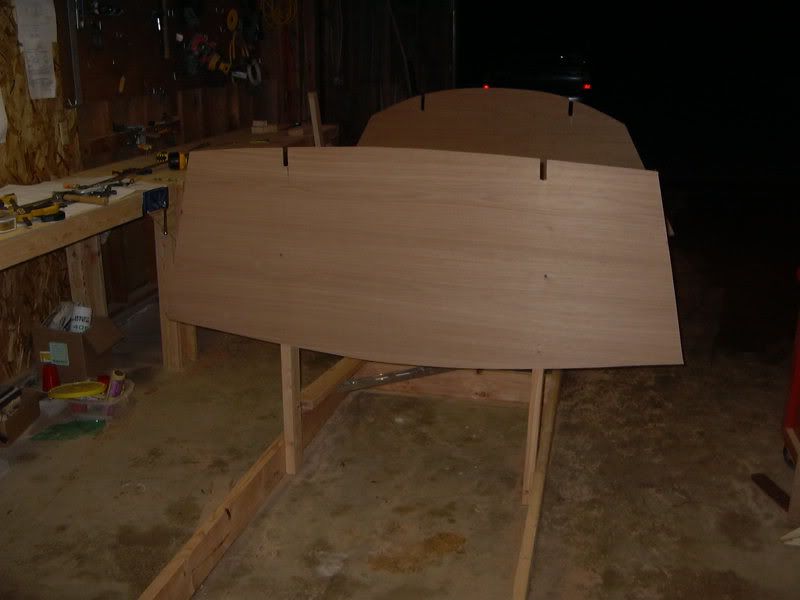
Here is the finished product of the jack's labors:


And now for the bad news:

I had one helluva time figuring out why everything was measuring up PRECISELY (less than 2mm off in all directions), but the transom was lining up 20MM CROOKED. I take the jig apart, I put the jig together. I take the frames out, I measure, I put it back together. I take the stringers out, I put it back together. NOTHING CHANGES! I finally have deduced it to the transom or clamping boards. Tape measure here, tape measure there, T square. Son of a.......

Turns out, while the bottom surfaces of the transom lined up perfectly, I was 9mm off on one side of BOTH clamping boards. &**)@#&%^*@&^#. After said swearing tyraid, I hung up the apron for the night. Slept on it, thought about it, and out came the circular saw. Set to the depth of the clamping boards but just above the transom, a cutting we will go.


Atrocious photo, I know. Coming up from the bottom you will see a dark line sloping downward from right to left. Thats the error. After some cutting, we spent a little quality time with the 1/2" chisel getting the last of the goo off the bottom without damaging the transom. All happy.

Let this be a lesson to any builders. Be willing to fix those errors no matter how tough it may seem. Try fixing it first before you rebuild. This error would have cost about $185 to rebuild the transom, but a little extra labor made it perfect.

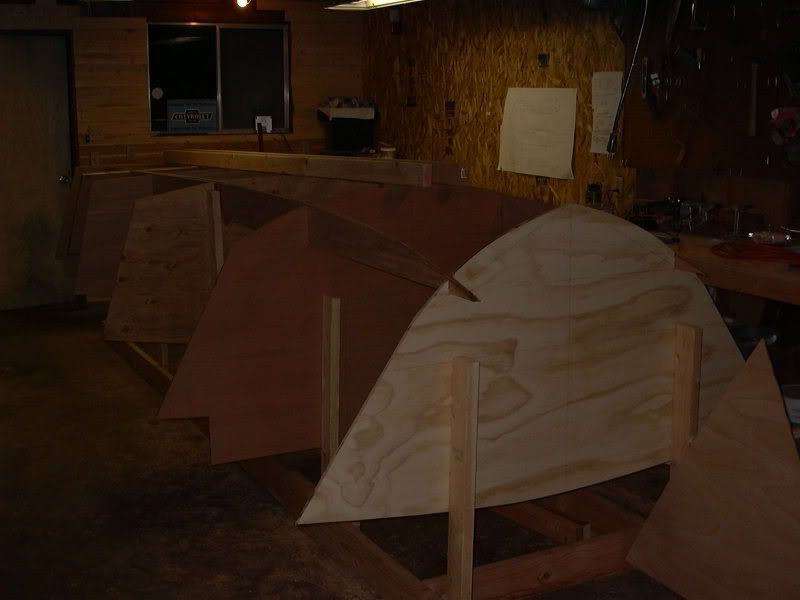
With said error on the mend, let's get back to the 3D part of our saga. Over the past 2 days the forms have gone up, the stringers were set, and the first (A) frame is all thats left (which I will be doing as soon as I get done blathering on here). To the photos!

Superjig 5000:


This is how Jacques has designed the motorwell to go together. These motorwell sides are essentially screwed in place while the jig is built, since disassembly would be impossible as it holds the clamping boards into a notch. Pretty fancy if you ask me:


Another shot, of the nearly complete jig, transom and all:


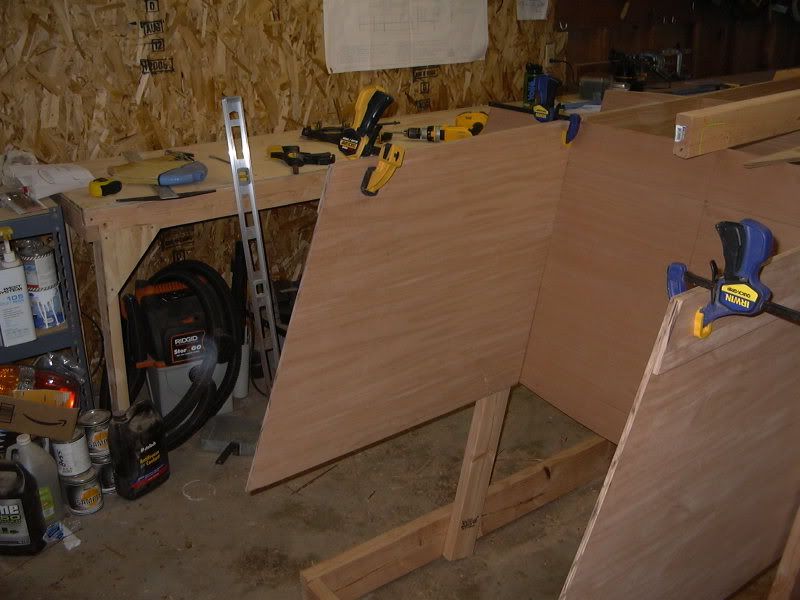
Finally, this one is for Doug, and the others who will build this boat. Dead nuts straight and flat, eh:


As always please don't hesitate to ask if there are any questions or if you want to see something in another post. I am also working on my sitemeter, as the new format has changed some of the code. The more feedback the better!

E
12.23.2006

Three Dimensions....

My holy hell, that took forever.

5 weeks people, 5 weeks. First the shipment missed the truck, then got on the next truck but was hung up because that truck wasn't full for 2 weeks. Then to add insult to injury, a load of flooring couldn't pass customs. Another week on the loading dock. Finally, it trickled into the store, and I happened to get there BEFORE they unloaded it. I helped the stockers unload 15 other sheets of ply before we could get down to mine in the stack. Ugh.

In the meanwhile, I had to keep myself occupied:


In an earlier post I referred to (and showed a pic of) a Dave Beede designed Summerbreeze. A little scrap ply, some random extra redwood and doug fir laying around (note: redwood sucks for gunnels, both broke, one broke twice) turns into a nice little rowboat. A neighbor gave me some housepaint, which Ive used to prime the panels. Better than a kick in the teeth I s'pose.

On to the star of our show!

Of general importance on this episode, is working with epoxy in an unheated shop. I chose not to heat the shop as it is uninsulated, but to heat the materials to cure the epoxy. 70 degrees is our target, but 40 is the working temp to achieve. Using a 1500 watt quartz electric heater teamed with a pair of 250/500 watt quartz worklights we had a nice random looking assembly which successfully got a solid cure on the epoxy overnight with outside temps in the teens.

The menagerie:


Though strange looking and a half-assed job of hanging everything, it was relatively effective. Relative in that your humble narrator is an idiot and managed to leave both lights on at 250 watts. Eh, yeah, im retarded. There are times that my boatbuilding is more like a college basketball game. Whoever makes fewer mistakes wins, and Im on the losing team.

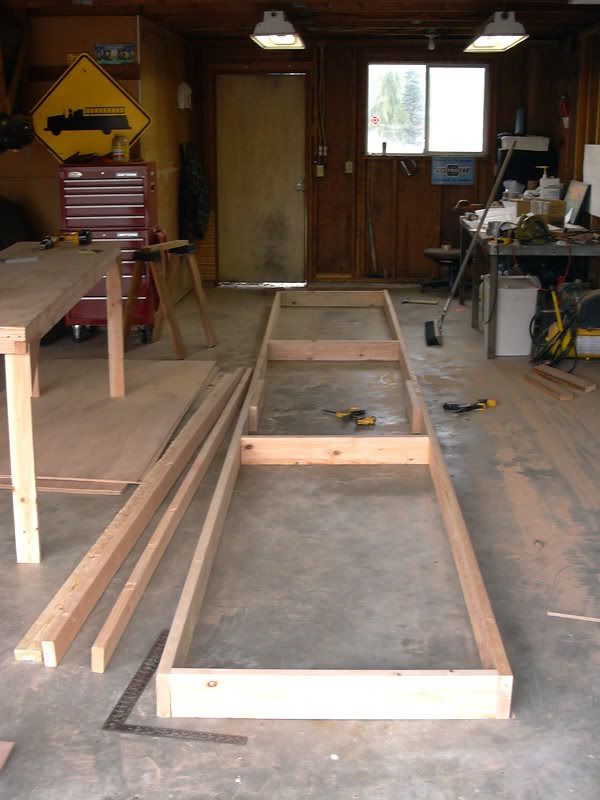
This is the stringer assembly per plans, and finally in the flesh:


Seeing that after all this time makes me tingly in ways boatbuilding shouldn't. Don't tell my wife. Oh wait, she reads this too. And her brother. Ah well.

The ladder framed strongback is nice and square, moved to the most advantageous place on the relatively small floorspace I have. Then we mix in those bulkheads I cut EEONS ago to start the building jig. I only had time to notch and put up the C frame as well as the E frame which will be the bookends of the main passenger compartment. Add a liberal dose of stringers and we have the makings of a 3 dimensional structure!


Cmon, get excited! I know I am!

For our next installment, I will try to get the frames up and leveled in, make several mistakes, cost myself some money, screw up at least one cut, throw a tool or two, some strange concoctions of nouns and sware words, and out will pop a completed jig!

Stay tuned. Same boat time, same boat channel.

E

12.15.2006

THE PLYWOOD IS IN!!!!

BWAALWOAOABBULUAELA!!!!

Its in!

Okay... can you smell the enthusiasm? I haven't even left to pick the wood up yet. I just couldn't stand myself so I had to post.

More in a bit...

11.10.2006

And the wheels begin to turn; slowly.

Well I have gotten fed up with waiting. 2 parts today to the post. Firstly, I decided since I hauled out the tug that I needed a little rowboat to go fish in. On top of that, the neighbors laugh their asses off when they see my wife and I out sailing in the WACKY LASSIE (umbrella and paddle), so Im doing something about it. Secondly I commenced to some big boat work. ENJOY!

I was inspired by the flatiron skiffs because of their sensibilities and elegant look. Being that I am 1) cheap, 2) lazy, 3) short attention spanned, I found a set of free plans on a very easy and quick to build boat, Dave Beede's SUMMERBREEZE ( http://www.simplicityboats.com/summerbreeze.html). Should be a blast. I had some extra ply laying around from a little offhanded workboat plan that I never had time to do due to the NINA project, so I stole that and went to work. Here's a shot of the sides going together:


PL premium, exterior grade 1/4" plywood. Shooting for a whopping $100 or less investment. Your right, that photo is fairly uninteresting. Sad.

Meanwhile, on NINA:

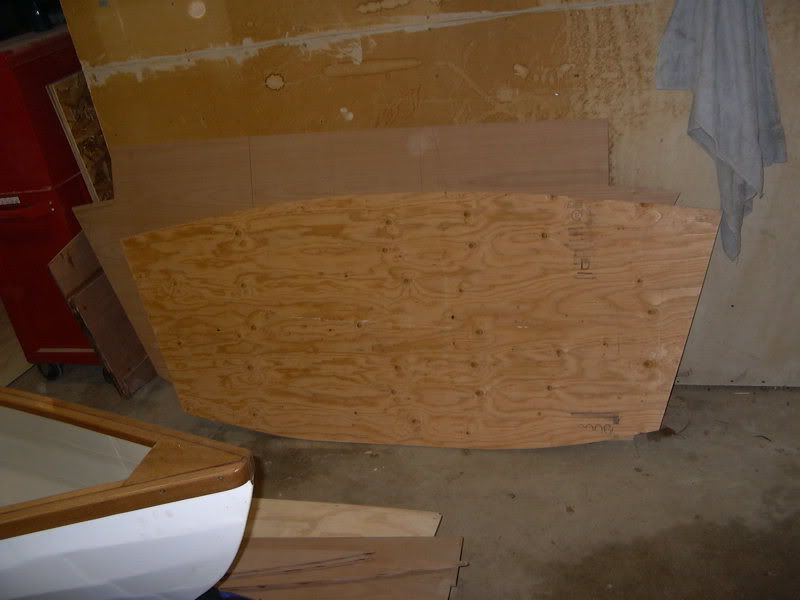
Per plans the D form and if you so choose the B form are both scrap forms for the initial layup of the hull, so off I went. Bought some garbage ply for $16 and some of that extra I had around from the work skiff mission to get moving again. We now have all frames built, and as soon as my ply shows up I will have the stringers built and glued ASAP. Sick of waiting, ready to start laying up some hull panels and trying to figure out how to warm them up enough to get the epoxy to set.

An interesting aside, cutting the B form, I used a circular saw with a thin kerf blade set right at the thickness of the wood to cut fair curves. You really must try it, as it makes the curve very linear and fair, with little extra fiddling to make it clean. It was an interesting combination of carpentry and woodburning! Please note the mui excellente saw:


B form, decent ply, note the curve cut with the circular saw:


The monster throwaway D form:


BTW, thats the bow of my Thames Rowing Skiff, in for a little repair and a refit on the footstretchers. Yes, the scarf joints suck (first try ever!), but that breasthook is GORGEOUS!

Maybe your not-entirely-humble writer should clean his camera lens?

Comments welcome!

E

10.27.2006

Slow progress

Today, my friendly reader(s) , I accomplished very little. Rough double at work means I got home later, didnt have ambition, and was just generally tired and hungry. Sob story...

I have discovered a minor measuring error in the stringer upright. Should be an easy fix and back underway when the two new sheets of ply arrive to start the jig. I did however get some stuff around the house realigned, and clamped up the true (motor supporting) transom:


At least something got done..........

Tomorrow, a row with my bride, mountain bike with some friends, and back to work for a shift sunday. I will have 3 days next week with which to build, and am in hopes of having the jig somewhere near built by next friday.

More when it happens!

E

10.25.2006

Reparations, Disintegration, Redemption!

Alright, the world is restored to its normal splendor. Windsor made good on the price difference in the wood (a free sheet of 10mm ply is a nice fix), and on top of that a friend bought the remnant 6mm sheets that had been cut (thanks Chris). So then, back to our story...

I was able to use the cut pieces as templates to cut the correct ply. Thus saving HOURS of laying lines again and having to re-establish the right layout. Pretty handy. So for the first two sheets, I decided to recut the stringers and the C frame. Stringers went great. Now about that C frame.

I cut it, measure twice, etc etc, like a good little woodworker. I stand back. I grab my camera to bestow the newest progress to the blog readers. I notice an "error". I had done the following math, and you will see the problem:

1050 x 2 = 2010 Hm, no.

1050 + 1050 = 2010 Hm, still no.

&*%# ))@#*%& ))()^$#@!@%#^. And the camera case goes flying....

I discover that 2100 is a better answer to the above. Anyone still trying to figure out the title of the blog "A complete idiot....". And thus I prove the axiom measure 4 times, cut once idiot.

I would swear, but this is a "family" show, and its tougher literarlily (is that a word? Google it) to come up with adequately descriptive ways to express anger.

Well, as it turns out, I can fit the transom template inside the disproportionate C form, so thus the redemption begins. As I feel a bit better the next day, I get the remaining stringer pieces cut, a new C frame, and both transoms. Excellent! I feel so good about myself I throw together a strongback with kiln-dried Doug Fir 2x6's. Nice and square, but a little curve in one board that lifts the corner. Looks like I will be taking my measurements from the concrete floor instead of the strongback boards.

To the photos!

The second C frame:


The stringer/motorwell sides (jacques Im gonna talk to you about this measurement):


Der strongback:


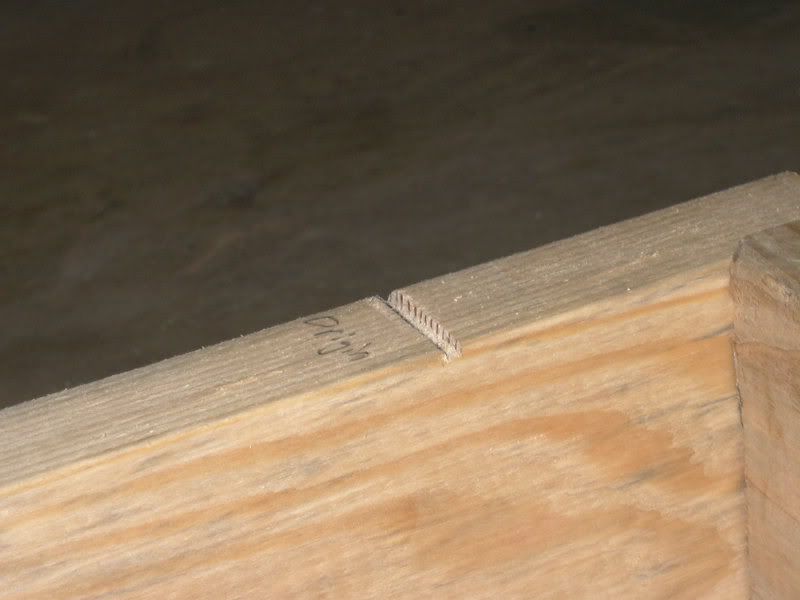
An idea I have since Im using a metal tape to measure my form locations. I marked my origin dead-square on both sides with a T square and a scrap piece of teak. I then cut a notch on the OUTSIDE of the line (away from the center) so that the tongue of the tape measure has a place to park and makes the measurements uniform. Please hold your applause until the curtain.

Good idea or bad? YOU BE THE JUDGE!


On our next episode, gluing up the stringers! And possibly, setting the forms!

Dont hesitate to post comments!

E

10.21.2006

And the issues begin...

So I go to pick up the second round of ply from my local supplier Windsor Plywood, and discover that the 9mm ply I was supposed to recieve turned out to be 6mm. As such, I didnt realize that until I had 2 stations and 2 transoms cut. All of the work accomplished up to now may be for naught. I am getting ahold of the designer on the builder's forum ( http://www.bateau.com ) to see if I can utilize any of the pieces cut. Beauty eh?

Not a huge concern, but just a big hassle. They are cutting me a deal on 2 more sheets of ply to replace the 2 screwed up ones, but whatcha gonna do. At least the guy was willing to work for me. Its a constant struggle with a little of this and a little of that, but the boat always seems to come together.

On the flipside, I am stoked to be seeing some sawdust on the floor, as any self-respecting boat type should be (unless you bought your boat with termites).

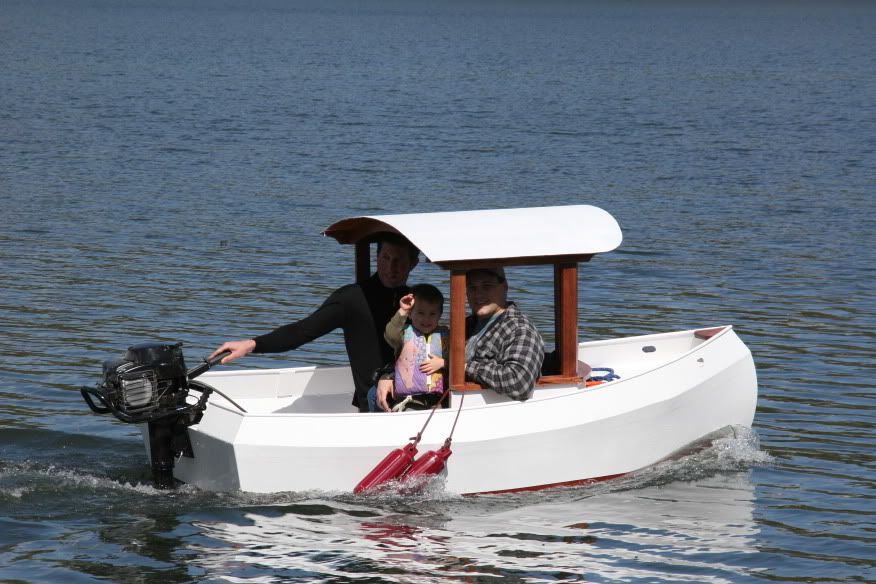
To make myself feel better, lets have a look at my first ever project (thus the not-so-fair sides) the Glen-L Tubby Tug. Good plans, easy to build, made tons of errors, and it still floats/cruises around/fishes with the big boats. Im driving, and a friend with his kid helped launch. I hadn't added trim yet as this was the shakedown run and was put back on the hard for a couple weeks following.


And one of the fleet getting used by the neighbor kids out behind our house. Tug with trim added, one WACKY LASSIE in blue ( http://www.alaska.net/~fritzf/Boats/Wacky_Lassie/Wacky_Lassie.htm ) and one CHEAP CANOE in green ( http://www.bateau.com )


Ahh, happier days.

E